58
Shoo
ting F
unct
ions
3
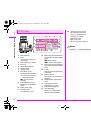
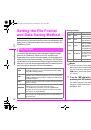
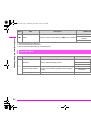
Flash Mode
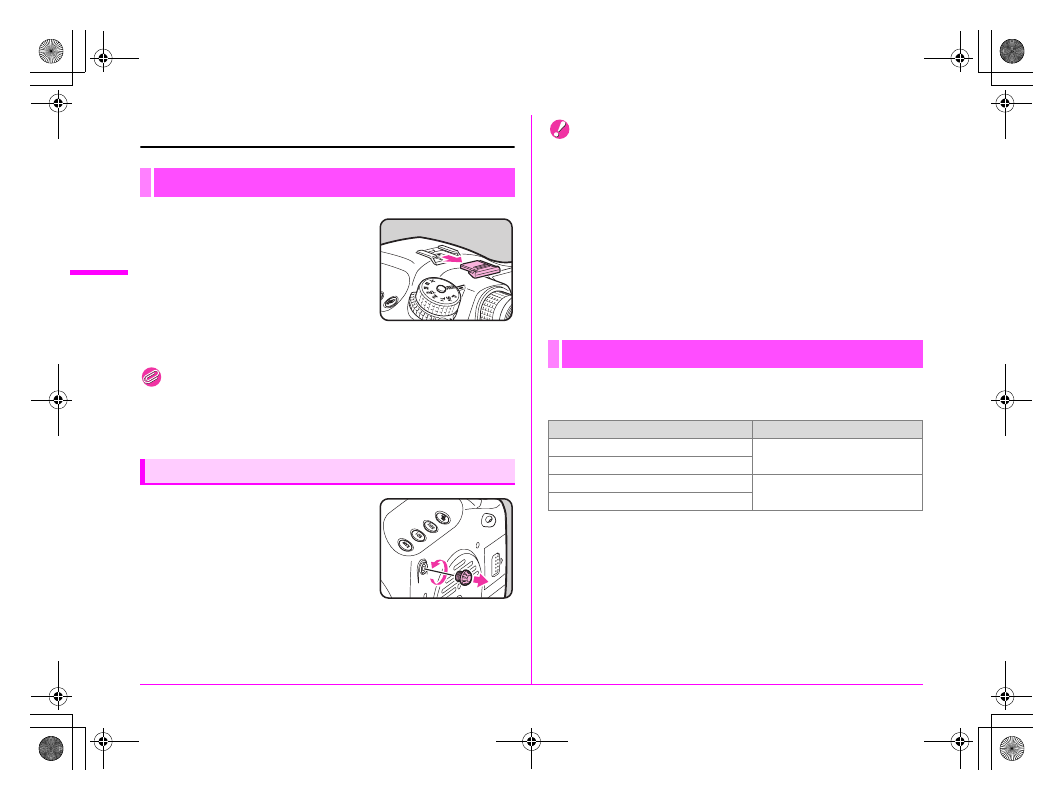
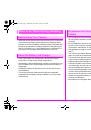
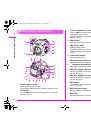
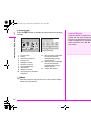
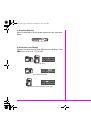
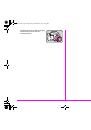
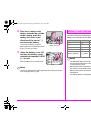
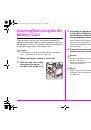
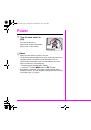
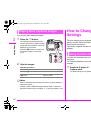
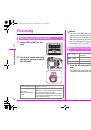
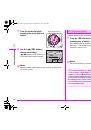
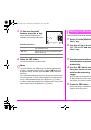
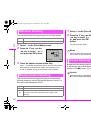
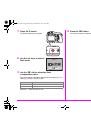
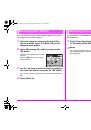
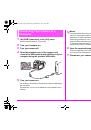
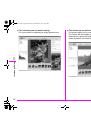
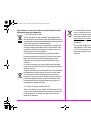
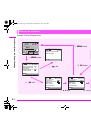
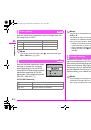
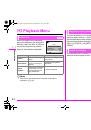
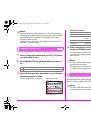
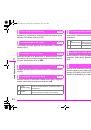
1
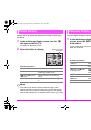
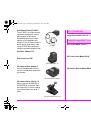
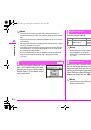
Remove the hot shoe cover
of the camera.
2
Attach the flash and turn on the camera.
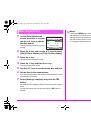
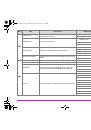
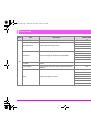
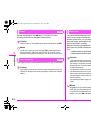
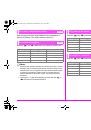
Memo
• Press the
I
button to discharge the flash in Modeling Flash or
Test Flash mode. Set this with [34. External Flash Discharge] in the
[
A
5] menu. (
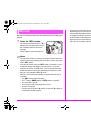
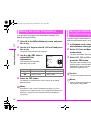
z
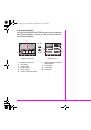
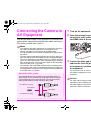
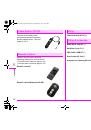
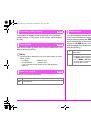
You can connect a sync cord to the
X-sync socket on the camera.
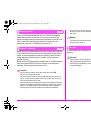
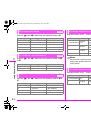
Caution
• Do not use high-voltage or high-current external flashes. They may
cause the camera to malfunction.
• A flash with reversed polarity (the center of the hot shoe or sync
plug has a negative symbol) cannot be used, as this may damage
the camera or flash.
• Linked functions will not work.
• To prevent vignetting caused by Trailing Curtain Sync from
occurring, it is recommended to take a test shot using a shutter
speed one stop slower than the flash sync speed.
• The contact of the X-sync socket is not dust-proof or water-
resistant. Attach the provided Sync socket 2P cap when not in use.
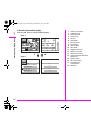
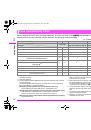
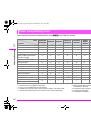
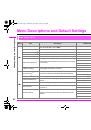
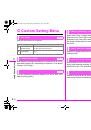
The following flash modes are available. The flash modes that
are available differ depending on the exposure mode.
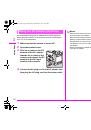
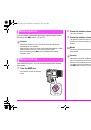
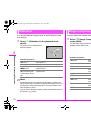
Attaching a Flash
Using a Sync Cord
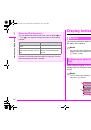
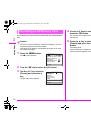
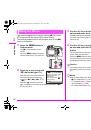
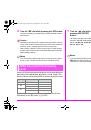
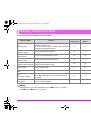
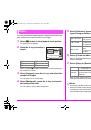
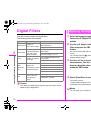
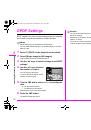
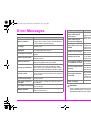
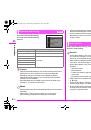
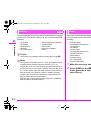
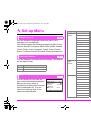
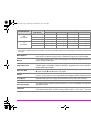
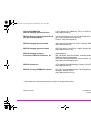
Setting the Flash Mode
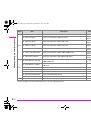
Flash Mode
Available Exposure Modes
E
Flash On
e
/
K
/
b
/
c
/
L
/
a
/
p
/
M
F
Flash On+Red-eye Reduction
G
Slow-speed Sync
e
/
K
/
c
H
Slow-speed Sync+Red-eye
e_kb487.book Page 58 Wednesday, December 8, 2010 9:49 AM
 1
1
 2
2
 3
3
 4
4
 5
5
 6
6
 7
7
 8
8
 9
9
 10
10
 11
11
 12
12
 13
13
 14
14
 15
15
 16
16
 17
17
 18
18
 19
19
 20
20
 21
21
 22
22
 23
23
 24
24
 25
25
 26
26
 27
27
 28
28
 29
29
 30
30
 31
31
 32
32
 33
33
 34
34
 35
35
 36
36
 37
37
 38
38
 39
39
 40
40
 41
41
 42
42
 43
43
 44
44
 45
45
 46
46
 47
47
 48
48
 49
49
 50
50
 51
51
 52
52
 53
53
 54
54
 55
55
 56
56
 57
57
 58
58
 59
59
 60
60
 61
61
 62
62
 63
63
 64
64
 65
65
 66
66
 67
67
 68
68
 69
69
 70
70
 71
71
 72
72
 73
73
 74
74
 75
75
 76
76
 77
77
 78
78
 79
79
 80
80
 81
81
 82
82
 83
83
 84
84
 85
85
 86
86
 87
87
 88
88
 89
89
 90
90
 91
91
 92
92
 93
93
 94
94
 95
95
 96
96
 97
97
 98
98
 99
99
 100
100
 101
101
 102
102
 103
103
 104
104
 105
105
 106
106
 107
107
 108
108
 109
109
 110
110
 111
111
 112
112
 113
113
 114
114
 115
115
 116
116
 117
117
 118
118
 119
119
 120
120
 121
121
 122
122
 123
123
 124
124
 125
125
 126
126
 127
127
 128
128
 129
129
 130
130
 131
131
 132
132
 133
133
 134
134
 135
135
 136
136
 137
137
 138
138
 139
139
 140
140
 141
141
 142
142
 143
143
 144
144
 145
145
 146
146
 147
147
 148
148
 149
149
 150
150
 151
151
 152
152
 153
153
 154
154
 155
155
 156
156
 157
157
 158
158
 159
159
 160
160