36
2
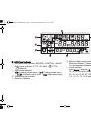
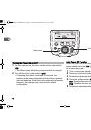
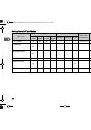
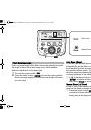
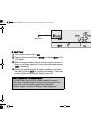
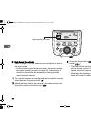
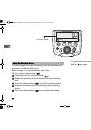
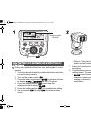
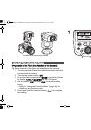
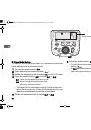
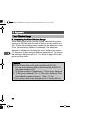
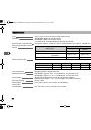
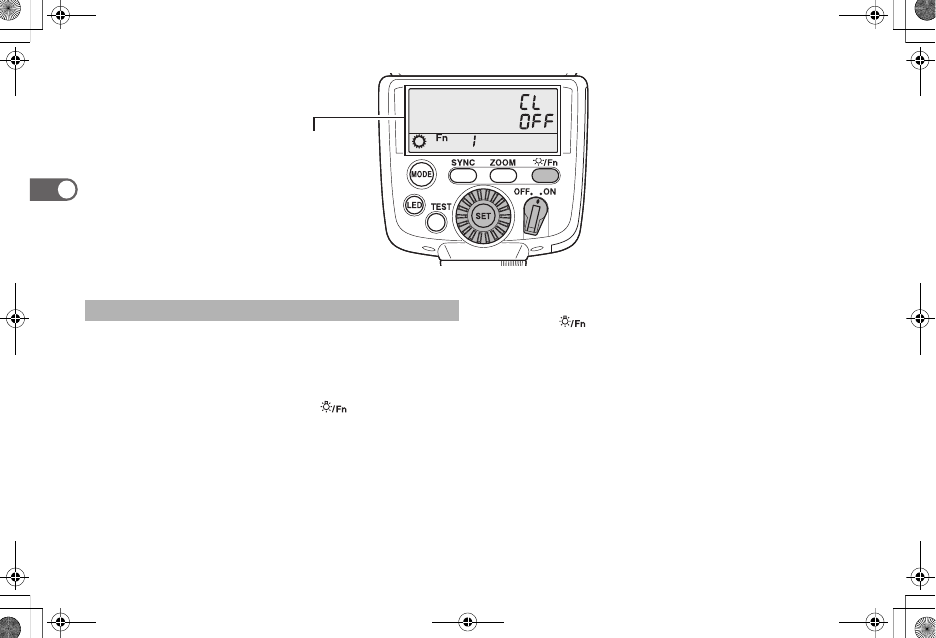
You can configure the various settings, such as catchlight or AF
spot beam, in the function menu.
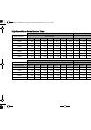
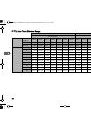
Refer to page 37 for each function menu item.
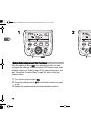
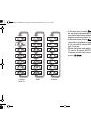
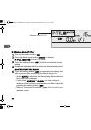
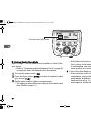
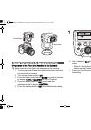
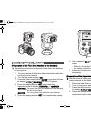
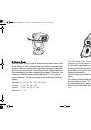
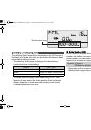
1
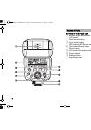
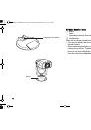
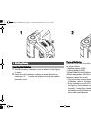
Turn on the power switch (ON).
2
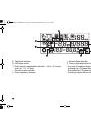
Press and hold the function button (
).
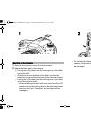
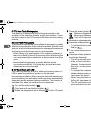
3
Rotate the adjustment dial to display the desired setting
item.
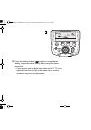
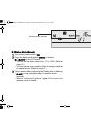
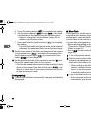
4
Press the setting button (SET) to blink the setting option.
5
Rotate the adjustment dial to select the desired setting
option.
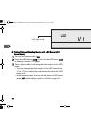
6
Press the setting button (SET) to complete the setting.
• To exit the function menu, press and hold the function
button (
) again.
Using the Function Menu
Function menu
AF360FZ_540FGZ.book Page 36 Friday, December 20, 2013 6:11 PM