12
EN
7
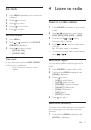
Reconnect the negative terminal of the car
battery.
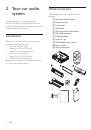
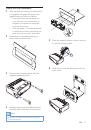
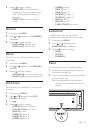
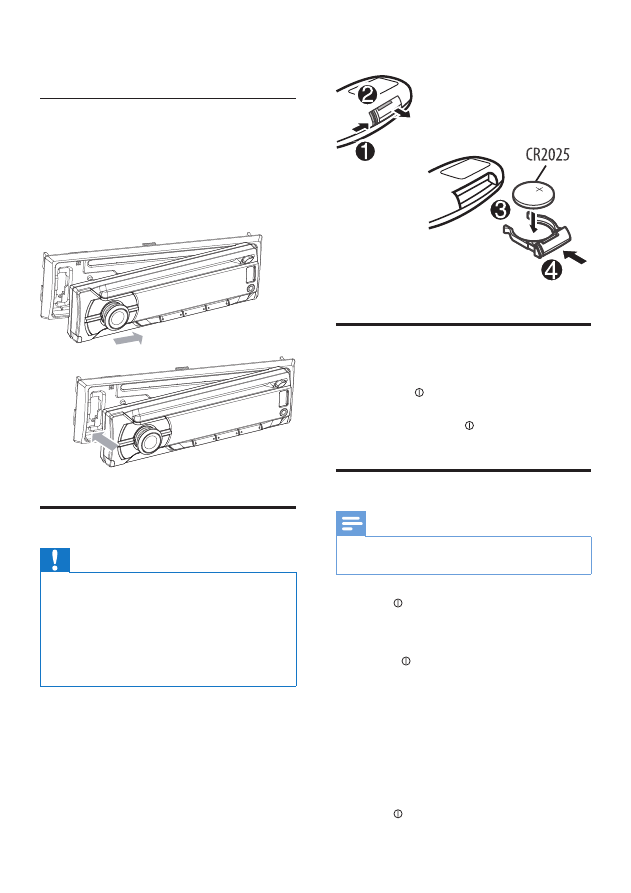
Attach the front panel
1
Attach the trim plate.
2
Insert the right side of the panel in the
chassis until it is correctly engaged.
3
Press the left side of the panel until the
mechanism locks it into place.
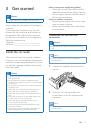
Install remote control battery
Caution
•
Risk of explosion! Keep batteries away from heat,
sunshine or fire. Never discard batteries in fire.
•
Risk of decreased battery life! Never mix different
brands or types of batteries.
•
Risk of product damage! When the remote control is
not used for long periods, remove the batteries.
•
Perchlorate Material - special handling may apply. See
www.dtsc.ca.gov/hazardouswaste/perchlorate.
For first-time use:
Remove the protective tab to activate the
remote control battery.
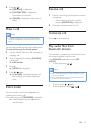
To replace the remote control battery:
1
Open the battery compartment.
2
Insert one CR2025 battery with correct
polarity (+/-) as indicated.
3
Close the battery compartment.
Turn on
To turn the unit on,
•
press .
To turn the unit off,
•
press and hold until the unit is
turned off.
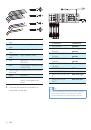
Select country/region
Note
•
Select correct country/region for this unit, otherwise
the unit can not work properly.
1
Press to turn the unit on.
»
[SELECT OPERATING REGION]
is
displayed.
2
Rotate to select an option:
•
[USA]
(United States)
•
[LATIN]
(Latin America)
•
[EUROPE]
(Western Europe)
•
[RUS]
(Russia)
•
[M-EAST]
(Middle East)
•
[ASIA]
(Asia Pacific)
•
[JAP]
(Japan)
•
[AUST]
(Australia)
3
Press
to confirm.