28
29
it will play slideshow with background Music and the music must be
stored in the same memory device! You can use VOL+/VOL‑ to turn up
/down the volume, you can also use
to go to the previous/next
background music,then you can set difference settings in Photo Setup.
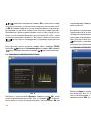
Press Setup, You can set different settings in
Photo setup
menu, press
OK
to enter the sub‑menu items.
Press t u to set the Value and press pq
to confirm.
Note:
In Thumbnail Picture mode, press
OK
to select the picture, press
OK
again to start slideshow.
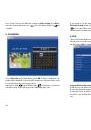
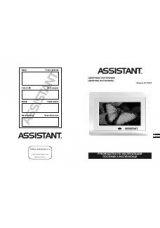
4.3. MUSiC MOdE
Press
RETURN
to choose “
USB
” or a card, then press
OK
to enter the
main menu, Choose
Music
, press
OK
to enter the music interface, press
to select the music from the playlist, then press
OK
to confirm.
Press
VOL+/-
to turn up/ down the volume,
In the music playing mode, press to fast forward and fast back‑
ward, press
OK
to Pause and Play again. With
you can enter the
previous or next music playing directly.
Press Setup. You can choose Different Settings in Music
Setup
, press
OK
to enter the sub‑menu items.
Press to set the Value and press
to Confirm.
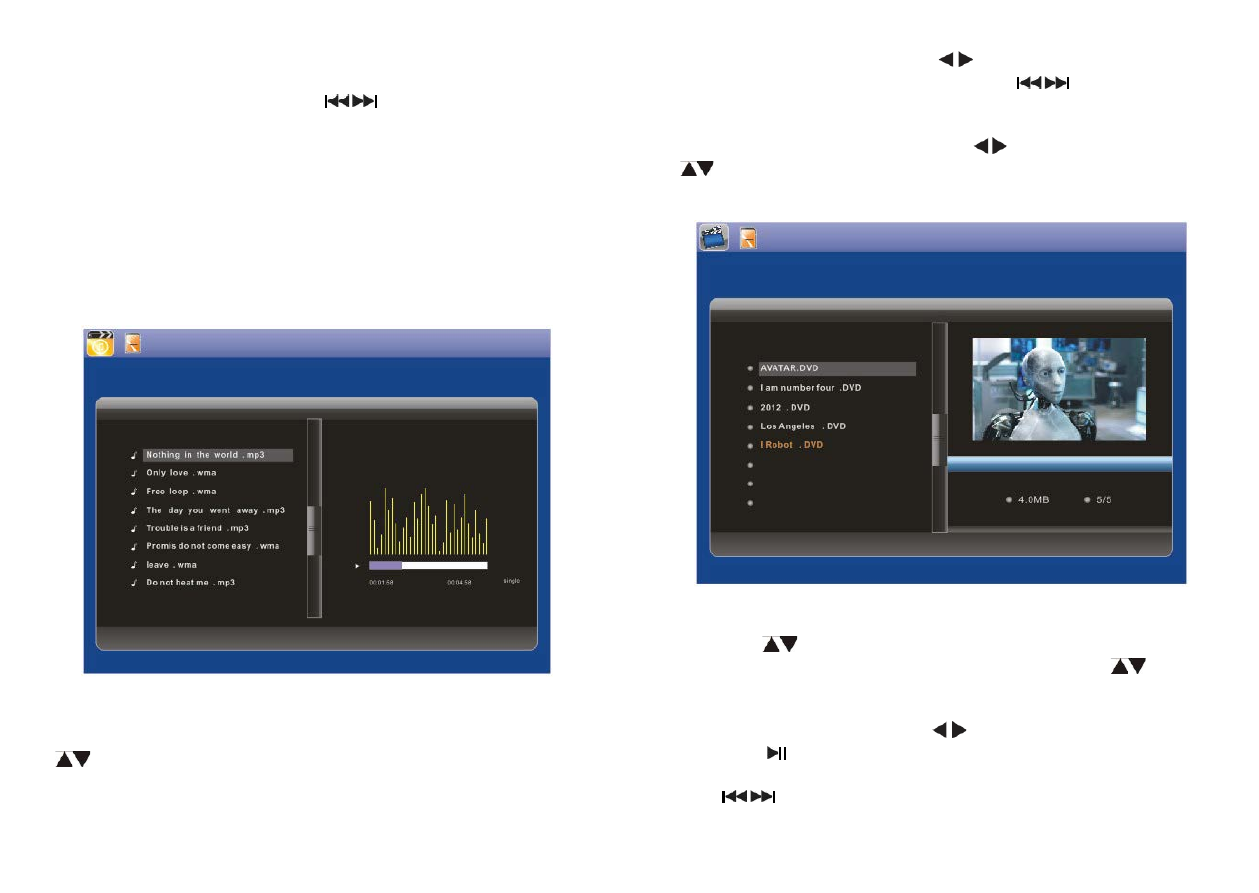
4.4 VidEO MOdE
Choose
Video
in the main menu, press
OK
to enter the video inter‑
face, press
to select the video from the play list, then press OK to
confirm. Press
VOL+/-
to turn up/ down the volume. Press
to view
previous/next video.
In the video playing mode, press for fast forward and fast back‑
ward. Press
to pause, repress again continue playback.
Press
to
enter the previous or next video playing directly.