30
31
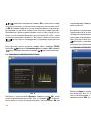
Press Setup. You can set different settings in
Video Setup.
Press
OK
to
enter the sub‑menu items.
Press to set the Value and press
to
Confirm.
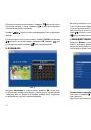
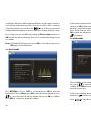
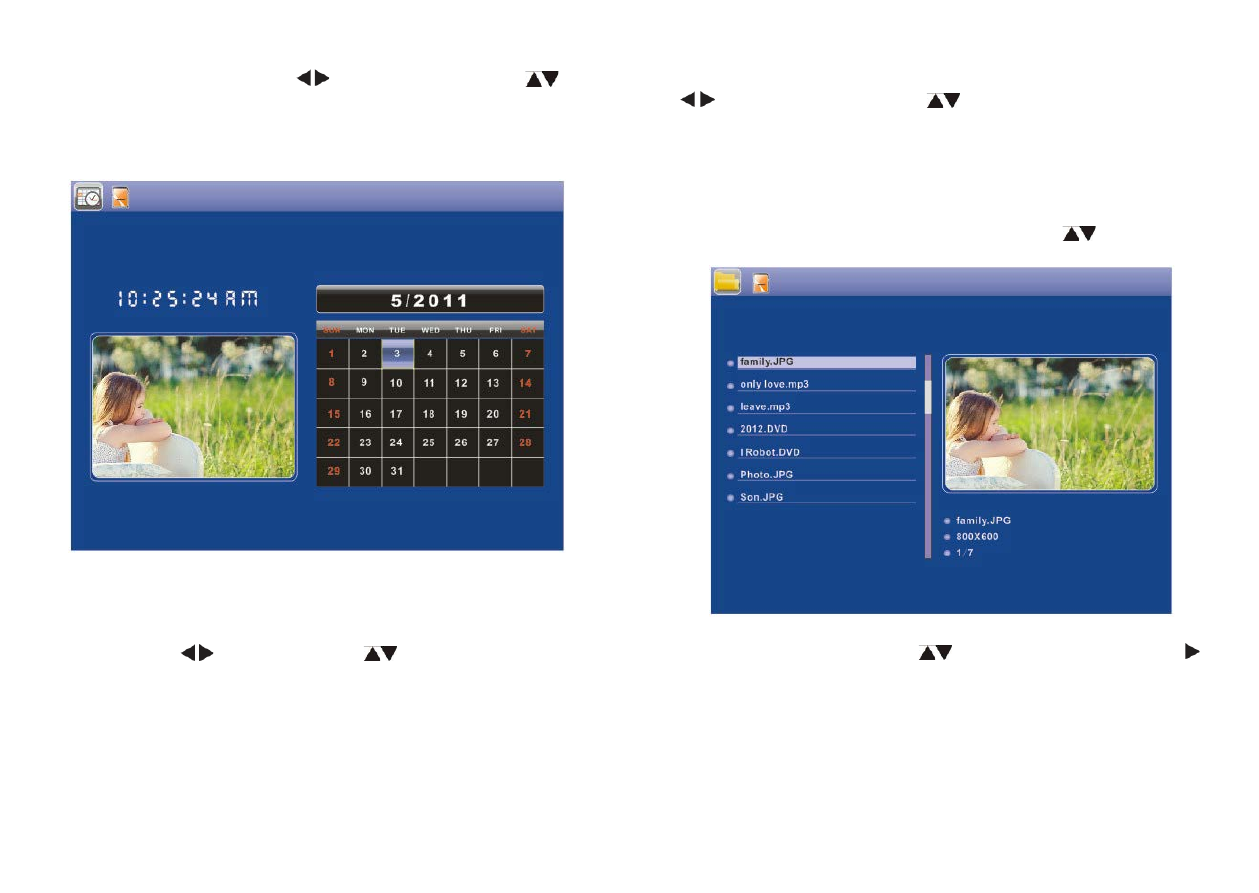
5. CALENdAR
Select
Calendar
in the Main Menu, press
OK
to enter. It will show cal‑
endar with a window on the left with slideshow, Supported files must
be stored in the selected storage device.
Adjust Year with ,adjust Month with
. If you have set alarm in
Calendar setup, there will appear the alarm and time icon.
If you want to set the date/time, press Setup, You can enter into the
Calendar Setup
menu, press
OK
to enter the sub‑menu items.
Press
to set the Value and press
to Confirm. The set time will be
shown in the Calendar Interface.
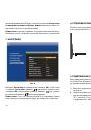
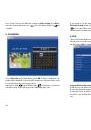
6. FiLE
Choose File in the main menu and press OK to Enter, you can browse all
files in your selected storage device. You can press
to choose the
file then press
OK
to confirm.
Copy and delete function
Use
to highlight the file then press ;
it will show a Sub‑Menu for Copy Delete Operation.
If enter the Internal memory, It only show Delete Icon
If enter the Cards or USB, It will show “copying to internal memory, De‑
lete files” Icon, and the files can be only copied to internal built‑mem‑
ory.