English - 8
Placing Your Television in Standby Mode
Your set can be placed in standby mode in order to reduce the power consumption. The standby mode can be useful when you
wish to interrupt viewing temporarily (during a meal, for example).
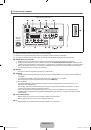
1.
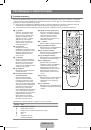
Press the
POWER
P
button on the remote control.
The screen is turned off and a standby indicator appears on your set.
2.
To switch your set back on, simply press the
POWER
P
button again.
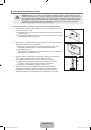
Do not leave your set in standby mode for long periods of time (when you are away on holiday, for example). It is best to
unplug the set from the mains and aerial.
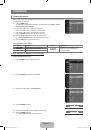
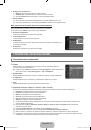
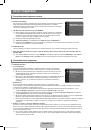
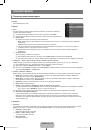
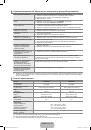
Plug & Play Feature
When the TV is initially powered on, basic settings proceed automatically and subsequently.
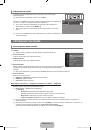
1.
Press the
POWER
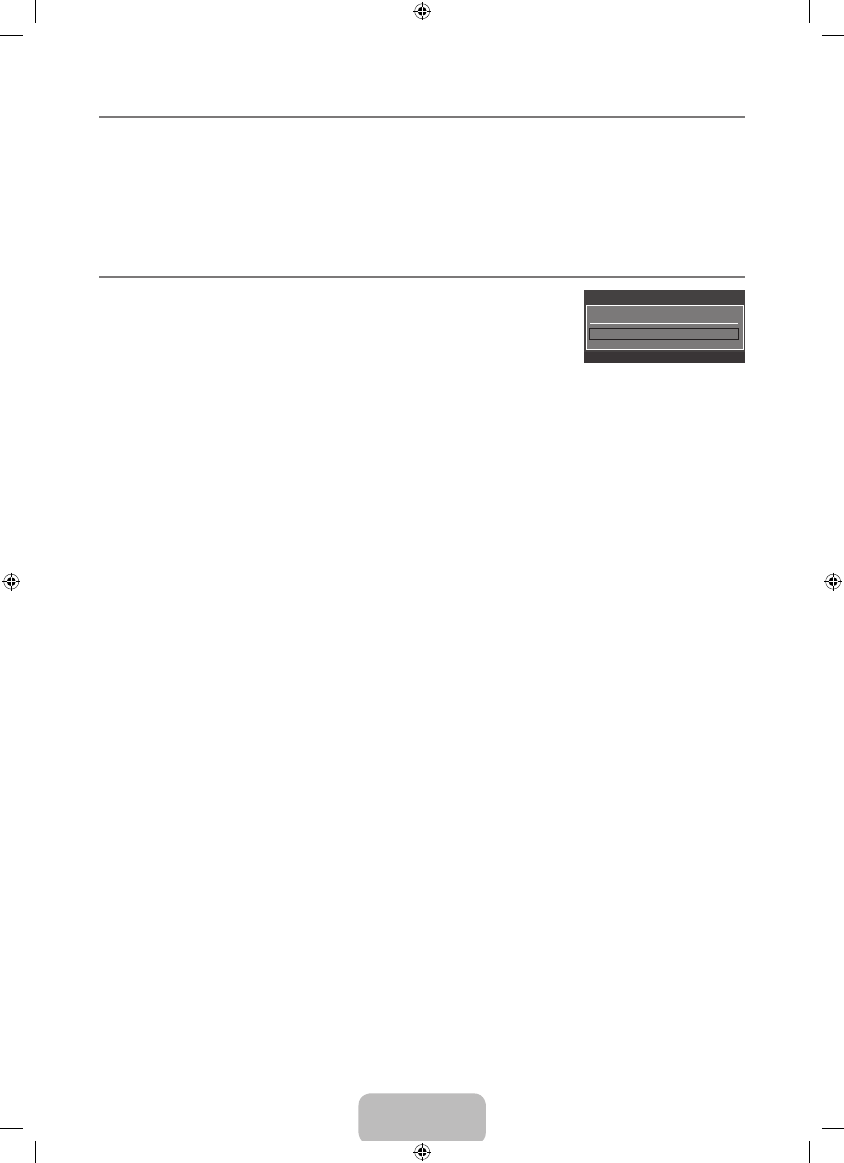
button on the remote control. The message
Можно установить язык
меню.
is displayed.
2.
Select the appropriate language by pressing the ▲ or ▼ button. Press the
ENTER
E
button to confirm your choice.
3.
Press the ◄ or ► button to select
Store Demo
or
Home Use
, then the
ENTER
E
button.
We recommend setting the TV to
Home Use
mode for the best picture in your home environment.
Store Demo
mode is only intended for use in retail environments.
If the unit is accidentally set to
Store Demo
mode and you want to return to
Home Use
(
Standard
): Press the Volume
button on the TV. When the volume OSD is displayed, press and hold the
MENU
button on the TV for 5 seconds.
4.
Press the
ENTER
E
button. Select the appropriate country by pressing the ▲ or ▼ button. Press the
ENTER
E
button to
confirm your choice. For Russia and countries of the CIS, select
Others
.
5.
Press the ▲ or ▼ button to select
Air
or
Cable
, then press the
ENTER
E
button.
Air
:
Air
antenna signal.
Cable
:
Cable
antenna signal.
6.
Press the ▲ or ▼ button to select the channel source to memorize. Press the
ENTER
E
button to select
Start
.
Digital & Analogue
: Digital and Analogue channels.
Digital
: Digital channels.
Analogue
: Analogue channels.
When setting the antenna source to
Cable
, a step appears allowing you to set a value for the digital channel search. For
more information, refer to
Channel
→
Auto Store
.
The channel search will start and end automatically.
Press the
ENTER
E
button at any time to interrupt the memorization process.
After all the available channels are stored, the message
Set the Clock Mode.
is displayed.
.
Press the
ENTER
E
button. Press the ▲ or ▼ button to select
Auto
, then Press the
ENTER
E
button.
If you select
Manual
,
Set current date and time
is displayed.
If you have received a digital signal, the time will be set automatically. If not, select
Manual
to set the clock. (refer to page
19)
8.
The connection method to provide the best quality HD is offered. After confirming the method, press the
ENTER
E
button.
9.
The message
Enjoy your TV
is displayed. When you have finished, press the
ENTER
E
button.
If you want to reset this feature...
1.
Press the
MENU
button to display the menu. Press the ▲ or ▼ button to select
Setup
, then press the
ENTER
E
button.
2.
Press the
ENTER
E
button again to select
Plug & Play
.
3.
Enter your 4 digit PIN number. The default PIN number of a new TV set is ‘
0-0-0-0
’.
If you want to change PIN number, use the
Change PIN
function. (refer to page 20)
The
Plug & Play
feature is only available in the TV mode.
¦
N
N
¦
N
N
N
N
N
N
N
N
N
N
N
N
N
Plug & Play
Можно установить язык меню.
Язык
: Русский
►
E
Вход
BN68-01899R_00L03.indb 8
2009-05-16 ¿ÀÀü 1:23:58