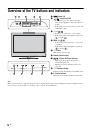
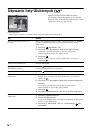
28
GB
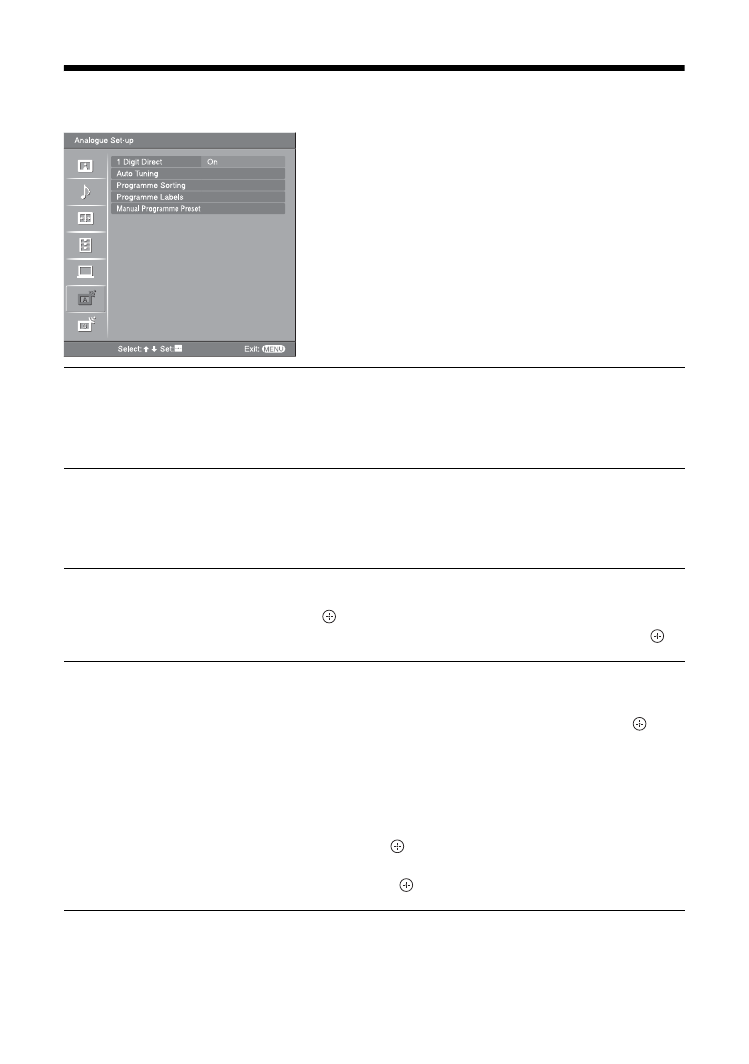
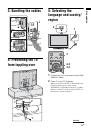
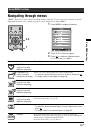
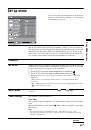
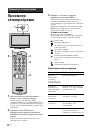
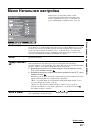
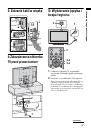
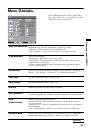
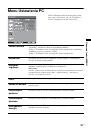
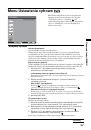
Analogue Set-up menu (Analogue mode only)
You can change/set the analogue settings using the
Analogue Set-up menu. To select options in
“Settings”, see “Navigating through menus”
(page 19).
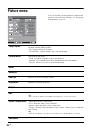
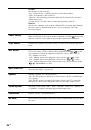
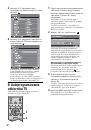
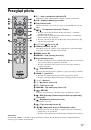
1 Digit Direct
When “1 Digit Direct” is set to “On”, you can select an analogue channel using one
preset number button (0 - 9) on the remote.
Note
When “1 Digit Direct” is set to “On”, you cannot select channel numbers 10 and above entering
two digits using the remote.
Auto Tuning
Tunes in all the available analogue channels.
Usually you do not need to do this operation because the channels are already tuned
when the TV was first installed (page 5, 6). However, this option allows you to
repeat the process (e.g., to retune the TV after moving house, or to search for new
channels that have been launched by broadcasters).
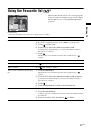
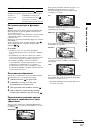
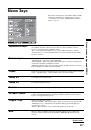
Programme Sorting
Changes the order in which the analogue channels are stored on the TV.
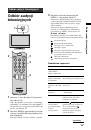
1
Press
F
/
f
to select the channel you want to move to a new position,
then press
.
2
Press
F
/
f
to select the new position for your channel, then press
.
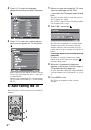
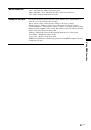
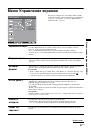
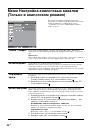
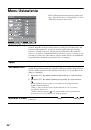
Programme Labels
Assigns a channel name of your choice up to five letters or numbers. The name will
be displayed briefly on the screen when the channel is selected. (Names for channels
are usually taken automatically from Text (if available).)
1
Press
F
/
f
to select the channel you want to name, then press
.
2
Press
F
/
f
to select the desired letter or number (“_” for a blank space),
then press
g
.
If you input a wrong character
Press
G
/
g
to select the wrong character. Then, press
F
/
f
to select the correct
character.
To delete all the characters
Select “Reset”, then press
.
3
Repeat the procedure in step 2 until the name is complete.
4
Select “OK”, then press
.
 1
1
 2
2
 3
3
 4
4
 5
5
 6
6
 7
7
 8
8
 9
9
 10
10
 11
11
 12
12
 13
13
 14
14
 15
15
 16
16
 17
17
 18
18
 19
19
 20
20
 21
21
 22
22
 23
23
 24
24
 25
25
 26
26
 27
27
 28
28
 29
29
 30
30
 31
31
 32
32
 33
33
 34
34
 35
35
 36
36
 37
37
 38
38
 39
39
 40
40
 41
41
 42
42
 43
43
 44
44
 45
45
 46
46
 47
47
 48
48
 49
49
 50
50
 51
51
 52
52
 53
53
 54
54
 55
55
 56
56
 57
57
 58
58
 59
59
 60
60
 61
61
 62
62
 63
63
 64
64
 65
65
 66
66
 67
67
 68
68
 69
69
 70
70
 71
71
 72
72
 73
73
 74
74
 75
75
 76
76
 77
77
 78
78
 79
79
 80
80
 81
81
 82
82
 83
83
 84
84
 85
85
 86
86
 87
87
 88
88
 89
89
 90
90
 91
91
 92
92
 93
93
 94
94
 95
95
 96
96
 97
97
 98
98
 99
99
 100
100
 101
101
 102
102
 103
103
 104
104
 105
105
 106
106
 107
107
 108
108
 109
109
 110
110
 111
111
 112
112
 113
113
 114
114
 115
115
 116
116
 117
117
 118
118
 119
119
 120
120
 121
121
 122
122
 123
123
 124
124
 125
125
 126
126
 127
127
 128
128
 129
129
 130
130
 131
131
 132
132