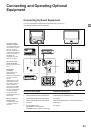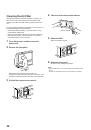
10
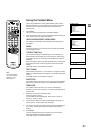
Sorting Programme Positions
This function enables you to sort the programme positions to a
preferable order.
1
Press MENU.
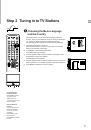
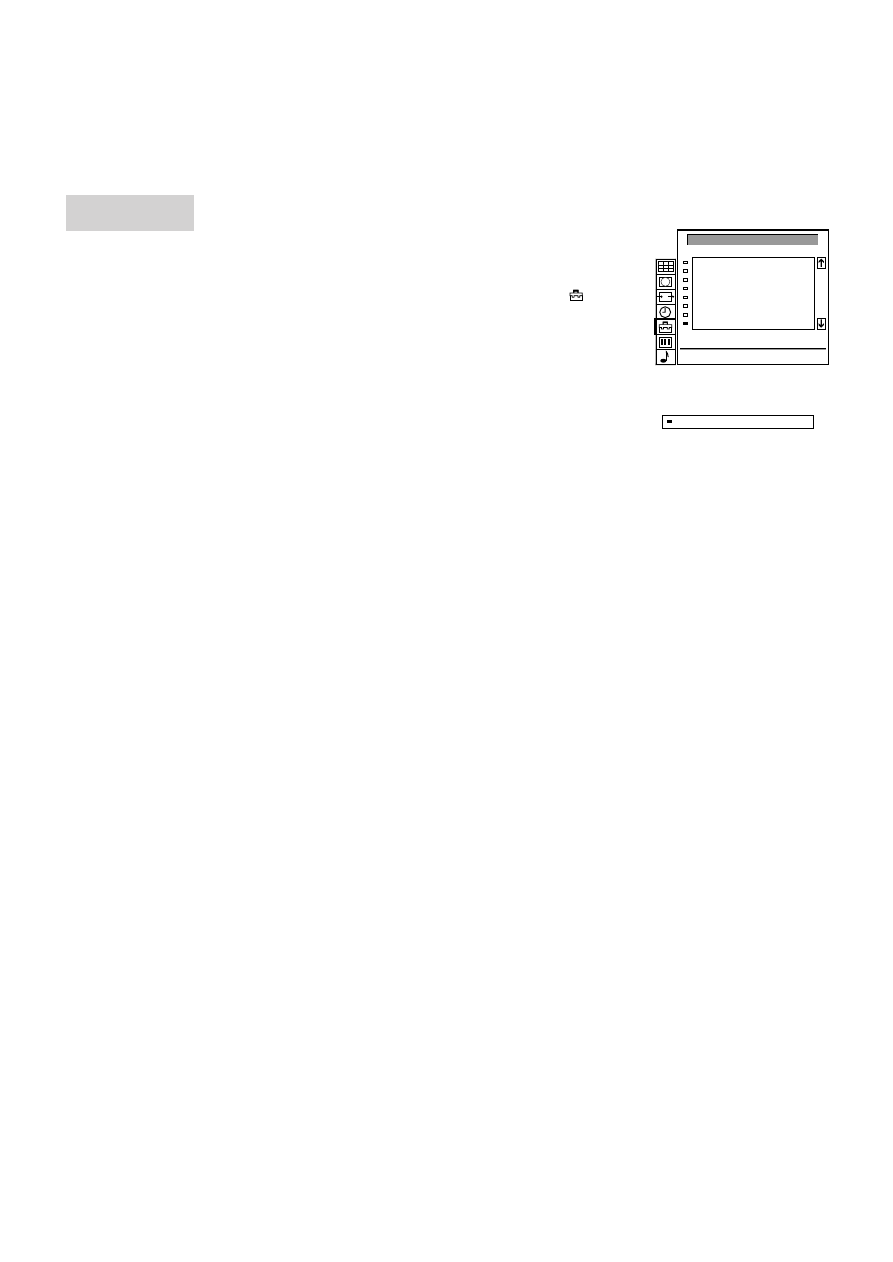
2
Push the joystick to blue or green to select the symbol
on the
menu screen. Push to yellow to confirm.
3
Push to blue or green to select “Programme Sorting”. Push to
yellow to confirm.
4
Push to blue or green to select the programme position of the
channel you want to change. Press joystick to confirm.
5
Push to blue or green to select the new programme position.
Press joystick to confirm.
Now the selected channel is changed to the new programme
position.
6
Repeat steps 4 and 5 to sort other programme positions.
To go back to the
normal TV picture
Press MENU.
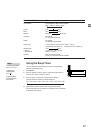
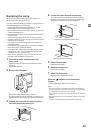
PROGRAMME
SORTING
PROGRAMME SORTING
PROG
1
2
3
4
5
6
7
8
C03
C04
C07
C09
C12
C13
C14
C15
CH
LABEL
BBC 2
ITV
MBC
- - - - -
- - - - -
- - - - -
- - - - -
BBC 1
Move PR 8 to PR - -
8
BBC1
C15