15
GB
For details of the video
input picture, refer to
page 24.
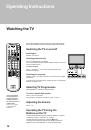
Watching Teletext or Video Input
Watching teletext
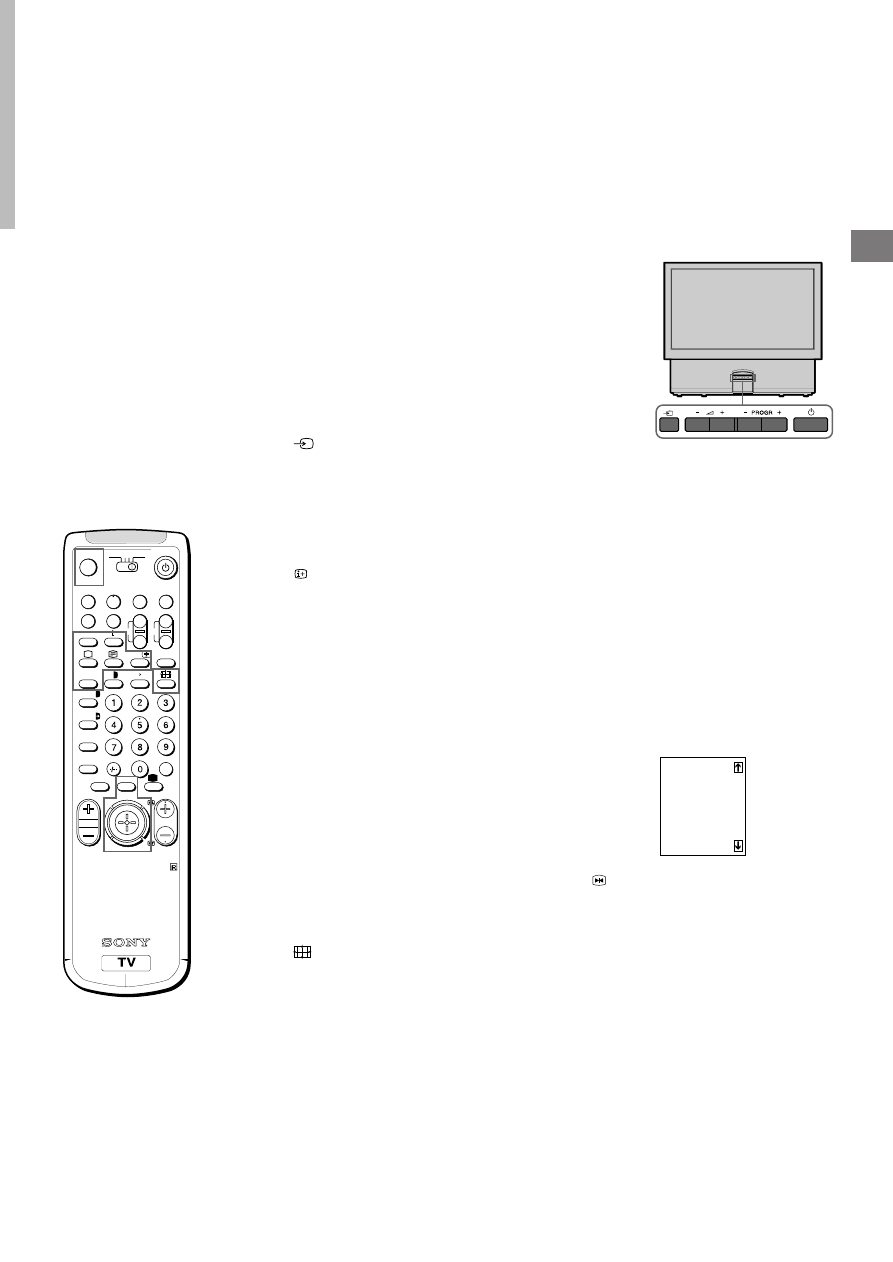
1
Press
_
to view the teletext.
2
For teletext operation, enter a 3-digit page number with the number
buttons to select a page.
For fastext operation, push the joystick to the colour mark which
corresponds to the colour-coded menu.
For both operations, press
√
(PAGE + ) for the next page or
◊
(PAGE – ) for the preceding page.
3
To go back to the normal TV picture, press
O
.
Watching a video input picture
1
Press
repeatedly until the desired video input appears.
2
To go back to the normal TV picture, press
O
.
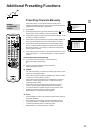
More Convenient Functions
Displaying the on screen indications
Press
to display the indications.
Press again to make the indications disappear.
Muting the sound
Press
o
.
To resume normal sound, press
o
again.
Displaying the time
Press
#
. This function is available only when teletext is broadcast.
To make the time display disappear, press
#
again.
Displaying the Programme Table
Push the joystick to blue or green to select a programme, then
press the joystick to confirm. A Programme Table will be displayed
on the left side of the TV screen.
To make the Programme Table disappear, press MENU.
Freezing the picture
When watching the TV you can “freeze” the picture. Press
.
Press the button again to return to the normal TV picture.
Changing the screen format
Press
repeatedly to change the Screen mode as follows:
4:3 (4:3 picture)
A
14 : 9 (for 14 : 9 laser discs)
A
Zoom (16:9 for movies broadcast in the cinemascopic
format)
A
Wide (for 16:9 broadcasts)
A
Auto Wide (automatic selection of the optimum screen ratio)
A
Smart (imitation of 16:9 for 4:3 broadcasts)
See also page 18 for more information.
For details of the teletext
operation, refer to
page 19.
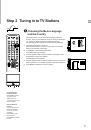
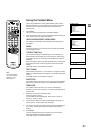
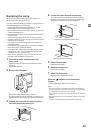
RM-862
A
b
a/Å
´/´
;
8
0
+
_
CH
?
MDP
2
TV
VIDEO
3
VTR 1
(
u
)
p
P
r
PROGR
≥
¸
MENU
c
´
8
x
˚
+
;
REC
…/ Ú/;
¤
1
2
3
4
5
6
7
8
9
10
BBC
SAT
TV5
C02
C15
RTL
SKY
S34
AV1
MTV