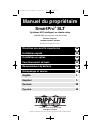
Owner’s Manual
1111 W. 35th Street, Chicago, IL 60609 USA
www.tripplite.com/support
Important Safety Instructions
2
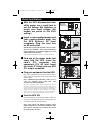
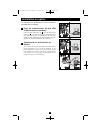
Quick Installation
3
Basic Operation
5
Storage and Service
8
Español
Copyright © 2012 Tripp Lite. All rights reserved. SmartPro
®
is a trademark of Tripp Lite
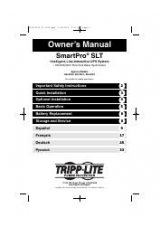
SmartPro
®
SLT
Intelligent, Line-Interactive UPS System
• 220/230/240V Pure Sine Wave Input/Output
Agency Models
AG-0020, AG-0021, AG-0022
Not suitable for mobile applications.
9
Battery Replacement
8
Français
17
Optional Installation
4
Deutsch
25
33
201112134 93-3152.qxd 1/18/2012 2:16 PM Page 1