22
En
Playback
2
Press
g
Input selection keys
on the
remote control for the input source whose
remote control code was registered in step 1
for about 3 seconds while pressing down
k
SCENE
key whose assignment you want
to change.
The external component can now be controlled
remotely just by selecting a scene.
1
Press
q
MUTE
on the remote control to mute
the audio output.
The MUTE indicator on the front panel display
flashes while audio output is muted.
2
Press
q
MUTE
again to resume audio
output.
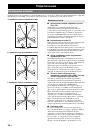
You can adjust the balance of the high frequency range
(Treble) and low frequency range (Bass) of sounds output
from the front left and right speakers to obtain desired tone.
y
•
The tone control of the speakers or headphones can be set separately. Set
the headphone tone control with the headphones connected.
1
Press
J
TONE CONTROL
on the front panel
repeatedly to select “Treble” or “Bass.”
The current setting is displayed on the front panel
display.
2
Adjust the frequency range using
K
PROGRAM
l
/
h
.
Control range: –10.0 dB to +10.0 dB
The display returns the previous screen soon after you
release the key.
Notes
•
The tone control settings are not effective during playback in direct
mode.
•
If you set the balance extremely off, sounds may not match those from
other channels well.
Use Direct mode to enjoy the pure high fidelity sound of
the selected source. When Direct mode is activated, this
unit plays back the selected source with the least circuitry.
Press
M
DIRECT
(or
j
DIRECT
) to turn the
Direct mode on or off.
The following features are disabled in Direct mode.
–
sound field program, tone control
–
display and operation of the option menu and setup
menu
y
•
While direct mode is on, the front panel display screen becomes dim.
When setting it back off, the brightness of the screen returns to the
previous setting.
The sleep timer is useful if you want to go to sleep while
this unit is playing or recording a source.
Press
e
SLEEP
repeatedly to set the amount of
time.
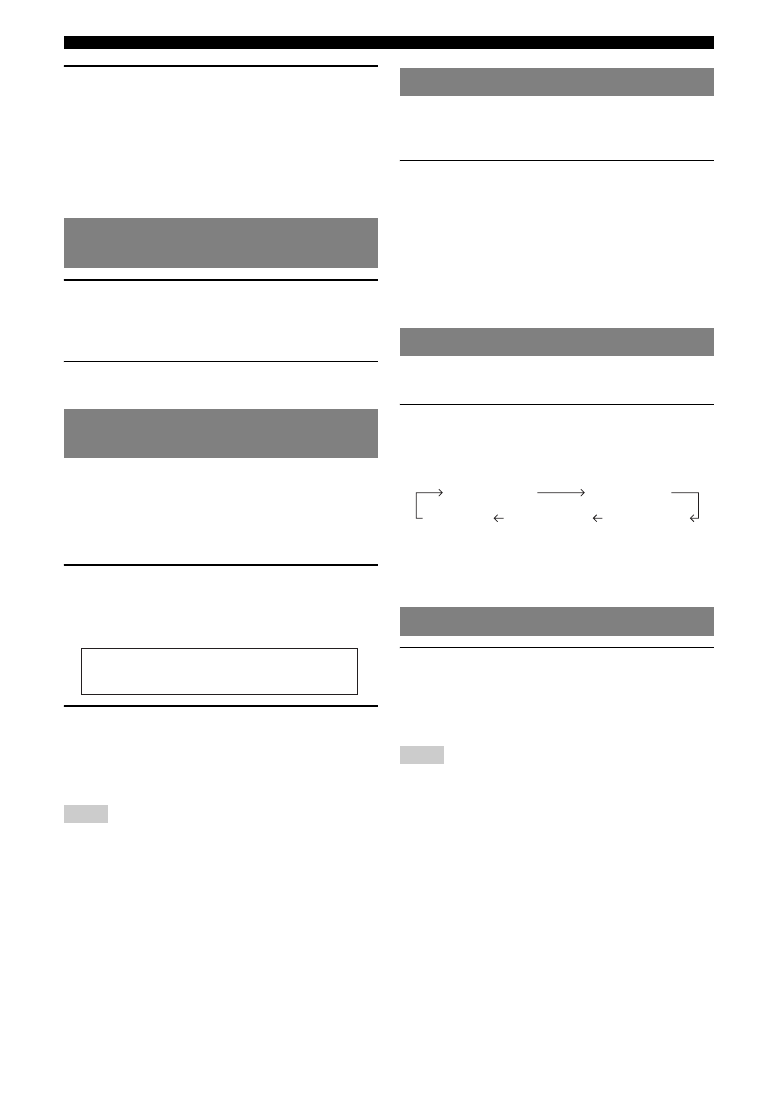
Each time you press
e
SLEEP
, the front panel display
changes as shown below.
When the sleep timer is set, the SLEEP indicator on the
front panel display lights up.
Press
e
SLEEP
on the remote control repeatedly until
“Sleep Off” appears on the front panel display.
Plug your headphones in the
B
PHONES
jack on
the front panel.
When you select a sound field program while using the
headphones, the mode is automatically set to SILENT
CINEMA mode.
Notes
•
When you connect headphones, no signals are output at the speaker
terminals.
•
When multi-channel signals are processed, sounds in all channels are
divided to left and right channels.
Muting audio output temporarily
(MUTE)
Adjusting high/low frequency sound
(tone control)
Treble
0.0dB
Enjoying pure hi-fi sound
Using the sleep timer
Using your headphones
Sleep 120min.
Sleep 90min.
Sleep 60min.
Sleep 30min.
Sleep Off
 1
1
 2
2
 3
3
 4
4
 5
5
 6
6
 7
7
 8
8
 9
9
 10
10
 11
11
 12
12
 13
13
 14
14
 15
15
 16
16
 17
17
 18
18
 19
19
 20
20
 21
21
 22
22
 23
23
 24
24
 25
25
 26
26
 27
27
 28
28
 29
29
 30
30
 31
31
 32
32
 33
33
 34
34
 35
35
 36
36
 37
37
 38
38
 39
39
 40
40
 41
41
 42
42
 43
43
 44
44
 45
45
 46
46
 47
47
 48
48
 49
49
 50
50
 51
51
 52
52
 53
53
 54
54
 55
55
 56
56
 57
57
 58
58
 59
59
 60
60
 61
61
 62
62
 63
63
 64
64
 65
65
 66
66
 67
67
 68
68
 69
69
 70
70
 71
71
 72
72
 73
73
 74
74
 75
75
 76
76
 77
77
 78
78
 79
79
 80
80
 81
81
 82
82
 83
83
 84
84
 85
85
 86
86
 87
87
 88
88
 89
89
 90
90
 91
91
 92
92
 93
93
 94
94
 95
95
 96
96
 97
97
 98
98
 99
99
 100
100
 101
101
 102
102
 103
103
 104
104
 105
105
 106
106
 107
107
 108
108
 109
109
 110
110
 111
111
 112
112
 113
113
 114
114
 115
115
 116
116
 117
117
 118
118
 119
119
 120
120
 121
121
 122
122
 123
123
 124
124
 125
125
 126
126
 127
127
 128
128
 129
129
 130
130
 131
131
 132
132
 133
133
 134
134
 135
135
 136
136