GB
5
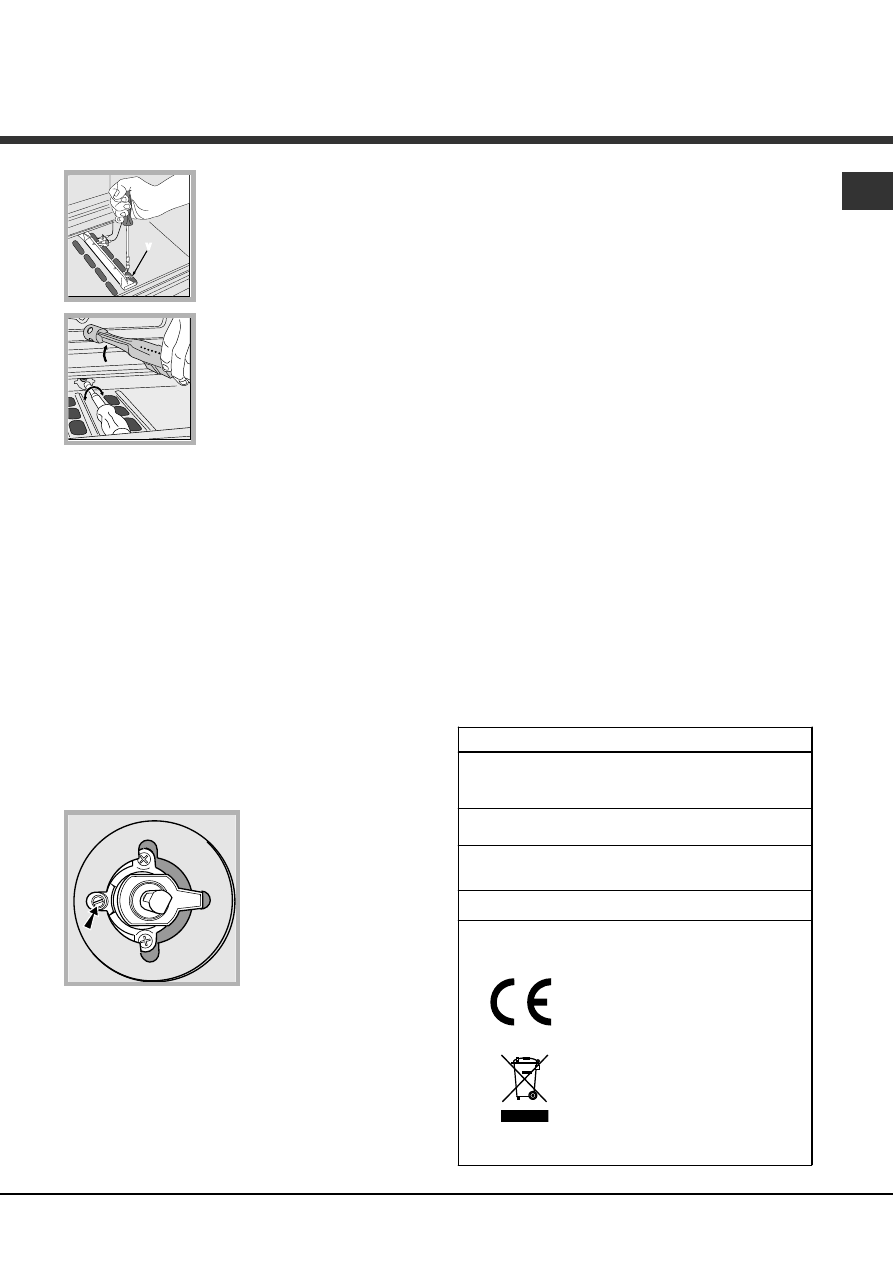
3. Unscrew the burner
fastening screws.
4. Remove screw “
V
” and
then the oven burner.
5. Unscrew the oven burner
nozzle using the special
socket spanner for the
nozzles, or better still a 7 mm
socket spanner, and replace it
with a nozzle suited to the
new type of gas
(see Table 1)
.
6. Replace all the parts, following the steps
described above in the reverse order.
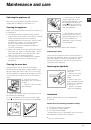
!
Take particular care when handling the spark
plug wires and the thermocouple pipes.
• Primary air regulation for the oven burner
The burner was designed not to need any
adjustments to the primary air.
• Setting the oven burner to minimum
1. Turn the knob first to the Max setting for about 10
minutes and then to Min.
2. Remove the knob.
3. Remove the disk fastened to the control panel.
4. Adjust the screw located outside the thermostat
cock pin until the flame is small but steady (the
flame can be seen through the slots on the oven
bottom).
5. Make sure the burner does not switch off when
you turn the knob from Max to Min quickly, or
when you open and close the oven door quickly.
!
If the appliance is connected to liquid gas, the
regulation screw must be fastened as tightly as
possible.
!
Once this procedure is finished, replace the old
rating sticker with one indicating the new type of gas
used. This sticker is available from any of our
Service Centres.
!
If the gas pressure is different from the
recommended pressure, a suitable pressure
regulator must be fitted to the inlet pipe in
accordance with current National Regulations.
V
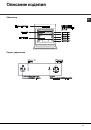
DATA PLATE
Dimensions
width 43.5 cm
height 31 cm
depth 43.5 cm
Volume
58 l
Electrical
connections
see data plate
Gas features
see data plate
This appliance conforms to the
following European Economic
Community directives:
2006/95/EEC dated 12/12/06
(Low Voltage) and subsequent
amendments - 2004/108/EEC
dated 15/12/04 (Electromagnetic
compatibility) and subsequent
amendments - 93/68/EEC dated
22/07/93 and subsequent
amendments. 2009/142/EEC
dated 30/11/09 (Gas) and
subsequent amendments.
2002/96/EC and subsequent
amendments.