37
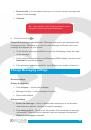
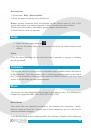
9) Other settings: a. Call forwarding, b. Call barring, c. Additional settings
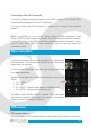
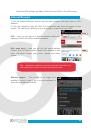
Internet call
1) Account
2) Use Internet calling
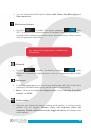
Other Settings
1) Fixed Dialing Numbers
2) Minute Reminder: Turn on minute reminder at 50s of every minute.
3) Quick Response: Can edit the text messages rejected by the information
contained therein.
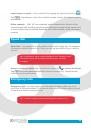
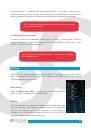
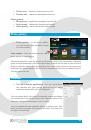
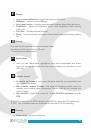
Messaging
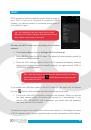
Important:
messages are saved in a form of a conversation instead of the usual
folder structure. Messages with
a blue background are the one’s you sent, and
messages with a white background are those which you have received.
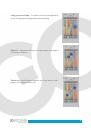
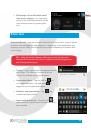
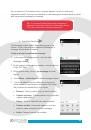
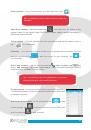
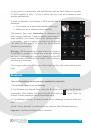
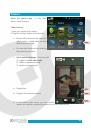
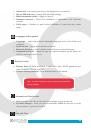
Send SMS to certain phone number
1) Press
Home
>
Messaging
, touch “New messages”.
2) On the “Edit” screen:
a. Click the “Recipient” box to start creating message, you can also click the “Enter”
box to start creating the message, in that way you can enter characters.
b. Click the “Send from SiM1 or SIM2” button to send the message.
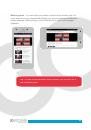
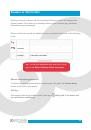
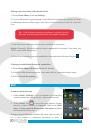
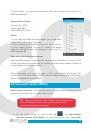
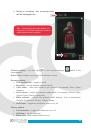
Send MMS to certain phone number
When creating message, it is created as an SMS by default, it will be turned to MMS
when following operations are done. You can send a MMS by clicking “Send” after
editing.
1) On the “Edit” screen click the “Menu” button: