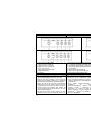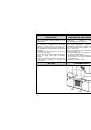
9
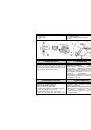
A TEMPERATURE SELECTOR
•
Set the oven temperature selector knob to the
position “8" and press it slightly towards the panel to a
limit position. At the same time approach the match to
the burner in the oven bottom opening.
•
After firing the burner hold the knob pressed to a limit
position to the panel for about 5 seconds till the flame
sensor heats up.
•
Release the knob and check whether the burner is on.
If the flame dies after releasing the knob, repeat the
ignition procedure. After that set the knob to the
desired position.
C ПОМОЩЬЮ ЭЛЕКТРОРОЗЖИГА
•
Установите ручку термостата духовки в положение
“8”. В данном случае, ручку термостата нужно
просто прижать к панели до упора и подержать,
пока от искры загорится газ горелки.
•
Если газ загорелся, то ручку крана/термостата
подержите прижатой к панели ещё,
приблизительно, 5 секунд, чтобы нагрелся датчик
предохранителя пламени.
•
Отпустите ручку и проконтролируйте, горит ли газ
горелки. Если пламя погасло, то повторите весь
процесс зажигания.
•
Відчиніть дверцята духовки. Встановіть регулятор
температури духовки в положення “8" та злегка
натисніть до панелі управління до лімітованого
положення. В цей же час іншою рукою піднесіть
запалений сірник до отвору, що знаходиться в
нижній частині духовки.
•
Після запалення конфорки утримуйте ручку
натиснутою в лімітованому положенні впродовж 5
секунд до стабілізації полум’я.
•
Відпустіть ручку та перевірте, чи загорілася
конфорка. Якщо полум’я зникло після того, як
відпустили ручку, повторіть процес запалювання.
Після цього встановіть ручку в бажане положення.
IMPORTANT:
If the burner is not on after 10 seconds, open the oven
door and wait for 5 minutes before the next try.
ВНИМАНИЕ!
Если же через 10 секунд газ не загорится, то перед
следующей попыткой подождите 5 минут, оставив
дверцу духовки открытой.
ВАЖЛИВО:
Якщо конфорка не увімкнеться через 10 секунд,
відчиніть дверцята духовки та зачекайте 5 хвилин.
Повторіть процедуру заново.
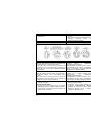
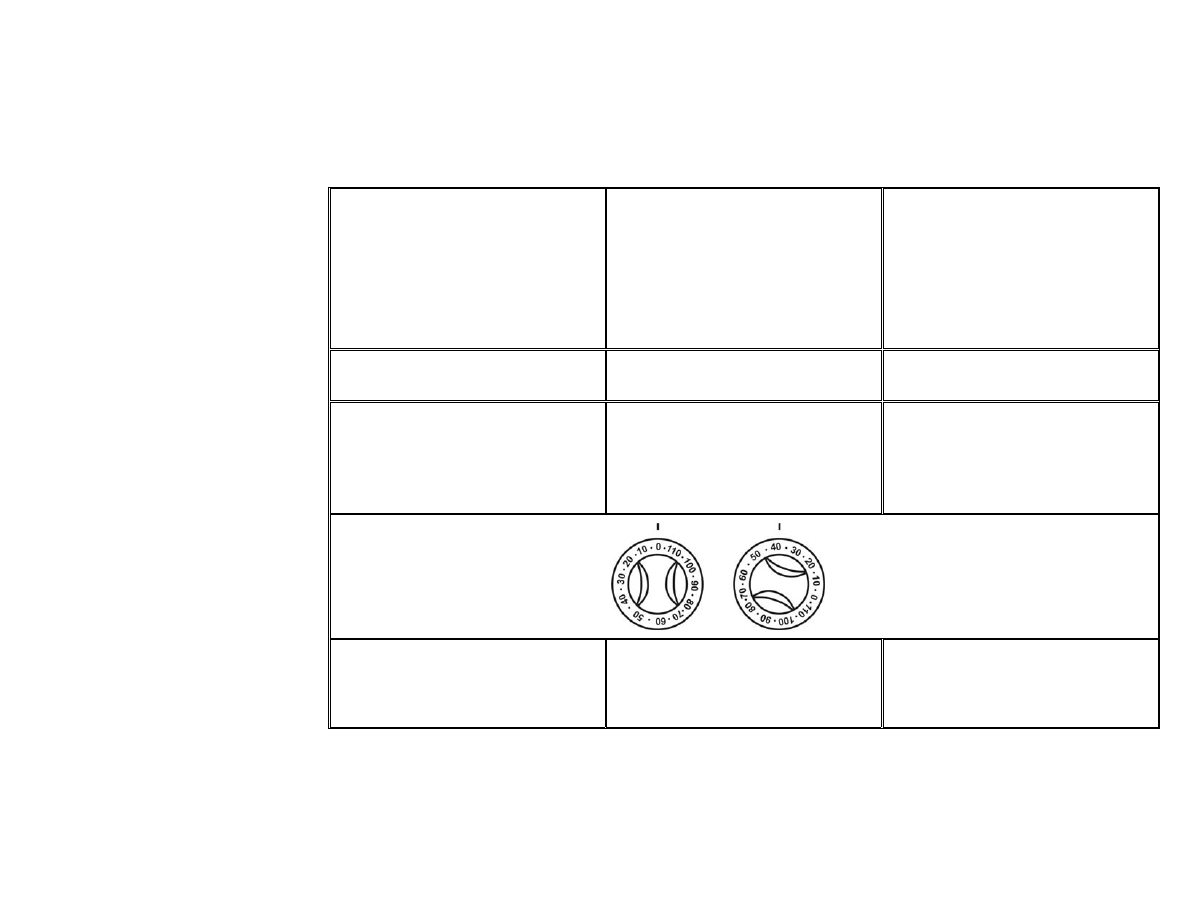
MINUTE MINDER
Awaiting cooking time (oven or hob burners) is possible
to set on mechanical minute minder in range of 0–115
minute.
Required time to be set by turning of the knob. First turn
the knob to the right to max. positron and than turn
back to required time.
When time empire the bell rings.
МЕХАНИЧЕСКИЙ ТАЙМЕР
Период деятельности духовки и горелок можно
отследовать с помощью механического таймера
в интервале от 0 до 115 минут.
Устанавливается вращением кнопки. сперва,
направлением вправо в максимальное положение
(115 минут) и затем снова в заданное время (35
мин). После истечения срока установленного время
играет звуковой сигнал.
МЕХАНІЧНИЙ ТАЙМЕР
Можна встановити таймер (для готування в духовці
або на поверхні) в механічному режимі в діапазоні
0–115 хвилин.
Час встановлюється повертанням ручки таймеру.
Спочатку поверніть ручку праворуч до максимальної
позиції, а потім обертайте її ліворуч до позначки
бажаного часу. По закінченні часу пролунає
звуковий сигнал.
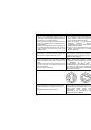
OVEN TEMPERATURE INDICATOR
Cooker is fitted with oven temperature indicator which
shows the temperature in the centre of the oven (in
°C).
Indicated temperature is only informative.
ИНДИКАТОР ТЕМПЕРАТУРЫ
Плита снабжена индикатором температуры духовки.
Температура внутри духовки зависит от положения
ручки крана горелки духовки. Соответствие
температуры внутри духовки показаниям
индикатора (в °C). Температура на индикаторе
указана только для сведения.
ІНДИКАТОР ТЕМПЕРАТУРИ
Плита обладнана індикатором, який показує
температуру всередині духовки (в °C).
Значення температури – інформаційне.