English
10
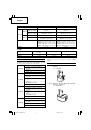
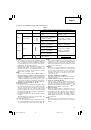
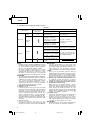
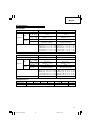
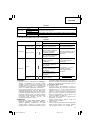
3. Battery (EB1414S, EB1414, EB14B, EB1426H,
EB1430H)
(For DS14DVB2)
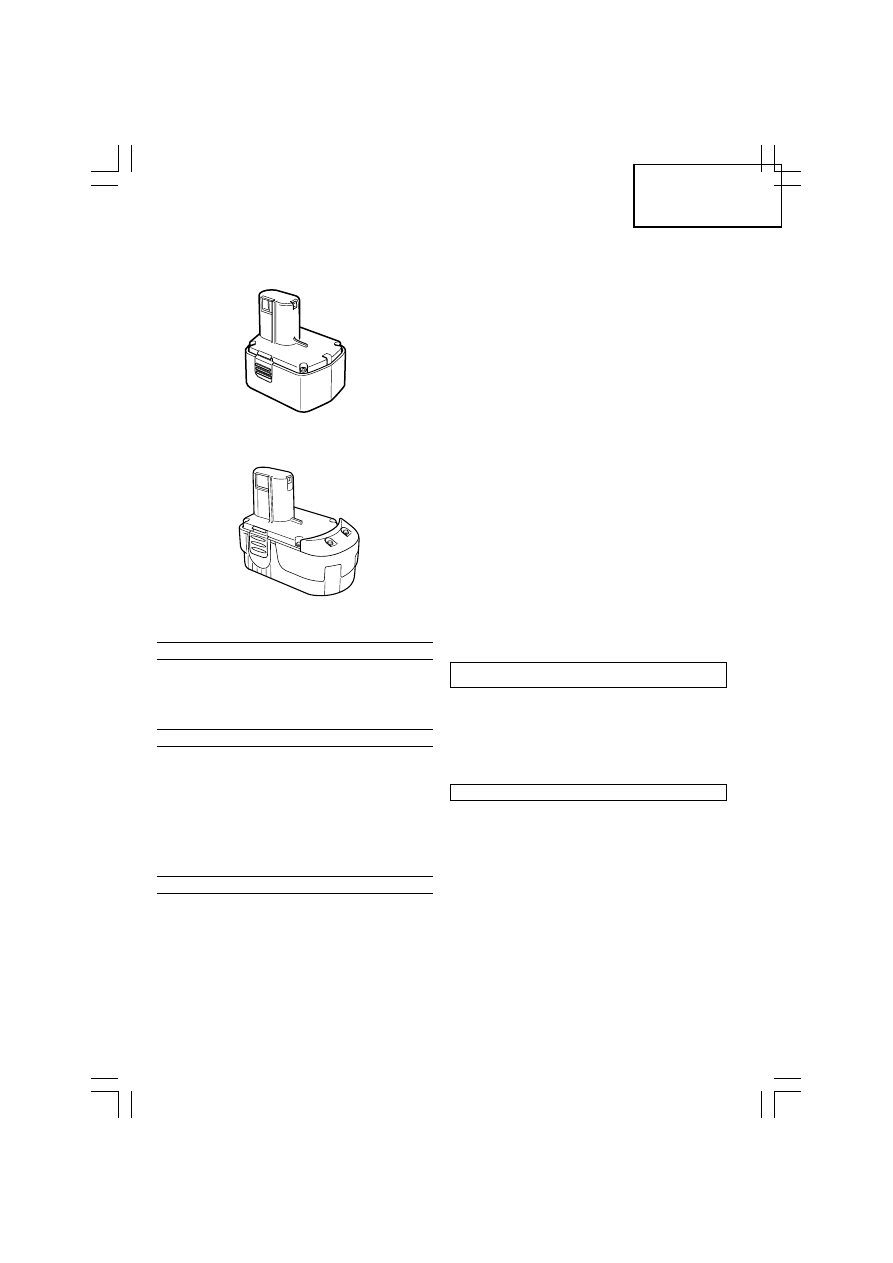
4. Battery (EB1814SL, EB1820, EB1820L, EB1826HL,
EB1830HL)
(For DS18DVB2)
Optional accessories are subject to change without notice.
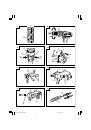
APPLICATIONS
䡬
Driving and removing of machine screws, wood
screws, tapping screws, etc.
䡬
Drilling of various metals.
䡬
Drilling of various woods.
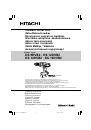
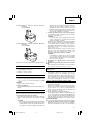
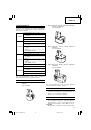
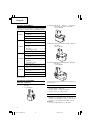
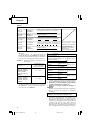
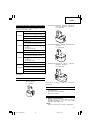
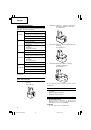
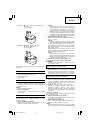
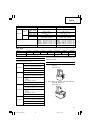
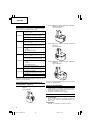
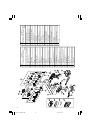
BATTERY REMOVAL/INSTALLATION
1. Battery removal
Hold the handle tightly and push the battery latch
(1 pc. or 2 pcs.) to remove the battery (see
Figs.
1
and
2
).
CAUTION:
Never short-circuit the battery.
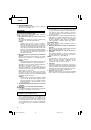
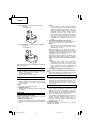
2. Battery installation
Insert the battery while observing its polarities (see
Fig. 2
).
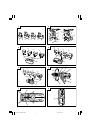
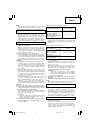
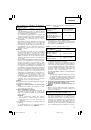
CHARGING
〈
UC9SD/UC12SD/UC14SD/UC18SD
〉
Before using the driver drill, charge the battery as follows.
1. Insert the battery into the charger.
Insert the battery firmly while observing its direction,
until it contacts the bottom of the charger (See
Fig.
3
).
CAUTION:
The UC9SD, UC12SD, UC14SD and UC18SD models
are the exclusively designed charger. These cannot
charge batteries except the specified batteries. It
is possible to insert the batteries other than the
specified into the charger and some of them may
light up the pilot lamps. However, you are
requested to exercise utmost caution not to charge
batteries other than specified ones because these
can not only be charged but also such actions can
result in the malfuntion of chargers.
2. Connect the charger power cord to the receptacle.
Connecting the power cord will turn on the charger
(the pilot lamp lights up).
CAUTION:
If the pilot lamp does not light up, pull out the
power cord from the receptacle and check the
battery mounting condition.
About 1 hour is required to fully charge the battery
at a temperature of about 20°C. The pilot lamp goes
off to indicate that the battery is fully charged.
The battery charging time becomes longer when a
temperature is low or the voltage of the power
source is too low.
When the pilot lamp does not go off even if more
than two hours have elapsed after starting of the
charging, stop the charging and contact your
HITACHI AUTHORIZED SERVICE CENTER.
CAUTION:
If the battery is heated due to direct sunlight,
etc., just after operation, the charger pilot lamp
may not light up. At that time, cool the battery
first, then start charging.
3. Disconnect the charger power cord from the
receptacle.
4. Hold the charger firmly and pull out the battery.
NOTE:
After charging, pull out batteries from the charger
first, and then keep the batteries properly.
Regarding electric discharge in case of new
batteries, etc.
As the internal chemical substance of new batteries
and batteries that have not been used for an
extended period is not activated, the electric
discharge might be low when using them the first
and second time. This is a temporary phenomenon,
and normal time required for recharging will be
restored by recharging the batteries 2 – 3 times.
How to make the batteries perform longer
(1) Recharge the batteries before they become
completely exhausted.
When you feel that the power of the tool becomes
weaker, stop using the tool and recharge its battery.
If you continue to use the tool and exhaust the
electric current, the battery may be damaged and
its life will become shorter.
(2) Avoid recharging at high temperatures.
A rechargeable battery will be hot immediately after
use. If such a battery is recharged immediately after
use, its internal chemical substance will deteriorate,
and the battery life will be shortened. Leave the
battery and recharge it after it has cooled for a while.
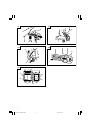
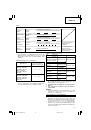
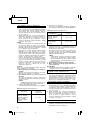
〈
UC14YFA/UC24YFA
〉
Before using the driver drill, charge the battery as follows.
1. Connect the charger’s power cord to a receptacle.
When the power cord is connected, the charger’s
pilot lamp will blink in red. (At 1-second intervals).
01Eng_DS9DVB2_EE
08/4/16, 17:32
10