Tutorials
2•5
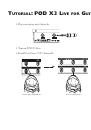
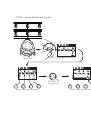
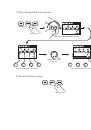
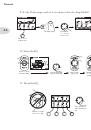
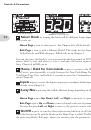
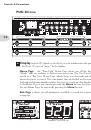
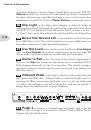
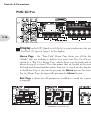
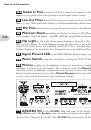
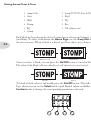
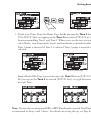
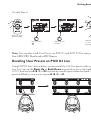
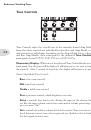
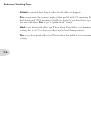
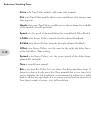
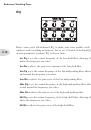
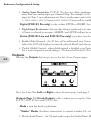
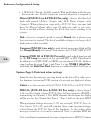
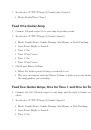
12. Turn both Tones on at once.
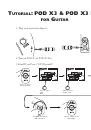
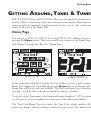
Press to show
the Home Page.
PRESS TO
SAVE
HOLD FOR DUAL
HOLD FOR 2 SECONDS
PRESS
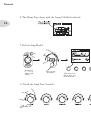
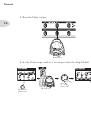
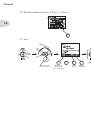
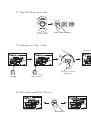
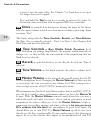
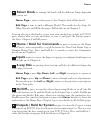
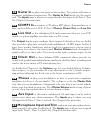
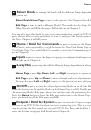
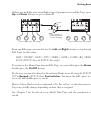
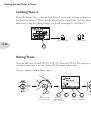
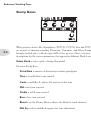
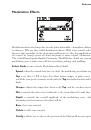
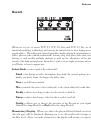
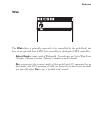
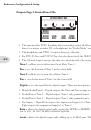
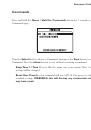
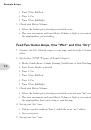
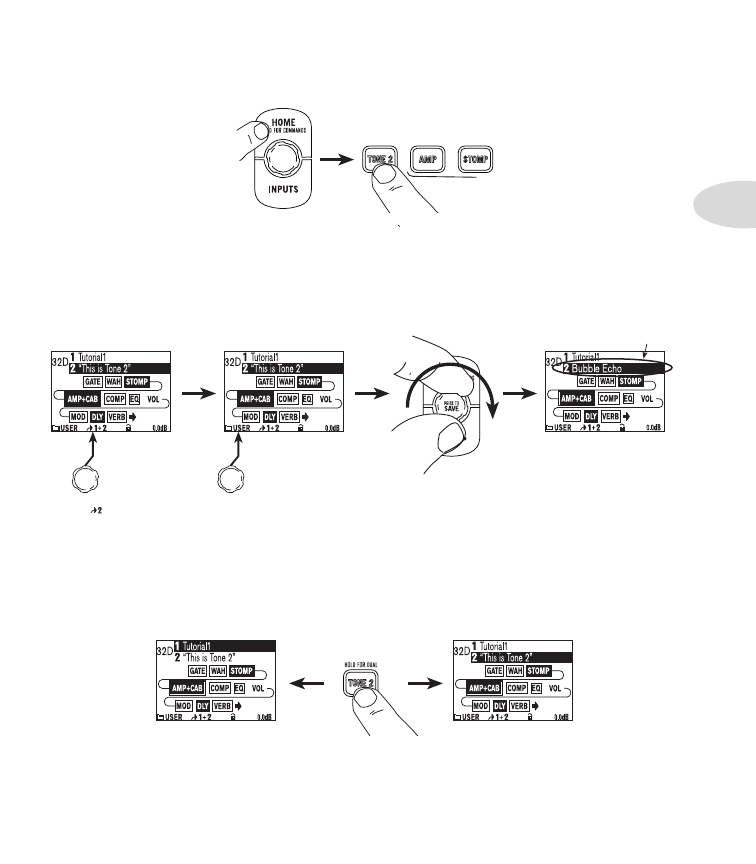
13. Load preset to Tone 2 only.
Turn to choose preset
Bubble Echo .
Turn to
select .
Turn to select
folder FX HVY .
Preset loads into Tone 2.
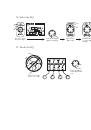
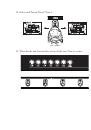
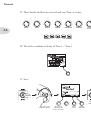
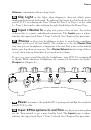
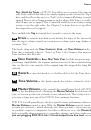
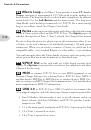
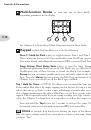
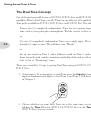
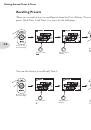
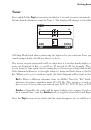
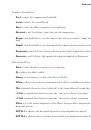
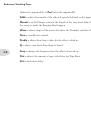
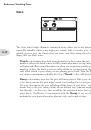
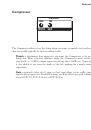
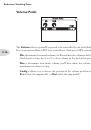
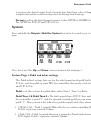
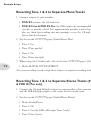
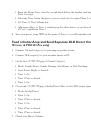
14. Select and tweak Tone 1/Tone 2.
Tone 1 is selected above.
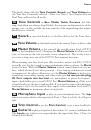
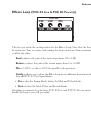
Tone 2 is selected above.
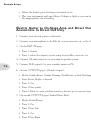
PRESS BRIEFLY