4
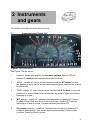
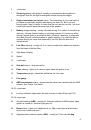
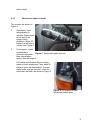
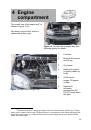
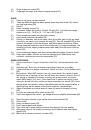
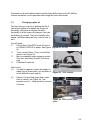
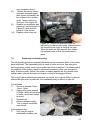
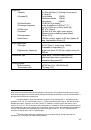
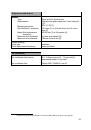
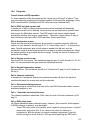
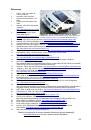
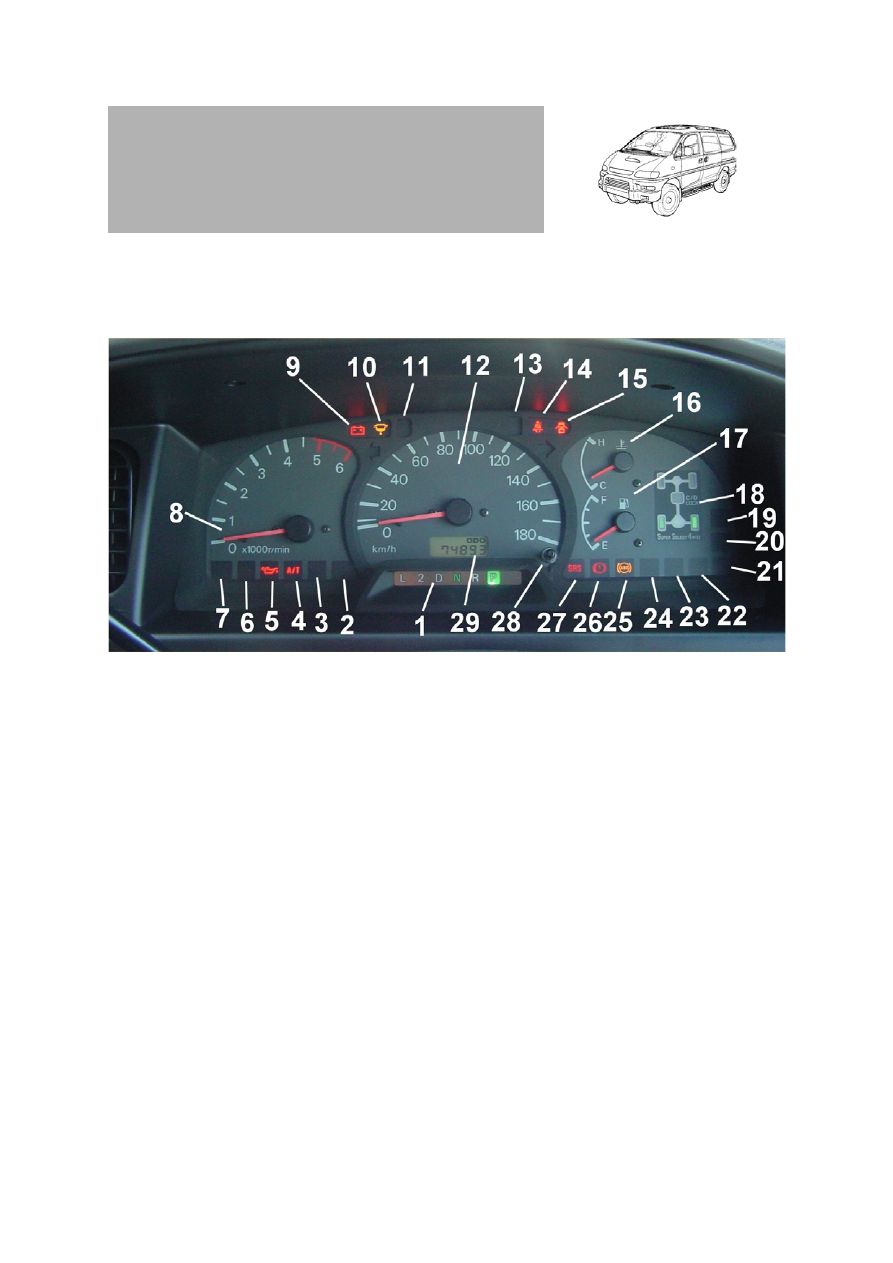
Figure 1
Instrument panel
2 Instruments
and gears
This section describes the main driver controls.
2.1
Instrument panel Delica 1997
See Figure 1 for the layout.
1
Gearbox: Shows gear position for
automatic gearbox
. Also an ‘O/D off’
indicator if
overdrive
has been deselected by the driver.
2
‘HOLD’ - usually off. If on, it shows driver has used the
A/T switch
to force
the gearbox to try to start in second rather than first gear (useful on ice or mud
to reduce slip).
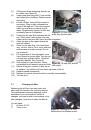
3
‘PWR’ - usually off. If on, it shows driver has used the
A/T switch
to force the
gearbox to a 'power' mode: faster acceleration by going to higher revs before
changing up a gear.
4
‘
A/T
’ warning - usually off. Indicates over-temperature in gearbox if it comes
on while driving. Stop and idle for 5 minutes in park. Check ATF fluid level
with engine on and in neutral. Consider switching overdrive OFF.
5
Oil pressure
warning - usually off. Indicates loss of engine oil pressure if it
comes on while driving - may cause major engine damage if driven in this
condition. Check oil level in engine.