7
1
Attaching Immersion Oil
(Fig. 5)
USING THE IMMERSION OIL
}When an oil-immersion objective is engaged in the light path, the display shows a message that requests you to attach
immersion oil (which should be the oil designated by Olympus). (Displayed message: “Please replenish objective lens
with oil.”)
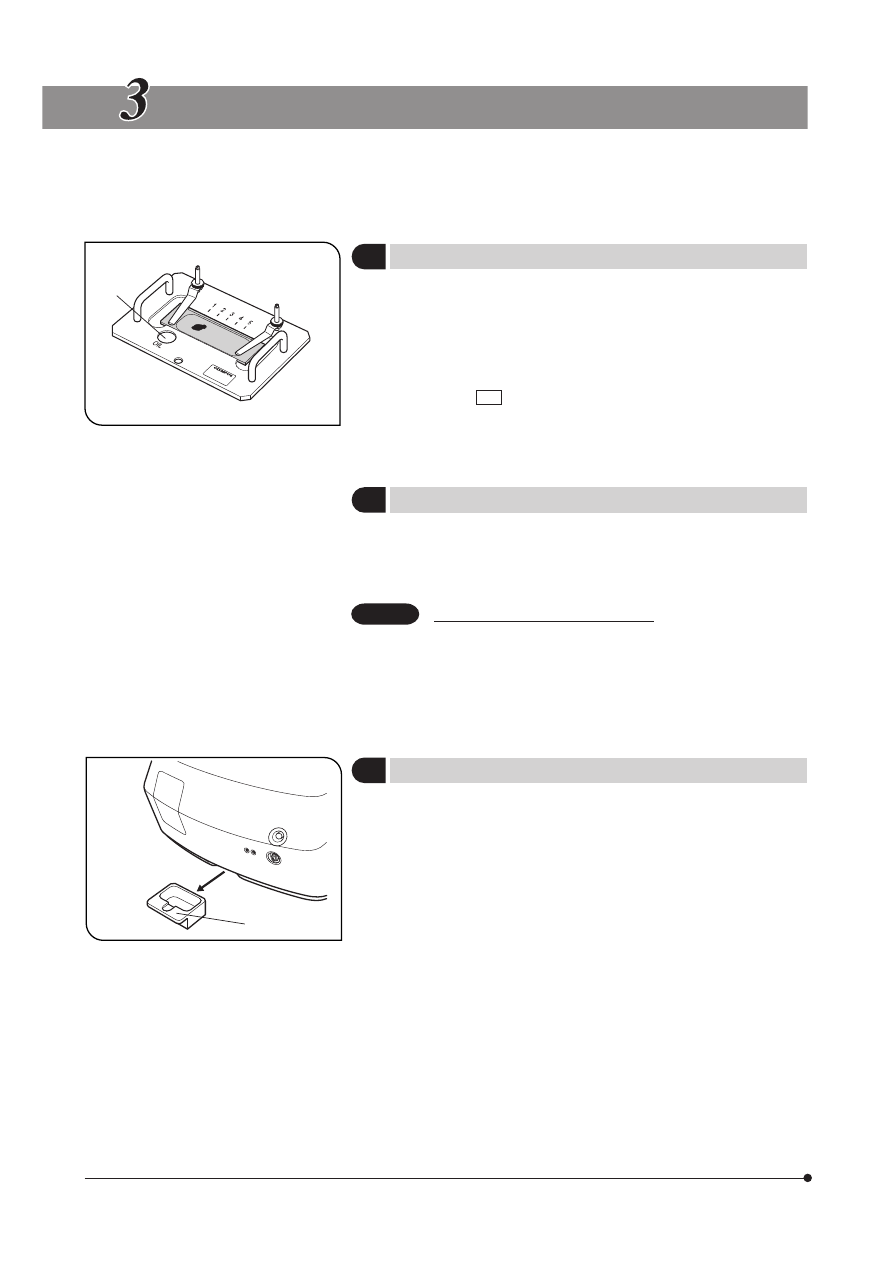
Fig. 5
@
1. When the request message mentioned above is displayed, open the
cover.
2. The front of the oil immersion objective should automatically come above
the immersion oil applying hole @ on the specimen holder.
3. Apply a small amount of immersion oil on the objective front cautiously
so that the oil will not overflow or bubbles are not produced.
4. Click on the OK button on the display screen to return the objective in
the observation light path.
}If bubbles are present in the immersion oil, the observed image is
degraded. To prevent this, wipe the oil and apply it again.
2
Removing Immersion Oil
After use, remove the specimen holder from the main unit and remove
the oil attached to the objective front by wiping it gauze moistened with
a very small amount of absolute alcohol (commercially available). (Repeat
this operation for 2 or 3 times.)
Fig. 6
@
3
Draining Water from the Water Tray
(Fig. 6)
· The water tray @ pools immersion oil or culture solution spilt in the main
unit. Slide out the tray periodically and drain water from it.
CAUTION
Precautions on use of immersion oil
If immersion oil enters your eye or attached to your skin,
immediately take the following measure.
Eye: Rinse with clean water (for more than 15 minutes).
Skin: Wash with water and soap.
If the appearance changes or pain persists, immediately see
your doctor.