5
ASSEMBLY
1
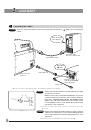
Connecting the Cables
Be sure to set the main switches of the power supply unit and controller to “
” (OFF) before connecting the
cables.
Rear panel of the
FV10C-O3
Communication cable
Attach the dongle
to the USB port.
Rear panel of the
FV10C-CU controller unit
Power input cord
Rear panel
of the FV10C-PSU
power supply unit
Power cord
}For the connection of the display, refer to the instruction manual for your display.
Main switch
“ ” (OFF)
Fig. 1
@
²
· Cables and cords are vulnerable to bend or twist. Do not apply
excessive force to them.
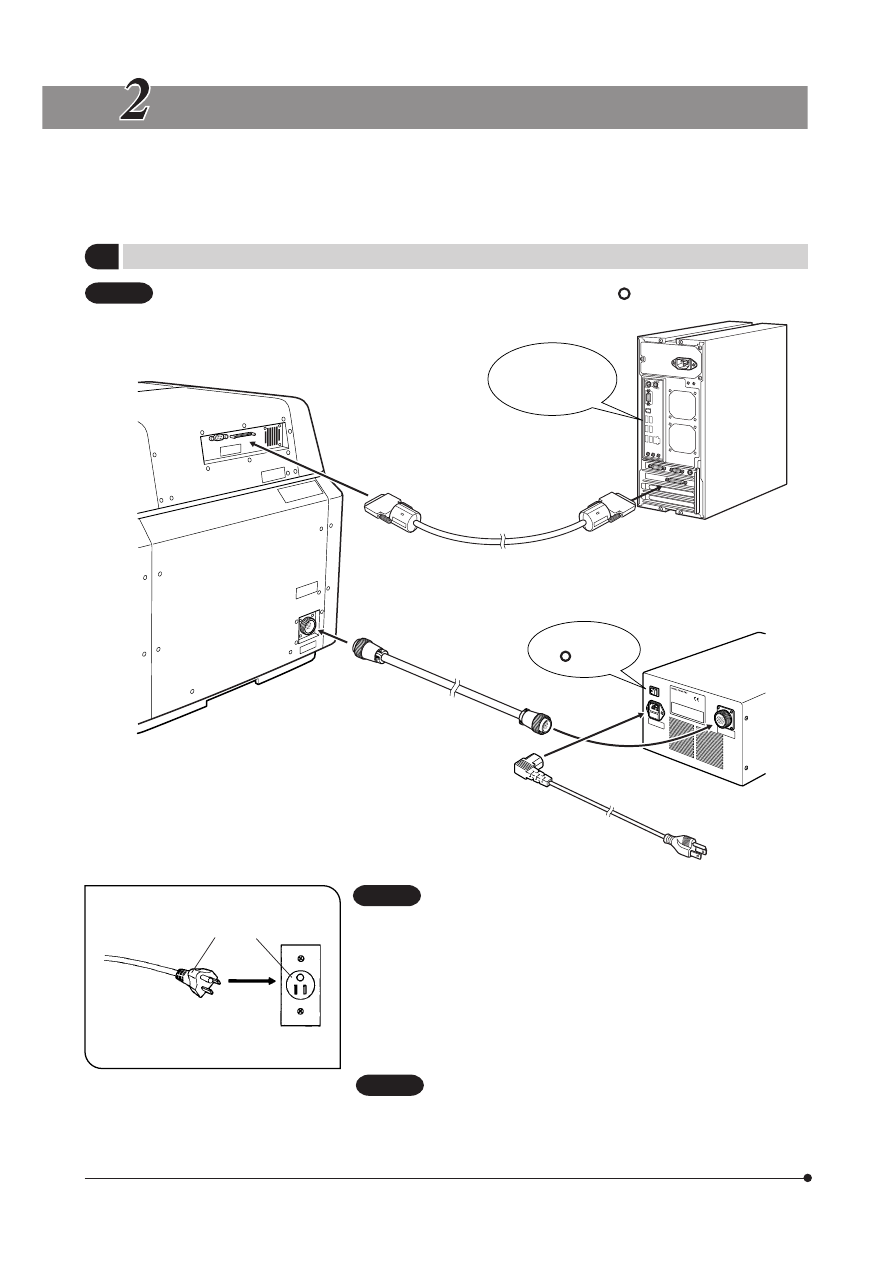
· Always use the power cord provided by Olympus. If no power
cord is provided, please select the power cord by referring to
the section “PROPER SELECTION OF THE POWER SUPPLY
CORD” at the end of this manual. If the proper power cord is
not used, Olympus can no longer warrant the electrical safety
performance of the equipment.
1. Insert the connector of the power cord to the connector on the power
supply unit.
Always ensure that the grounding terminal is safety grounded/
earthed. If the equipment is not grounded/earthed, Olympus
can no longer warrant the electrical safety performance of the
equipment.
2. Insert the power cord plug @ into the wall power outlet ².
CAUTION
CAUTION
CAUTION