29
English
EN
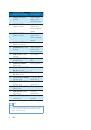
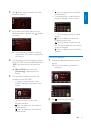
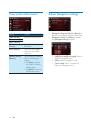
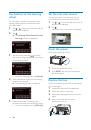
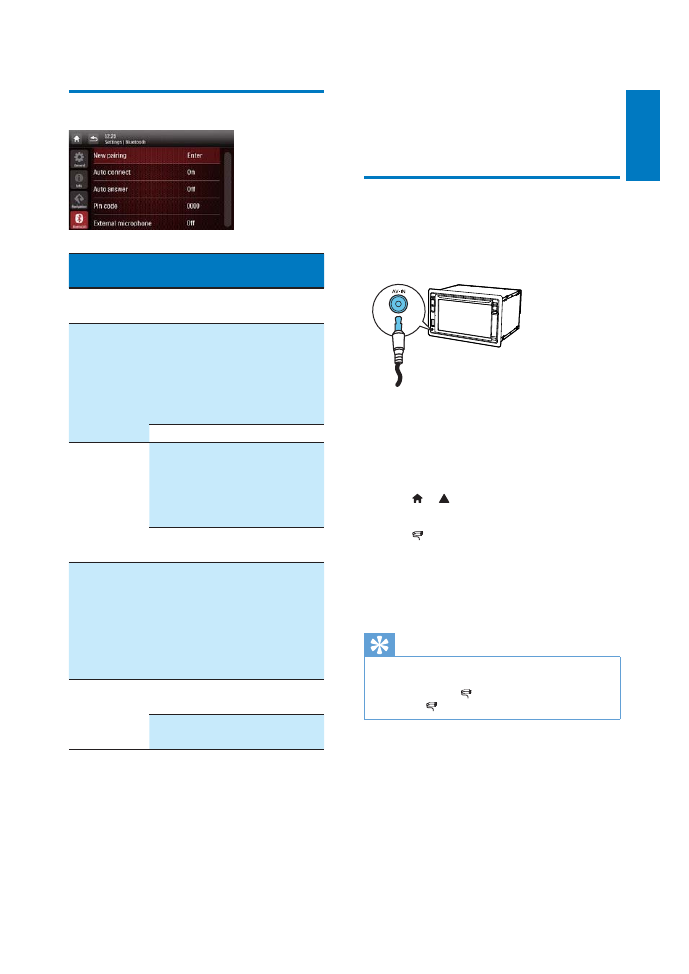
Adjust Bluetooth settings
Bluetooth
settings
Options
Description
[New
Pairing]
Search for new
devices.
[Auto
Connect]
[On]
When a paired
device is within
effective range, the
system reconnects
with the device
automatically.
[Off]
Reconnect manually.
[Auto
Answer]
[On]
Answer phone calls
automatically when
the paired mobile
phone receives an
incoming call.
[Off]
Answer phone calls
manually.
[Pin Code]
Set the password
for pairing the car
entertainment
system with
another Bluetooth
device. The default
password is
0000
.
[External
microphone]
[On]
Turn on the external
microphone.
[Off]
Use the integrated
microphone.
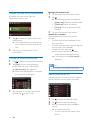
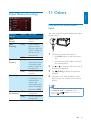
11 Others
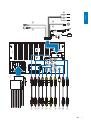
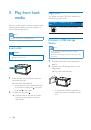
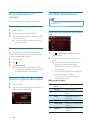
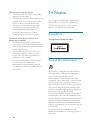
Play external audio/video
input
You can connect an external audio/video player
to this system.
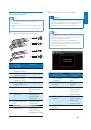
1
Connect a composite AV cable to
the
AV-IN
socket on the front panel,
and
the audio and video output sockets of
the external player.
2
Tap > to access the full menu with all
feature icons displayed.
3
Tap
[AV-IN1]
to display the playback
interface.
4
Operate on the external player to start
play (see the user manual of the external
device).
Tip
If you connect this system to an external player through
the
VIDEO IN
,
AV-IN L
, and
AV-IN R
sockets on
the rear panel, tap
[AV-IN2]
to switch the source
instead of
[AV-IN1]
.