24
EN
12 Additional
information
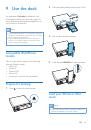
Reset the system
You can reset the system to factory default
settings.
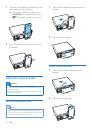
1
Open the protective cover for the USB
socket,
MP3-LINK
socket, and
RESET
button.
2
Press
RESET
with the tip of a ball-point
pen or toothpick.
»
The system is reset.
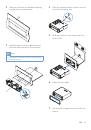
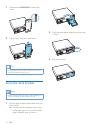
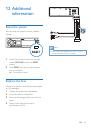
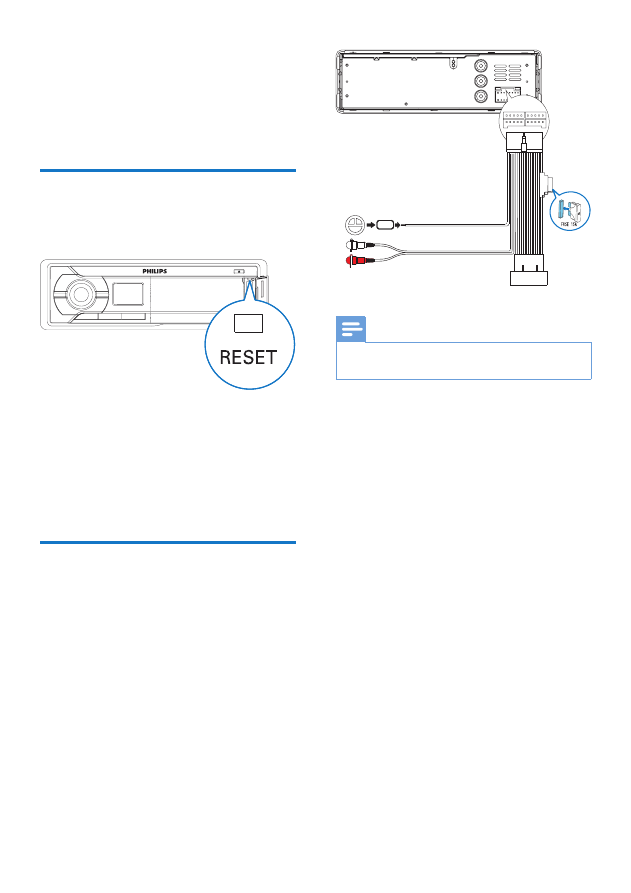
Replace the fuse
If there is no power, check the fuse and replace
it if it is damaged.
1
Detach the system from dashboard.
2
Check the electric connection.
3
Remove the damaged fuse from the rear
panel.
4
Insert a new fuse with the same
specifications (15 A).
Note
•
If the new fuse gets damaged again, there may be an
internal malfunction. Consult your dealer..