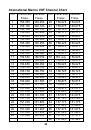
41
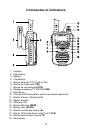
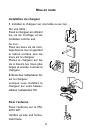
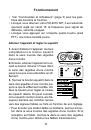
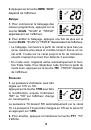
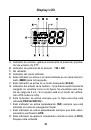
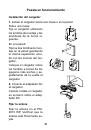
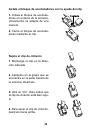
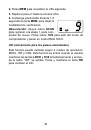
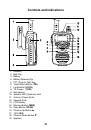
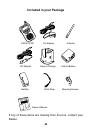
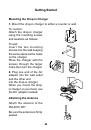
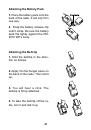
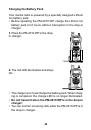
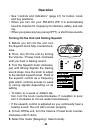
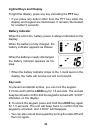
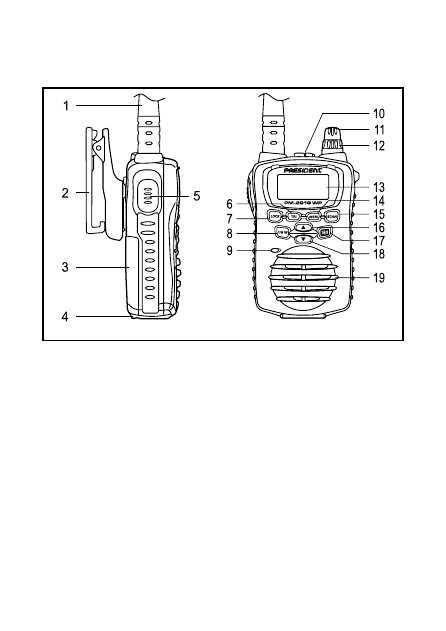
Controls and Indications
1. Antenna
2. Belt Clip
3. Battery
4. Battery Release Clip
5. PTT (Push to Talk) Key
6. Triple Watch Button
(TRI)
7. Lock Button
(LOCK)
8. TX Power / (
1/5W
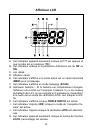
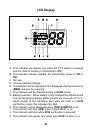
)
9. Microphone
10. Speaker MIC (Optional) Jack
11. Volume / Power Knob
12. Squelch Knob
13. LCD Display
14. Memory Button (
MEM
)
15. Scan Button (
SCAN
)
16. Channel Up Button
▲
17. 16/9 (
16/9
)
18. Channel Down Button
▼
19. Speaker