6
Instruction manual
6
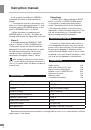
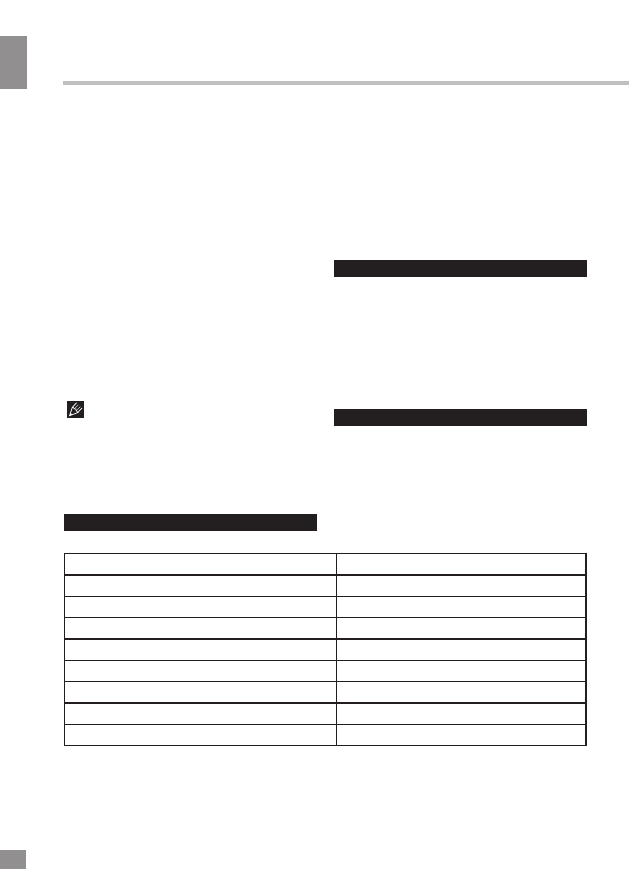
Specifications
FM frequency range
87.5 - 108 MHz
Supported storages
USB/SD
Display
LED (0.6' symbol height)
Nominal voltage
220 V, 50/60 Hz
Nominal power consumption
27 W
Speaker output power
5 W x 2
Subwoofer output power
11 W
Net/Gross weight
2.5 kg/2.6 kg
Unit dimensions
200 mm x 163 mm x 195 mm
Specifications and functions are subject to change without notice. It is connected with continual
improvement of the device.
Sleep timer
• In USB, SD or radio mode press SLEEP
button on the RC or SLEEP/CLOCK button
on the panel to enable sleep timer setting
mode. The display will show the sleep time
(120 minutes by default). Press this button
repeatedly to select the sleep time period. The
unit will automatically go to standby mode
when the sleep time period elapses.
Maintenance and care
If necessary, clean the unit with a piece of
cloth dampened with water only (be sure the
power cord is disconnected). The unit shall not
be exposed to dripping or splashing and no
objects filled with liquids, such as vases, shall
be placed on the unit. Normal ventilation of the
unit shall not be impeded for intended use.
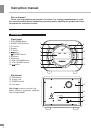
Accessories
Audio system
1 pc
AUX audio cable 3.5-3.5 mm
1 pc
Remote control with battery
1 pc
Rubber cover for USB/SD slots
2 pc
Instruction manual
1 pc
Warranty card
1 pc
Consumer information
1 pc
is set as alarm sound but no USB/SD is
connected, the alarm sound is buzzer by
default.
• The alarm will sound for 60 minutes, the
alarm icon flashes during this period. To stop
the alarm, press STBY/MODE button on the
panel or STANDBY button on the RC.
• When the alarm is sounding, press
SNOOZE button on the RC. The alarm will
interrupt and resume the signal after 5 minutes.
Alarm 2
In standby mode press WAKE UP TIME
button on the RC or VOL+/ALARM2 button
on the panel; the last set alarm time will be
displayed. Press and hold this button to enter
the 2nd alarm setting mode. All the other
operations fully correspond to operations
described in Paragraph “Alarm 1” above.
After setting the Alarm clock time, press
P+, P- to turn up/down the alarm volume for a
total of 15 volume levels, the alarm can be set
at each level.