Operation
6
Operation
General operation
Power on/off
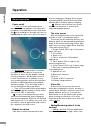
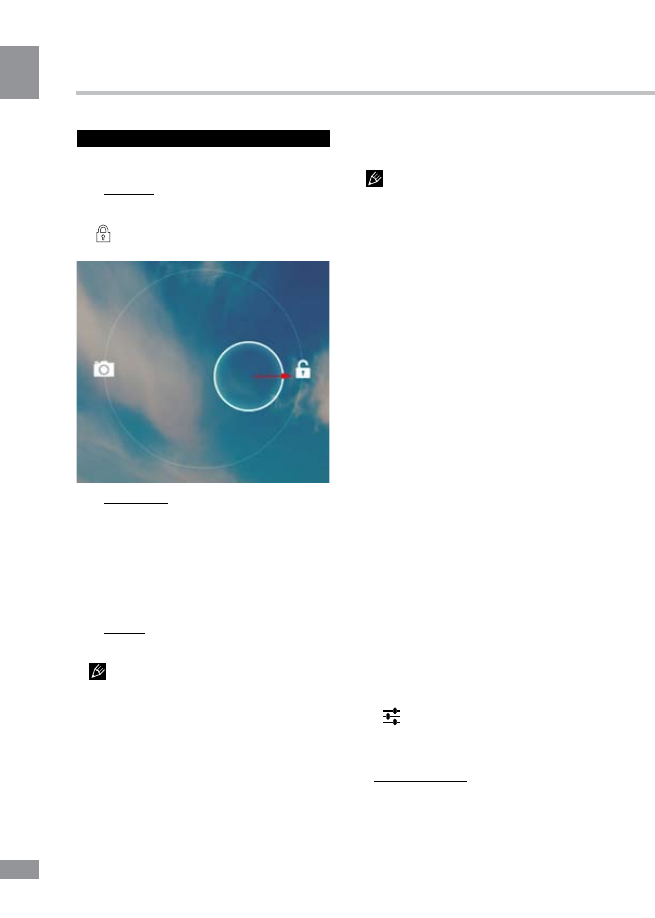
• Power on: Press and hold the power
button until the logo appears. Then there will
be splash screen and main screen. Hold down
the icon and drag it to the right onto the icon
representing an open lock to unlock the device.
• Sleep Mode: Sleep mode is convenient
for regular use of the device. In this mode,
the device is active, but the display is turned
off at the same time, and the main screen is
locked. This allows you to instantly access
your operating system, while at the same time
excludes accidental pressing on the display
and saves energy. To go into sleep mode or
out of it, briefly press the power button.
• Turn off: Press and hold the power button
until a prompt appears asking to switch off the
device. Click “OK” to shut down.
In case of low battery the unit can be
switched off automatically after notifying the
user about the problem. Moreover, all unsaved
data may be lost. To avoid this, save your open
documents, close all applications and connect
the computer to a power source.
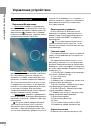
Reboot the device
If the device cannot be powered on and
does not respond to charging, then restart it
by pressing RESET button (hole) with a thin
pointed object, and then wait for restarting.
After the reboot please turn off and
then turn on the device to activate both
keyboard language presets.
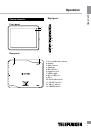
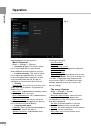
The main screen
After unlocking the main screen opens that
provides access to operating the device.
The screen has the status bar (bottom), the
desktop, which can be extended by pressing a
finger on the screen and moving it left or right,
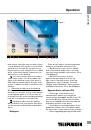
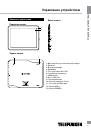
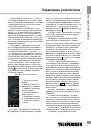
and icons for access to applications. Elements
of the main screen (Fig. 1):
1. Google Search. Click to go to the search
page of Google.
2. Voice search.
3. Alarm clock
4. Click to call the list of all installed
applications.
5. “Back” button. Click to return to the
previous page/screen.
6. “Home” button. Click to go to home page.
7. Click here to quickly switch between
active applications.
8. Application icons
9. Bluetooth connection
10. Clock
11. Status of Wi-Fi connection
12. Battery charge indicator.
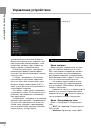
Status Bar
At the bottom of the screen there is the
status bar containing the controls, the area of
system alerts, indicators, wireless connections,
battery indicator and clock. To access the
Quick menu or see the details of the system
when receiving a notification, click on the
status bar at the bottom right corner, then click
on the
icon.
Adding/Removing objects to the
desktop
• Adding a shortcut: Click the applications
menu button (4) in the top right corner of the
6