5
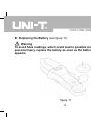
Safety Information
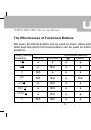
This Meter complies with the standards IEC61010: in pollution degree 2,
overvoltage category (CAT II 600V, CAT III 300V) and double insulation.
CAT II: Local level, appliance, PORTABLE EQUIPMENT etc., with smaller
transient overvoltages than CAT III.
CAT III: Distribution level, fixed installation, with smaller transient overvoltages
than CAT IV.
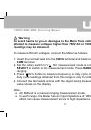
Use the Meter only as specified in this operating manual, otherwise the protection
provided by the Meter may be impaired.
In this manual, a Warning identifies conditions and actions that pose hazards to
the user, or may damage the Meter or the equipment under test.
A Note identifies the information that user should pay attention to.
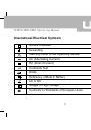
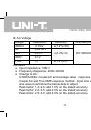
International electrical symbols used on the Meter and in this Operating Manual
are explained on page 9.
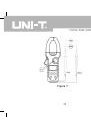
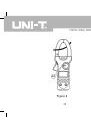
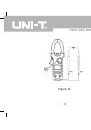
UT207A/208A/209A Operating Manual