26
27
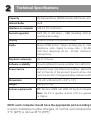
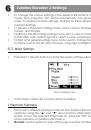
6.2
Recording Settings
•
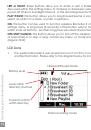
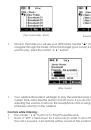
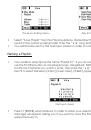
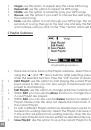
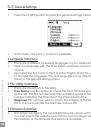
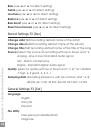
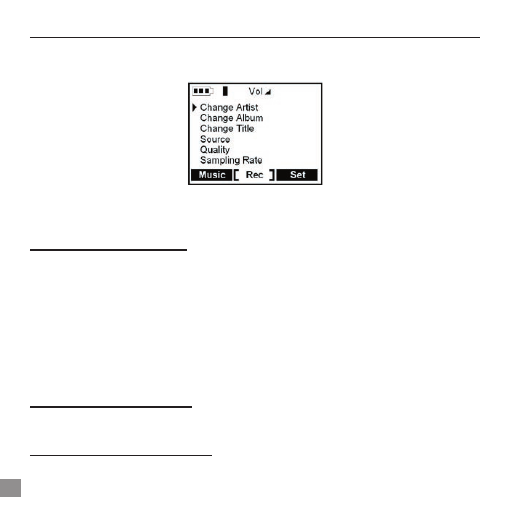
Press the F2 [Rec] button to enter the Recording settings menu:
Recording settings menu
•
In this menu, there are 6 functions available.
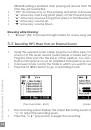
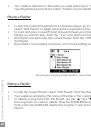
1 Change Artist Tag Function:
•
Use this option if you would like to add a new artist name or rename the current
one in the ID3 tag data.
•
To input the new artist name, select a letter followed by PLAY button to add the
letter to the Artist name tag. Continue selecting letters in this manner until you have
created the name and then press the F1 [ENTER] button to save this name. You
can delete a letter by clicking F2 [Del] button or clear the entire line by holding
down the F2 [Del] button for two seconds. You can also change to capital letters or
numbers by pressing the F3 button.
•
Example:
if you want to input the artist name PRINCE, move the cursor to
P
followed
by PLAY button, move to the
R
followed by PLAY button, move over to
I
followed by
PLAY button and continue in this fashion until you finish then click F1 [Enter].
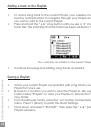
2 Change Album Tag Function:
•
Use this option if you are changing the album name tag in the ID3 tag data.
•
Enter new album name. Follow the same steps as explained in the example above.
3 Change Song Title Tag Function:
•
Use this option to set the default name of the Song Title ID3 tag.
•
Enter new Title name. Follow same steps as outlined above.
Jukebox Recorder 2 Functions