22
GB
*
Only available in certain models.
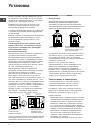
Cooking on several shelves simultaneously
If it is necessary to use two racks, use the FAN
OVEN cooking mode
b
b
b
b
b
, as this is the only cooking
mode suited to this type of cooking. We also
recommend that:
• Positions 1 and 5 are not used. This is because
excessive direct heat can burn temperature
sensitive foods.
• Positions 2 and 4 are used and that food that
requires more heat is placed on the rack in
position 2.
• When cooking foods that require different cooking
times and temperatures, set a temperature that is
halfway between the two recommended
temperatures (
see Oven cooking advice table)
and place the more delicate food on the rack in
position 4. Remove the food that requires a
shorter cooking time first.
• When cooking pizzas on several racks with the
temperature set to 220°C, the oven is preheated
for 15 minutes. Generally speaking, cooking on
the rack in position 4 takes longer: we
recommend that the pizza cooked on the lowest
rack position is removed first, followed by the
pizza cooked in position 4 a few minutes later.
• Place the dripping pan on the bottom and the rack
on top.
Cancelling a time that has already been set
Press the - button until the display shows 0:00.
0:00.
0:00.
0:00.
0:00.
Adjusting the buzzer volume
After selecting and confirming the clock settings,
use the - button to adjust the volume of the alarm
buzzer.
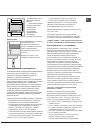
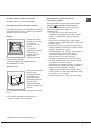
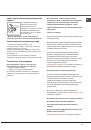
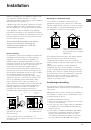
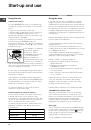
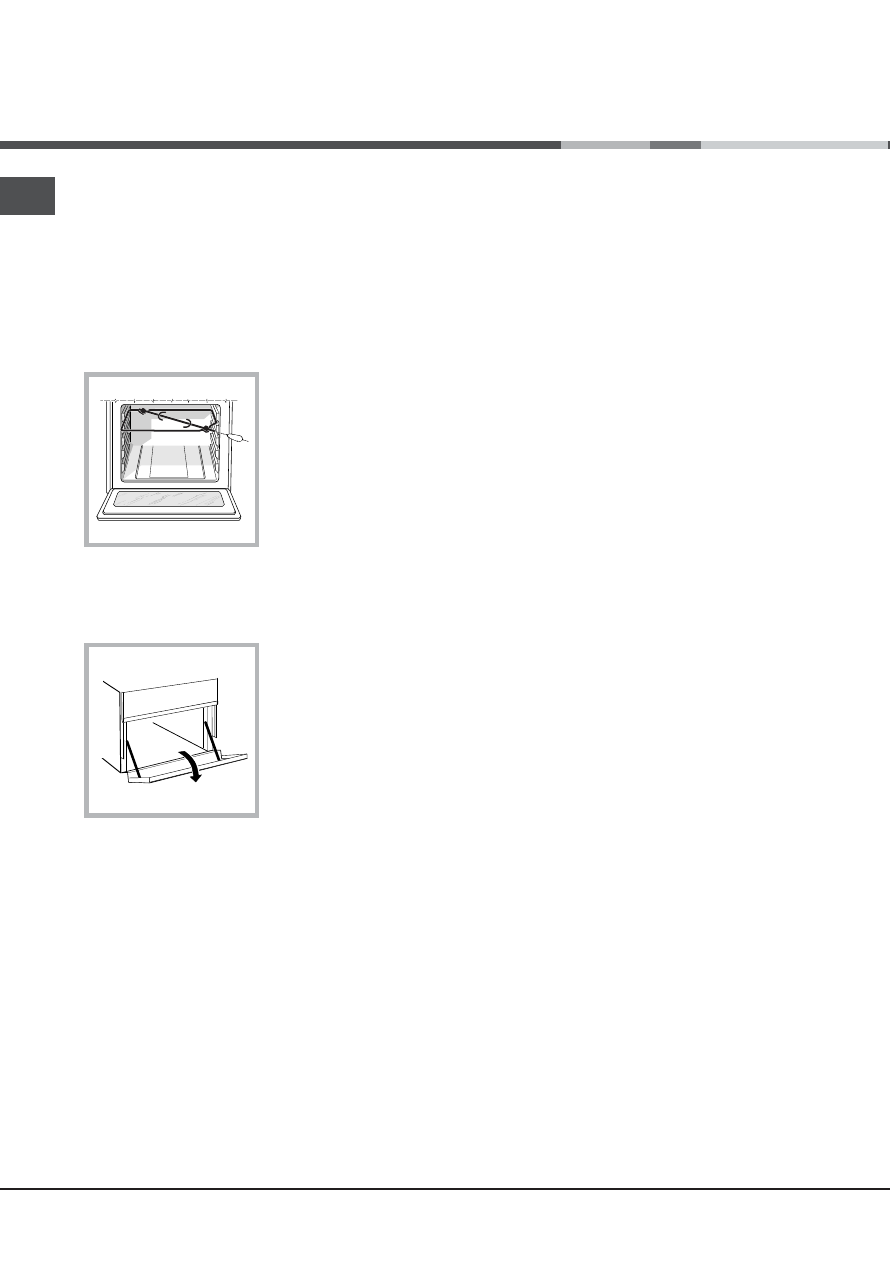
Rotisserie
To activate the
rotisserie function (
see
diagram) proceed as
follows:
1. Place the dripping
pan in position 1.
2. Place the rotisserie
support in position 4
and insert the spit in the
hole provided on the
back panel of the oven.
3. Activate the rotisserie by selecting
2
2
2
2
2
or
T
T
T
T
T
with
the SELECTOR knob.
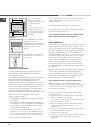
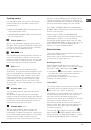
Lower compartment*
There is a compartment
underneath the oven
that may be used to
store oven accessories
or deep dishes. To
open the door pull it
downwards (
see
figure).
!
The internal surfaces of the compartment (where
present) may become hot.
!
Do not place flammable materials in the lower oven
compartment.