13
XENYX QX2442USB/QX2222USB/QX1832USB/QX1622USB User Manual
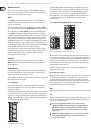
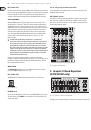
EQ IN
Use this switch to activate the graphic equalizer.
MAIN MIX/MONITOR
This toggles the graphic equalizer between the main mix and the monitor mix.
With the switch up (not depressed), the equalizer is active in stereo on the main
mix, and inactive on the monitor mix.
When the switch is depressed the equalizer is active in mono on the monitor mix,
and inactive on the main mix.
FBQ FEEDBACK DETECTION
The switch turns on the FBQ Feedback Detection System. It uses the LEDs in the
frequency band faders to indicate the critical frequencies. On a per-need basis,
lower the frequency range in question somewhat in order to avoid feedback.
The graphic stereo equalizer has to be turned on in order to use this function.
◊
Logically, at least one (ideally several) microphone channels have to be
open for feedback to occur at all!
Feedback is particularly common when stage monitors (“wedges”) are
concerned, because monitors project sound in the direction of microphones.
Therefore, you can also use the FBQ Feedback Detection for monitors by placing
the equalizer in the monitor bus (see MAIN MIX/MONITOR).
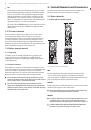
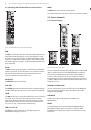
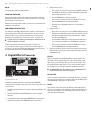
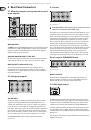
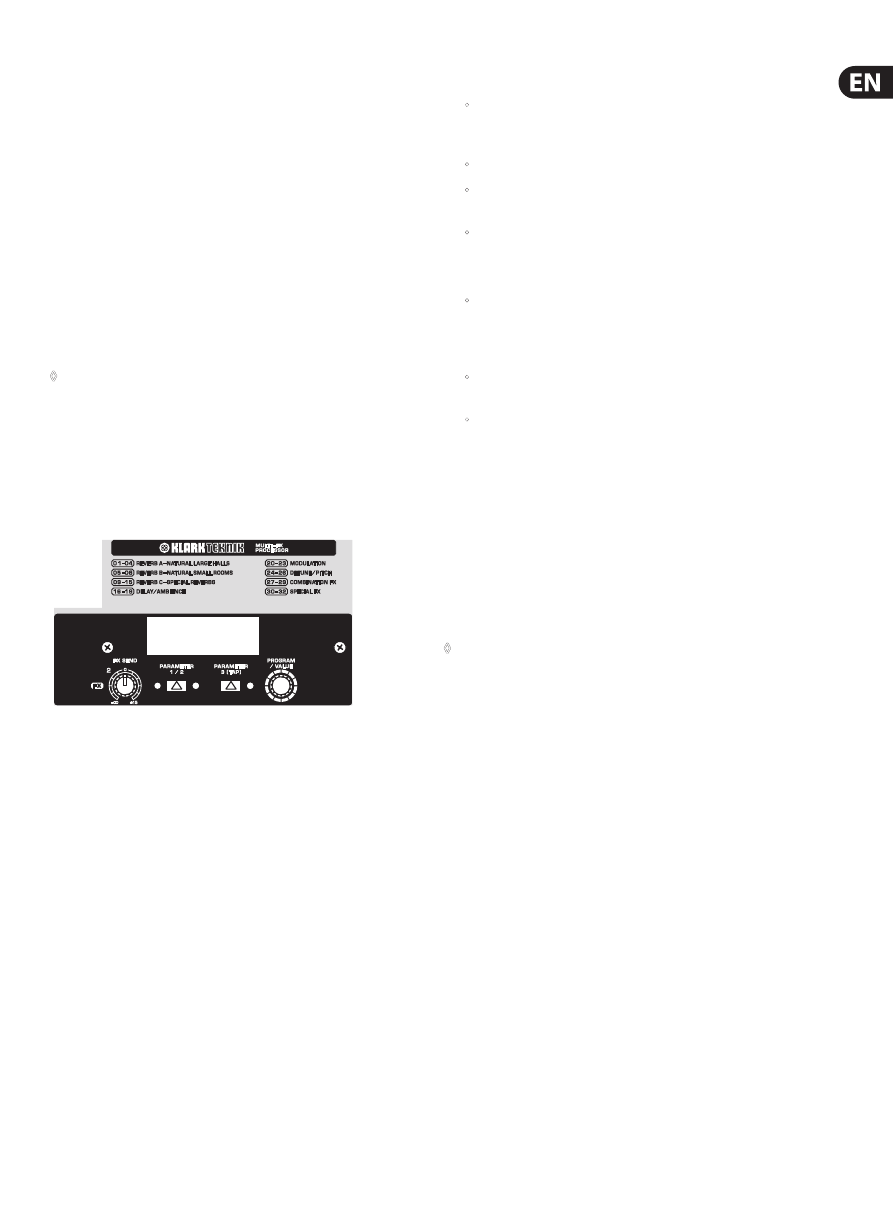
4. Digital Effects Processor
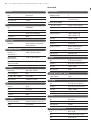
QX1832USB
Fig. 4.1: Digital effects module
Your mixer has a built-in multi-FX processor designed by KLARK TEKNIK,
a renowned leader in signal processing. Follow these steps to add an effect to one
or more channels.
1. Turn the FX knob up half way on each channel to which you would like to add
an effect.
2. Turn the FX AUX SEND and FX AUX RETURN knobs to 0. You may adjust
them later.
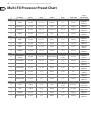
3. Scroll through the effects by turning the PROGRAM knob. The preset name
will flash in the display. Press the PROGRAM knob to select the effect.
4. Adjust parameter 1 and 2:
•
After you have selected a preset (step 3), press the PARAM 1/2 button to
enter Edit Mode. The LED on the left side of the PARAM 1/2 button will
light to indicate parameter 1 is active.
•
Turn the PROGRAM knob to adjust the parameter.
•
After 4 seconds of inactivity, the mixer exits Edit Mode. You can also
press the PROGRAM knob to manually exit Edit Mode.
•
Repeat the steps, using PARAM 1/2 button to select parameter 2
for editing.
5. Adjust parameter 3:
•
After you have selected a preset, press the PARAM 3/TAP button to enter
Edit Mode. Depending on the parameter for the selected effect, the LED
will either indicate the A/B value status of the parameter, or blink to
show the current BPM/tempo.
•
Press the PARAM 3/TAP button to change the parameter A/B status, or
press several times in rhythm to set a new BPM/tempo if applicable.
•
After 4 seconds of inactivity, the mixer exits Edit Mode. You can also
press the PROGRAM knob to manually exit Edit Mode.
6. Read just each channel's FX knob to make sure the right amount of effect is
added. If the OL (overload) meter segment lights in the display, turn the FX
AUX SEND knob down.
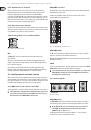
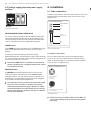
FX OUT
Mixing consoles QX2222USB and QX2442USB have a separate output for the
effects device, which is unbalanced and stereo (tip = left signal; ring = right
signal; sleeve = ground/shielding). Thus, you can record, for example, a vocal
track enhanced with reverb in parallel to a “dry” vocal track; when doing the
mix-down later on, you can freely determine the amount of reverb added.
◊
The QX2442USB has the effect output on the rear, QX2222USB has it
located next to the aux sends on the top panel.
FX FOOTSW.
Connect a standard foot switch to the foot switch jack and use this to switch the
effects processor on and off. Connect a dual footswitch to the FX FOOTSW jack to
control PARAMETER 3 (TAP) with the second footswitch.
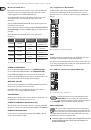
LEVEL
The level meter on the effects module should display a sufficiently high level.
Take care to ensure that the overload (OL) meter segment only lights up at peak
levels. If it is lit constantly, you are overloading the effects processor and this
could cause unpleasant distortion.