Operation
30
Operation
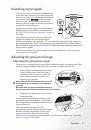
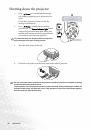
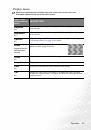
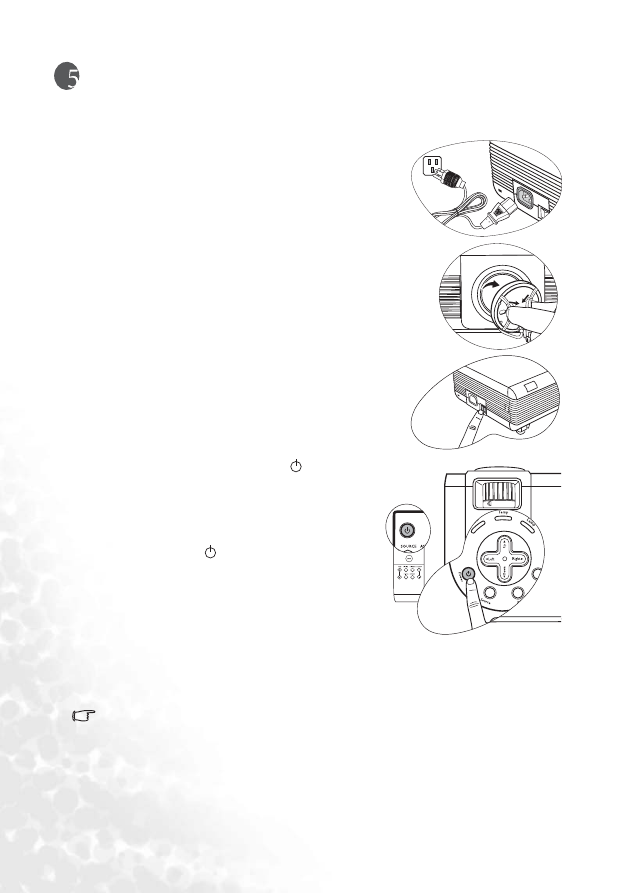
Start up
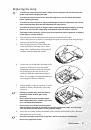
1.
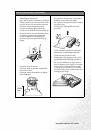
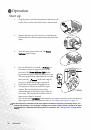
Plug the power cord into the projector and into a wall
socket. Turn on the wall socket switch (where fitted).
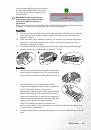
2.
Remove the lens cap. If it is left on, it could become
deformed due to the heat produced by the projection
lamp.
3.
Turn the main power switch on. The Power
indicator lights orange.
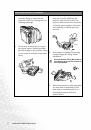
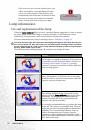
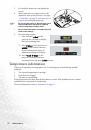
4.
Press and hold (for 2 seconds)
Power on
the remote control or projector to start the
projector. The Power indicator light flashes
green and stays green when the projector is on.
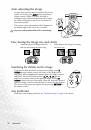
The start up procedure takes about 30 seconds
after pressing
Power. In the later stage of
start up, a default BenQ logo is projected.
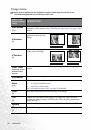
5.
Switch all of the connected equipment on.
6.
The projector will start to search for input
signals. The current input source being
scanned displays in the lower right corner of
the screen. The search will continue until an
input source signal is detected.
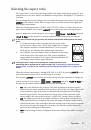
You can also press SOURCE on the projector or remote control to select your desired
input signal. For more information, refer to
"Switching input signal" on page 31
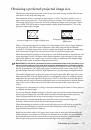
If the frequency/ resolution of the input signal exceeds the projector's operating range, you
will see the message “Out of Range” displayed on a blank screen. Please change to an input
signal which is compatible with the projector's resolution. See
details.
I
I