10
English
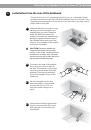
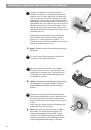
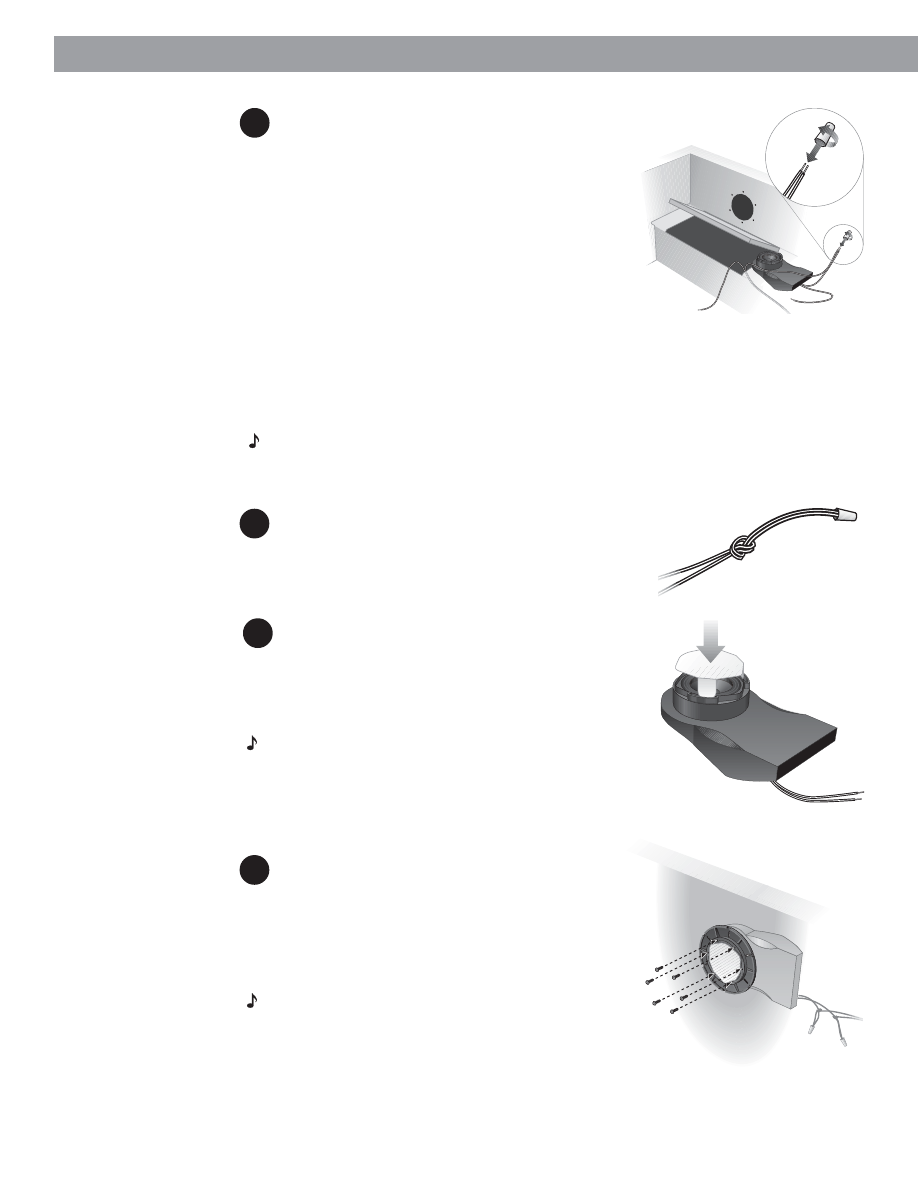
Connect the speakers. Be sure the receiver or
amplifier is turned OFF. If possible, disconnect the
power source. Use the supplied silicone-filled wire
nuts to secure the ends of each wire pair. Place the
stripped end of the positive (+) right channel receiver
wire together with the stripped end of the positive (+)
right speaker wire. Place the wire nut over the ends of
the wires and turn it in a clockwise direction. Turn it
with firm pressure until it stops; there should be no
uninsulated wire visible. Repeat this procedure for the
remaining wire end.
Installing Your Speakers From The Rear Of The Bulkhead
A 13
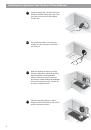
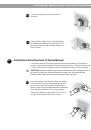
Repeat the above procedure for the left speaker.
Check that all connections are made positive to
positive (+ to +) and negative to negative (– to –).
Tighten any loose connections before you plug in the
receiver or amplifier and turn it on.
Note:
Twisting the ends of the wires together is not
necessary.
Tie a knot in each joined wire pair to protect the
connection from being pulled apart.
A 14
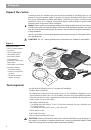
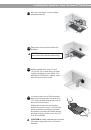
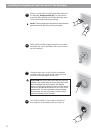
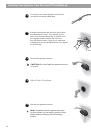
Remove the perforated speaker cone shields
from the enclosure cartons. Insert the tabs of the
shields into the speaker ports. This helps protect
the speaker cone from potential damage during
the installation process.
A 15
Note:
For added protection against water entering
the bulkhead, you can apply a generic silicone
sealant between the flange and the mounting
surface.
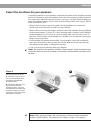
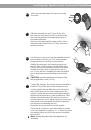
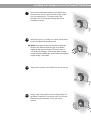
A 16
Replace the enclosure behind the bulk head and
place the mounting flange so that it interlocks with
the enclosure and lines up with the drilled holes.
Attach the flange to the mounting surface using six
screws.
Next, install six screws through the flange into the
matching holes in the enclosure.
Note:
If you plan to use a screw gun to install
the screws, you should first set the gun to its
lowest torque setting (do not exceed 12 inch-
pounds or 135.84 N-cm of torque). If the screw
does not seat properly, finish installing the screw
at the next highest torque setting, or by hand.