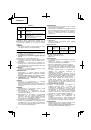
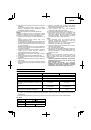
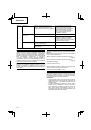
17
English
CG18DSDL
(LSC)
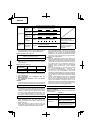
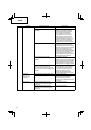
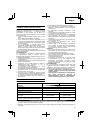
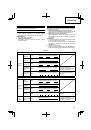
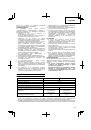
1
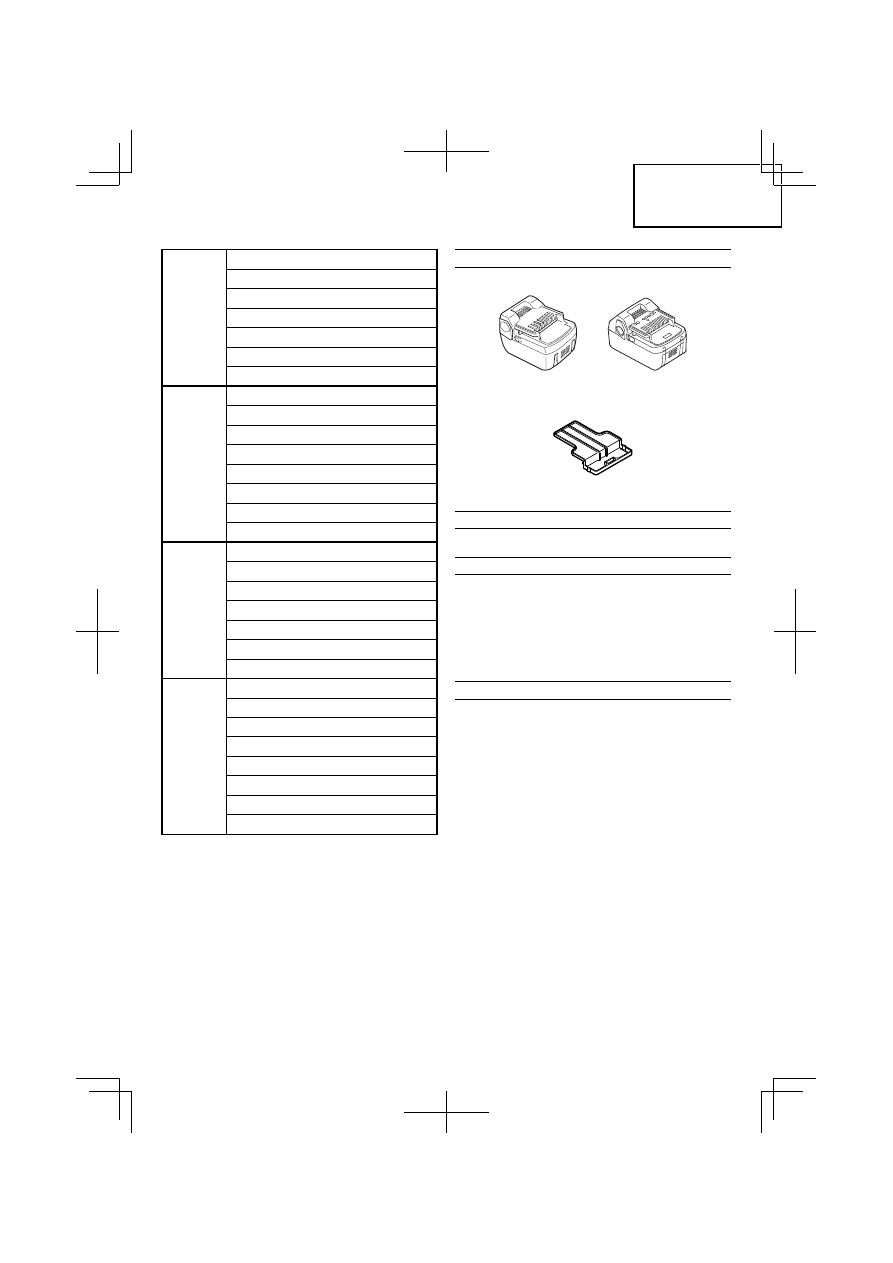
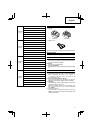
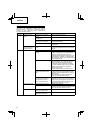
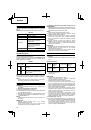
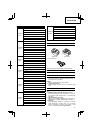
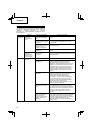
Battery (BSL1830) ................................1
2
Charger (UC18YGSL) ...........................1
3
Nylon head ............................................1
4
Cover ....................................................1
5
Hex. bar wrench 4 mm ..........................1
6
17×19 Combi box wrench .....................1
7
Protective glass ....................................1
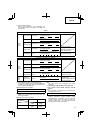
CG18DSDL
(2LSC)
1
Battery (BSL1830) ................................2
2
Charger (UC18YGSL) ...........................1
3
Nylon head ............................................1
4
Cover ....................................................1
5
Hex. bar wrench 4 mm ..........................1
6
17×19 Combi box wrench .....................1
7
Protective glass ....................................1
8
Battery cover ........................................1
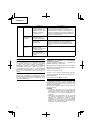
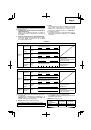
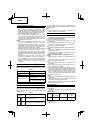
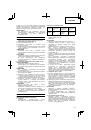
CG18DSDL
(LSR)
1
Battery (BSL1830) ................................1
2
Charger (UC18YRSL) ...........................1
3
Nylon head ............................................1
4
Cover ....................................................1
5
Hex. bar wrench 4 mm ..........................1
6
17×19 Combi box wrench .....................1
7
Protective glass ....................................1
CG18DSDL
(2LSR)
1
Battery (BSL1830) ................................2
2
Charger (UC18YRSL) ...........................1
3
Nylon head ............................................1
4
Cover ....................................................1
5
Hex. bar wrench 4 mm ..........................1
6
17×19 Combi box wrench .....................1
7
Protective glass ....................................1
8
Battery cover ........................................1
Standard accessories are subject to change without notice.
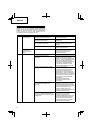
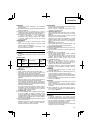
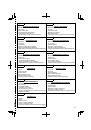
OPTIONAL
ACCESSORIES
(sold
separately)
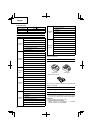
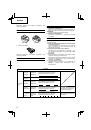
1. Battery
(BSL1430) (BSL1830)
2. Battery cover
Optional accessories are subject to change without notice.
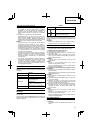
APPLICATIONS
Trimming, scaling and mowing of weed.
BATTERY
REMOVAL/INSTALLATION
1.
Battery
removal
Hold the housing tightly and push the battery latches to
remove the battery (see
Fig.
2
).
CAUTION
Never short-circuit the battery.
2.
Battery
installation
Insert the battery while observing its polarities (see
Fig.
2
).
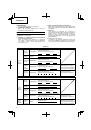
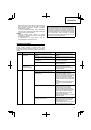
CHARGING
Before using the power tool, charge the battery as follows.
1.
Connect
the
charger’s
power
cord
to
a
receptacle.
When connecting the plug of the charger to
a receptacle, the pilot lamp will blink in red
(At 1-second intervals).
2.
Insert
the
battery
into
the
charger.
Firmly insert the battery into the charger as shown in
Fig.
3
and
4
(UC18YGSL),
Fig.
5
and
6
(UC18YRSL).
3.
Charging
When inserting a battery in the charger, the pilot lamp
will light up continuously in red.
When the battery becomes fully recharged, the
pilot lamp will blink in red (At 1-second intervals).
(See
Table
1
)
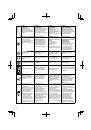
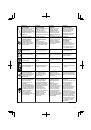
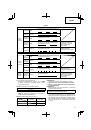
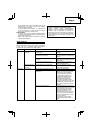
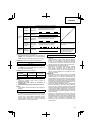
(1) Pilot lamp indication
The indications of the pilot lamp will be as shown in
Table
1
, according to the condition of the charger or the
rechargeable battery.
 1
1
 2
2
 3
3
 4
4
 5
5
 6
6
 7
7
 8
8
 9
9
 10
10
 11
11
 12
12
 13
13
 14
14
 15
15
 16
16
 17
17
 18
18
 19
19
 20
20
 21
21
 22
22
 23
23
 24
24
 25
25
 26
26
 27
27
 28
28
 29
29
 30
30
 31
31
 32
32
 33
33
 34
34
 35
35
 36
36
 37
37
 38
38
 39
39
 40
40
 41
41
 42
42
 43
43
 44
44
 45
45
 46
46
 47
47
 48
48
 49
49
 50
50
 51
51
 52
52
 53
53
 54
54
 55
55
 56
56
 57
57
 58
58
 59
59
 60
60
 61
61
 62
62
 63
63
 64
64
 65
65
 66
66
 67
67
 68
68
 69
69
 70
70
 71
71
 72
72
 73
73
 74
74
 75
75
 76
76
 77
77
 78
78
 79
79
 80
80
 81
81
 82
82
 83
83
 84
84
 85
85
 86
86
 87
87
 88
88
 89
89
 90
90
 91
91
 92
92
 93
93
 94
94
 95
95
 96
96
 97
97
 98
98
 99
99
 100
100
 101
101
 102
102
 103
103
 104
104
 105
105
 106
106
 107
107
 108
108
 109
109
 110
110
 111
111
 112
112
 113
113
 114
114
 115
115
 116
116
 117
117
 118
118
 119
119
 120
120
 121
121
 122
122
 123
123
 124
124
 125
125
 126
126
 127
127
 128
128
 129
129
 130
130
 131
131
 132
132
 133
133
 134
134
 135
135
 136
136
 137
137
 138
138
 139
139
 140
140
 141
141
 142
142
 143
143
 144
144
 145
145
 146
146
 147
147
 148
148
 149
149
 150
150
 151
151
 152
152