GB
15
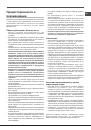
• The inside of the oven should ideally be cleaned after
each use, while it is still lukewarm. Use hot water and
detergent, then rinse well and dry with a soft cloth. Do
not use abrasive products.
• All accessories - with the exception of the sliding racks
- can be washed like everyday crockery, and are even
dishwasher safe.
• We recommend that detergents are not sprayed directly
onto the control panel, but that a sponge is used instead.
!
Never use steam cleaners or pressure cleaners on the
appliance.
Cleaning the oven door
!
The door of LED INSIDE models cannot be removed.
Clean the glass part of the oven door using a sponge and
a non-abrasive cleaning product, then dry thoroughly with
a soft cloth. Do not use rough abrasive material or sharp
metal scrapers as these could scratch the surface and cause
the glass to crack.
For more thorough cleaning purposes, the oven door may
be removed:
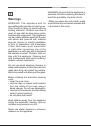
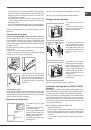
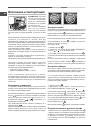
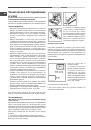
1. Open the oven door fully (see diagram).
2. Use a screwdriver to lift up and turn the small levers
F
located on the two hinges (see diagram).
F
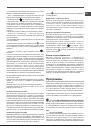
3. Grip the door on the two outer
sides and close it approximately
half way. Pull the door towards you,
lifting it out of its slot (see diagram).
To replace the door, reverse this
sequence.
Inspecting the seals
Check the door seals around the oven regularly. If the seals
are damaged, please contact your nearest Service Centre
(see Assistance). We recommend that the oven is not used
until the seals have been replaced.
Replacing the light bulb
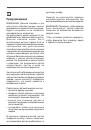
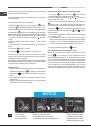
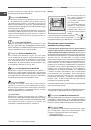
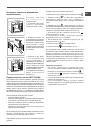
To replace the oven light
bulb:
1. Remove the glass cover
of the lamp-holder.
2. Remove the light bulb and
replace it with a similar one:
halogen lamp voltage 230 V,
wattage 25 W, cap G 9.
3. Replace the glass cover
(see diagram).
Glass cover
Lamp
Lamp
Holder
compartment
!
Do not touch the light bulb directly with your hands.
!
Do not use the oven lamp as/for ambient lighting.
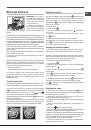
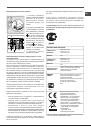
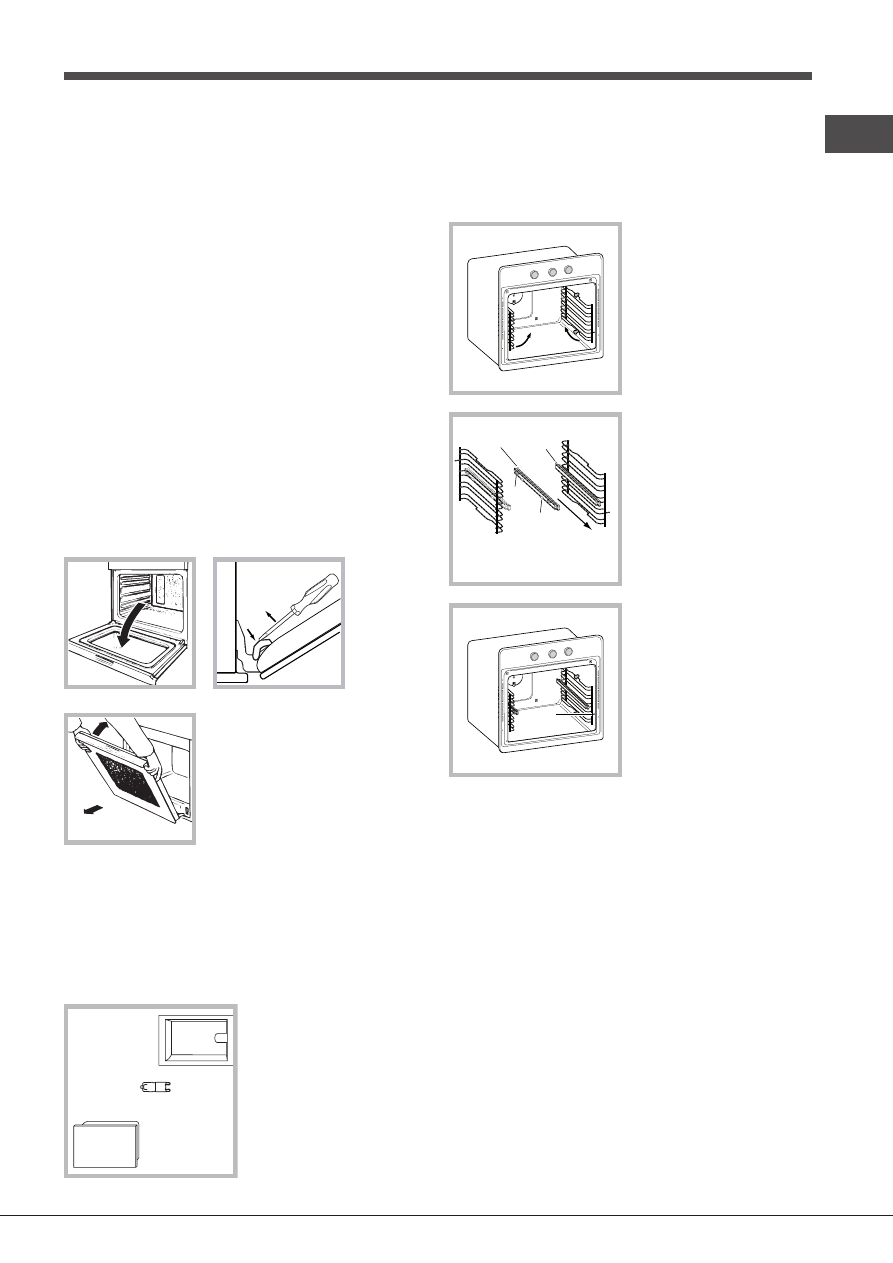
Sliding rack kit assembly
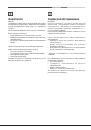
To assemble the sliding
racks:
1. Remove the two frames,
lifting them away from the
spacers A (see figure).
2. Choose which shelf to use
with the sliding rack. Paying
attention to the direction in
which the sliding rack is to
be extracted, position joint B
and then joint C on the
frame.
3. Secure the two frames
with the guide rails using the
holes provided on the oven
walls (see diagram). The
holes for the left frame are
situated at the top, while the
holes for the right frame are
at the bottom.
4. Finally, fit the frames on
the spacers A.
!
Do not place the sliding racks in position 5.
Automatic cleaning with the FAST CLEAN
function
With the FAST CLEAN mode, the internal temperature of the
oven reaches 500°C. The pyrolytic cycle is activated, burning
away food and grime residues. Dirt is literally incinerated.
Keep children away from the appliance during the automatic
cleaning cycle as surfaces may become very hot. Particles
may ignite inside the oven as a result of the combustion
process. There is no cause for concern: this process is both
normal and hazard-free.
Before initiating the FAST CLEAN mode:
• clean the oven door;
• remove large or coarse food residues from the inside of
the oven using a damp sponge. Do not use detergents;
• remove all accessories and the sliding rack kit (where
present);
• do not place tea towels or pot holders over the oven
handle.
A
B
C
Left
guide rail
Right guide
rail
Direction
of extraction
D