20
GB
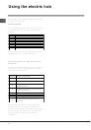
Practical cooking advice
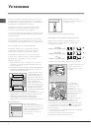
! In the GRILL cooking mode, place the dripping
pan in position 1 to collect cooking residues (fat
and/or grease).
GRILL
• Insert the rack in position 3 or 4. Place the food in
the centre of the rack.
• We recommend that the power level is set to
maximum. The top heating element is regulated
by a thermostat and may not always operate
constantly.
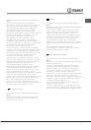
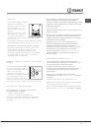
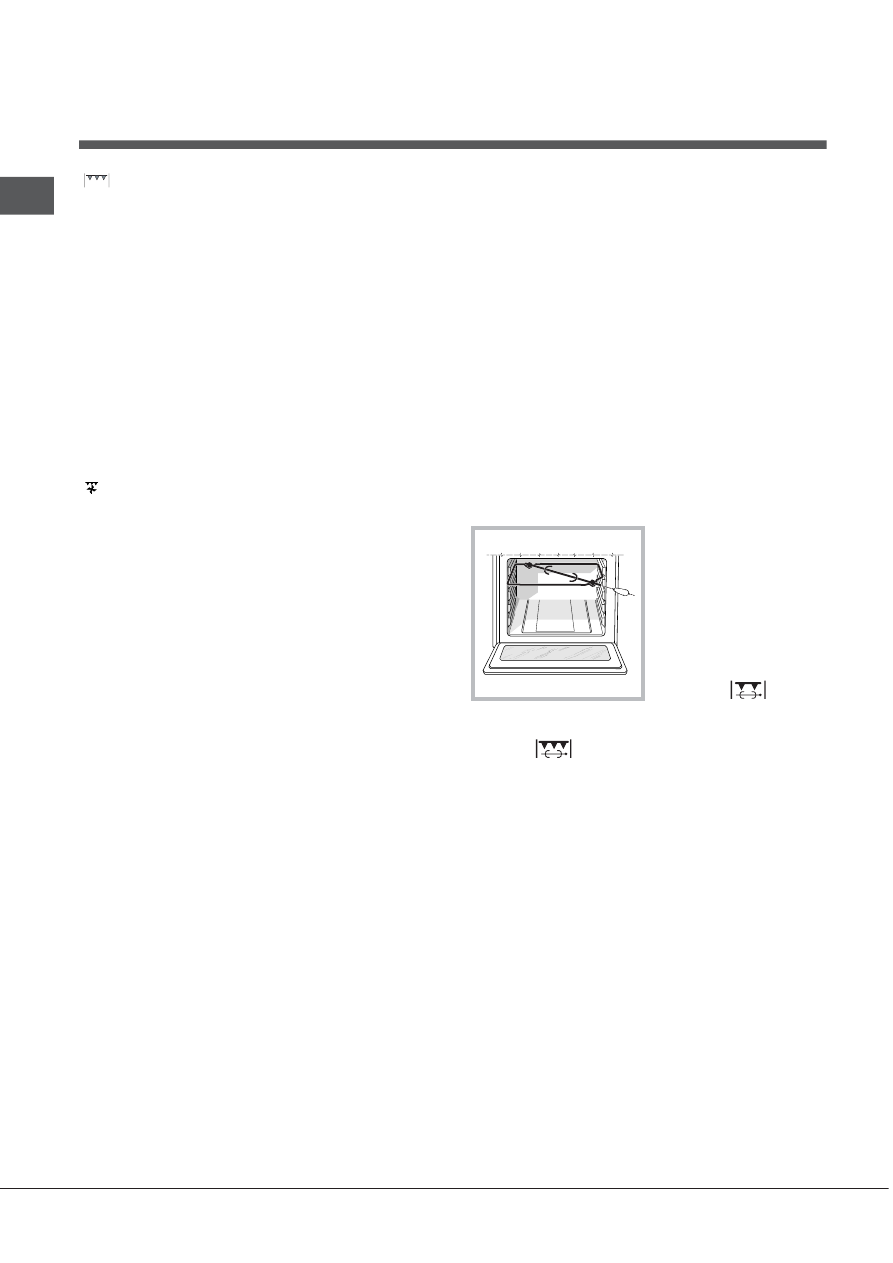
The turnspit
To operate the rotisserie, proceed as follows:
• place the dripping-pan on the 1st rack;
• insert the special
rotisserie support on the
4th rack and position
the spit by inserting it
through the special hole
into the rotisserie at the
back of the oven;
• to start the spit, set
the oven selection knob
on setting
(which
delivers 50% of the total
grill power) for small quantities of food, or on
setting
(which delivers total grill power).
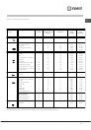
GRILL Mode
Position of thermostat knob: between 50
50
50
50
50°C and
Max
Max
Max
Max
Max .
The top heating element and the turnspit come on.
The extremely high and direct temperature of the
grill makes it possible to brown the surface of meats
and roasts while locking in the juices to keep them
tender. The grill is also highly recommended for
dishes that require a high temperature on the
surface: such as beef steaks, veal, rib steak, filets,
hamburgers etc...
Always leave the oven door shut during cooking,
except when using the turnspit.
Some grilling examples are included in the “Practical
Cooking Advice” paragraph.
FAN-ASSISTED GRILL Mode
Position of thermostat knob: between 50
50
50
50
50°C and
Max
Max
Max
Max
Max .
The top central heating element and the fan come
on. This combination of features increases the
effectiveness of the unidirectional thermal radiation
of the heating elements through forced circulation of
the air throughout the oven. This helps prevent food
from burning on the surface, allowing the heat to
penetrate right into the food. Excellent results are
achieved with kebabs made with meats and
vegetables, sausages, ribs, lamb chops, chicken in
a spicy sauce, quail, pork chops, etc.
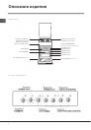
The oven-operating pilot lamp
Signals when the oven is heating. It switches off
when the temperature inside the oven reached the
temperature selected by the knob. At this point the
alternate turning on and turning off of this light
indicates that the thermostat is operating correctly to
keep the oven temperature constant.
The hotplate pilot lamp
This lights up when an electric plate is turned on.
!!!!! Avoid the children touch the oven door because it
is very hot during the cooking.