15
GB
Service
Tr
oubleshooting
Precautions
Care
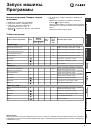
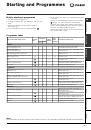
Programmes
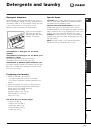
Detergents
Installation
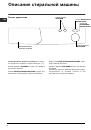
Description
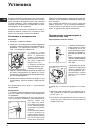
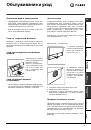
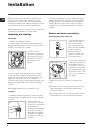
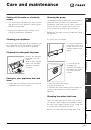
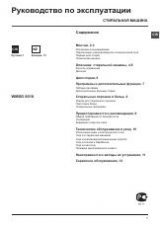
Connecting the drain hose
Connect the drain hose,
without bending it, to a
draining duct or a wall
drain situated between
65 and 100 cm from
the floor;
alternatively, place it
over the edge of a
basin, sink or tub,
fastening the duct
supplied to the tap
(see
figure)
. The free end of
the hose should not be
underwater.
We advise against the use of hose extensions; in
case of absolute need, the extension must have the
same diameter as the original hose and must not
exceed 150 cm in length.
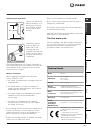
Electric connection
Before plugging the appliance into the mains
socket, make sure that:
the socket is earthed and in compliance with the
applicable law;
the socket is able to sustain the appliance's
maximum power load indicated in the Technical
details table
(on the right)
;
the supply voltage is included within the values i
ndicated on the Technical details table
(on the right)
;
the socket is compatible with the washing
machine's plug. If this is not the case, replace
the socket or the plug.
The washing machine should not be installed in an
outdoor environment, not even when the area is
sheltered, because it may be very dangerous to
leave it exposed to rain and thunderstorms.
When the washing machine is installed, the mains
socket must be within easy reach.
Do not use extensions or multiple sockets.
The power supply cable must never be bent or
dangerously compressed.
The power supply cable must only be replaced by
an authorised serviceman.
Warning! The company denies all liability if and when
these norms are not respected.
The first wash cycle
Once the appliance has been installed, and before
you use it for the first time, run a wash cycle with
detergent and no laundry, setting the 90°C
programme without a pre-wash cycle.
65 - 100 cm
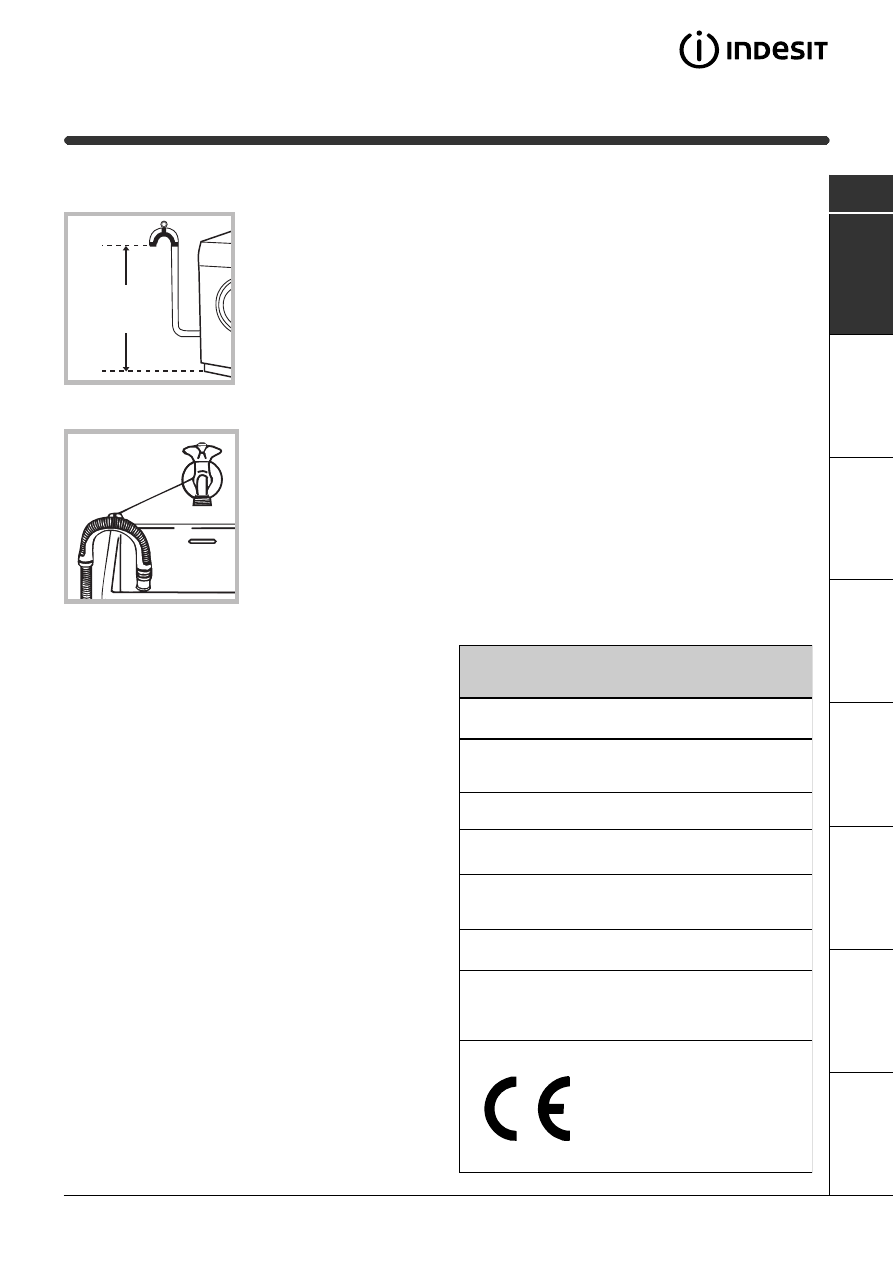
Technical details
Model
WI 60 X
Dimensions
59.5 cm wide
85 cm high
53.5 cm deep
Capacity
from 1 to 5 kg
Electric
connections
voltage 220/230 Volts 50 Hz
maximum absorbed power 2000 W
Water
connections
maximum pressure 1 MPa (10 bar)
minimum pressure 0.05 MPa (0.5 bar)
drum capacity 40 litres
Spin speed
up to 600 rpm
Control
programmes
according to
IEC456 directive
programme 3; run with a load of 5 kg.
This appliance is compliant with the
following European Community
Directives:
- 73/23/CEE of 19/02/73 (Low
Voltage) and subsequent amendments
- 89/336/CEE of 03/05/89
(Electromagnetic Compatibility) and
subsequent amendments