112
6
Edi
tin
g an
d Pri
n
ti
ng
Ima
g
es
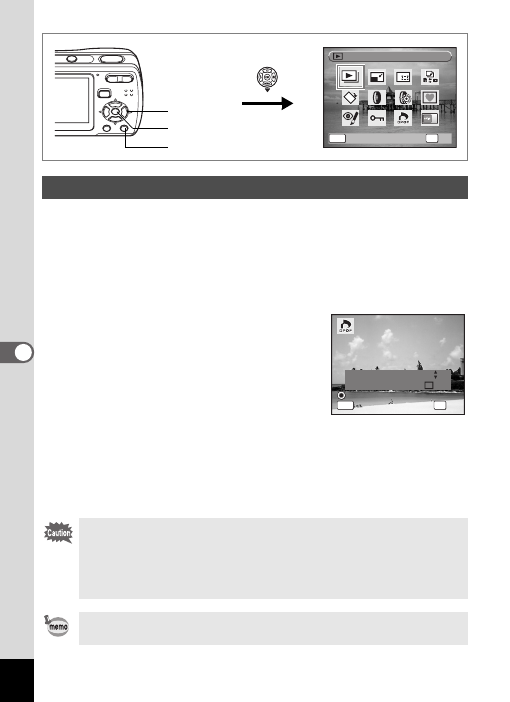
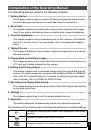
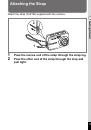
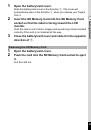
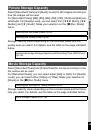
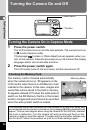
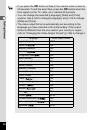
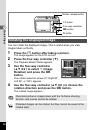
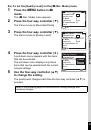
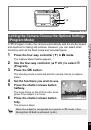
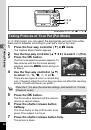
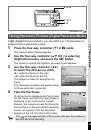
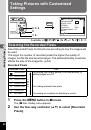
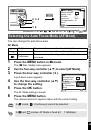
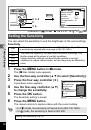
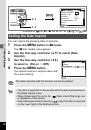
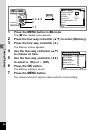
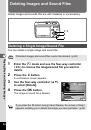
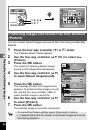
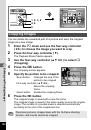
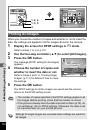
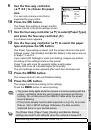
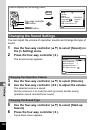
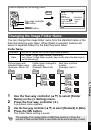
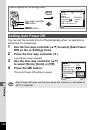
When you choose the number of copies and whether or not to insert the
date, the settings are applied to all the images stored in the camera.
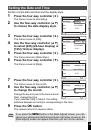
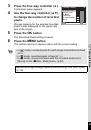
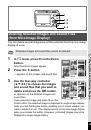
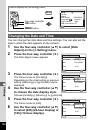
1
Display the screen for DPOF settings in
Q
mode.
Refer to Steps 1 to 3 on p.110.
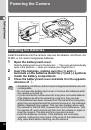
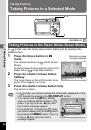
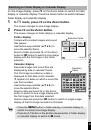
2
Use the four-way controller (
23
) to select [All Images].
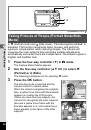
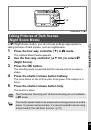
3
Press the
4
button.
The message [DPOF setting for all images]
appears.
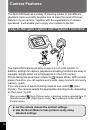
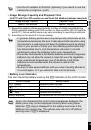
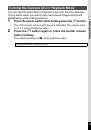
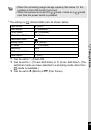
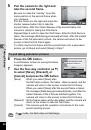
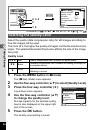
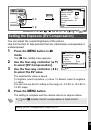
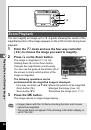
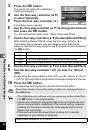
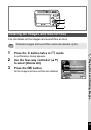
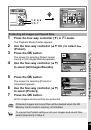
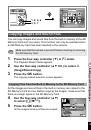
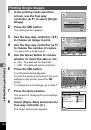
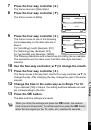
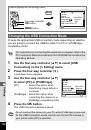
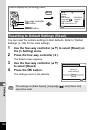
4
Choose the number of copies and
whether to insert the date or not.
Refer to Steps 6 and 7 in “Printing Single
Images” (p.111) for details of how to make
the settings.
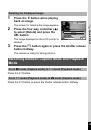
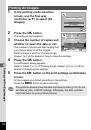
5
Press the
4
button.
The DPOF settings for all the images are saved and the camera
returns to the DPOF setting screen.
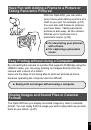
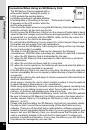
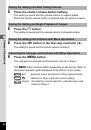
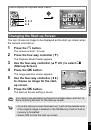
Printing All Images
• The number of copies specified in the DPOF settings applies to all
the images. Before printing, check that the number is correct.
• If the pictures already have the date imprinted on them (p.78), do
not set Date
O
(On) in DPOF settings. Otherwise, the date could
be imprinted twice on your printed pictures.
Settings for single images are canceled when settings are made for
all images.
MENU
S l i d e s h o w
S l i d e s h o w
O K
O K
OK
C a n c e l
C a n c e l
1, 2, 4
1, 3, 5
4
D P
O
F
s
e
t t
i
n g
f
o r
a
l l i
m a g
e
s
D P
O
F
s
e
t t
i
n g
f
o r
a
l l i
m a g
e
s
MEN
U
C o
p i e
s
D
a t
e
0 0
D
a t
e
D
a t
e
C a n c
e l
C a n c
e l
OK
O K
O K
 1
1
 2
2
 3
3
 4
4
 5
5
 6
6
 7
7
 8
8
 9
9
 10
10
 11
11
 12
12
 13
13
 14
14
 15
15
 16
16
 17
17
 18
18
 19
19
 20
20
 21
21
 22
22
 23
23
 24
24
 25
25
 26
26
 27
27
 28
28
 29
29
 30
30
 31
31
 32
32
 33
33
 34
34
 35
35
 36
36
 37
37
 38
38
 39
39
 40
40
 41
41
 42
42
 43
43
 44
44
 45
45
 46
46
 47
47
 48
48
 49
49
 50
50
 51
51
 52
52
 53
53
 54
54
 55
55
 56
56
 57
57
 58
58
 59
59
 60
60
 61
61
 62
62
 63
63
 64
64
 65
65
 66
66
 67
67
 68
68
 69
69
 70
70
 71
71
 72
72
 73
73
 74
74
 75
75
 76
76
 77
77
 78
78
 79
79
 80
80
 81
81
 82
82
 83
83
 84
84
 85
85
 86
86
 87
87
 88
88
 89
89
 90
90
 91
91
 92
92
 93
93
 94
94
 95
95
 96
96
 97
97
 98
98
 99
99
 100
100
 101
101
 102
102
 103
103
 104
104
 105
105
 106
106
 107
107
 108
108
 109
109
 110
110
 111
111
 112
112
 113
113
 114
114
 115
115
 116
116
 117
117
 118
118
 119
119
 120
120
 121
121
 122
122
 123
123
 124
124
 125
125
 126
126
 127
127
 128
128
 129
129
 130
130
 131
131
 132
132
 133
133
 134
134
 135
135
 136
136
 137
137
 138
138
 139
139
 140
140
 141
141
 142
142
 143
143
 144
144
 145
145
 146
146
 147
147
 148
148
 149
149
 150
150
 151
151
 152
152
 153
153
 154
154
 155
155
 156
156
 157
157
 158
158
 159
159