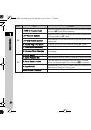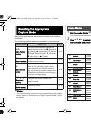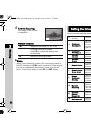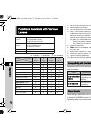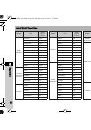
2
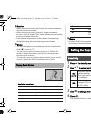
Getting Started
21
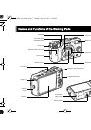
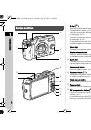
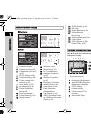
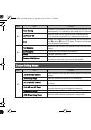
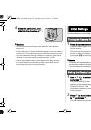
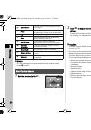
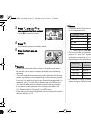
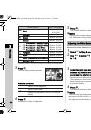
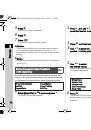
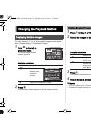
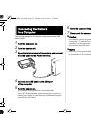
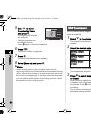
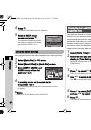
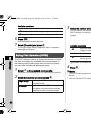
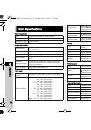
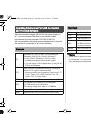
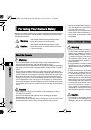
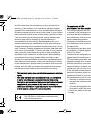
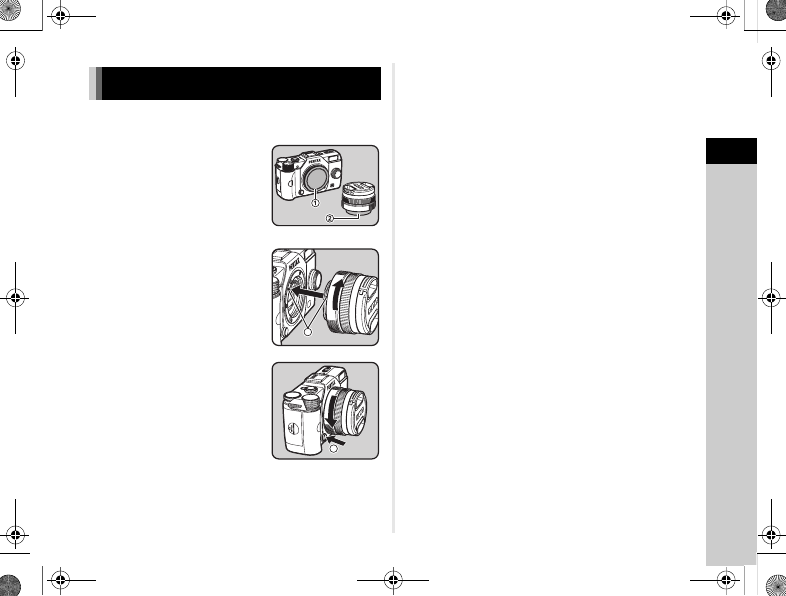
1
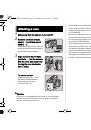
Make sure that the camera is turned off.
2
Remove the body mount
cover (
1
) and lens mount
cover (
2
).
After removing the cover, be sure
to put the lens down with the lens
mount side facing upward.
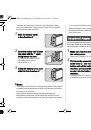
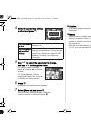
3
Align the lens mount index
(red dots:
3
) on the camera
and the lens, and secure by
turning the lens clockwise
until it clicks.
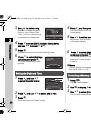
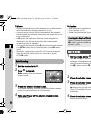
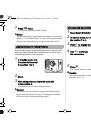
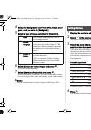
To remove the lens
Attach the lens cap
→
turn
the lens counterclockwise
while pushing the lens
unlock button (
4
).
u
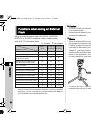
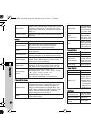
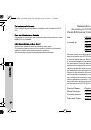
Caution
• If the lens is removed while the power is on, the shutter
release button will be locked. Do not attach or remove
the lens while the power is on.
• When attaching or removing the lens, choose an environment
that is relatively free of dirt and dust.
• Keep the body mount cover on the camera when a lens
is not attached.
• Be sure to attach the lens mount cover and lens cap
to the lens after removing it from the camera.
• Do not insert your fingers inside the lens mount of the camera
or touch the CMOS sensor.
• The camera body and lens mount incorporate lens
information contacts. Dirt, dust, or corrosion may damage
the electrical system. Please contact your nearest service
center for professional cleaning.
• We assume no responsibility nor liability for accidents,
damages and malfunctions resulting from the use of lenses
made by other manufacturers.
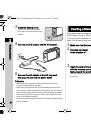
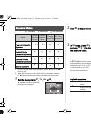
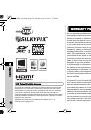
Attaching a Lens
3
4
Q-7_OPM_eng.book Page 21 Tuesday, July 30, 2013 1:56 PM