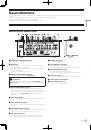
11
Fr
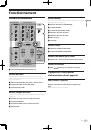
Français
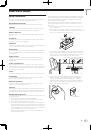
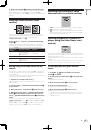
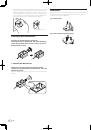
3 Poussez graduellement le crossfader
f
vers la droite.
Tout en contrôlant le son restitué par les enceintes, déplacez le crossfa-
der pour remplacer le son de [
CH-1
] par le son de [
CH-2
].
Le mixage est terminé lorsque le son de [
CH-2
] est restitué par les
enceintes.
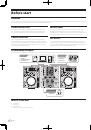
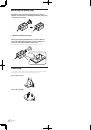
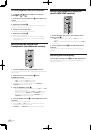
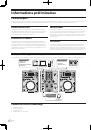
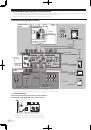
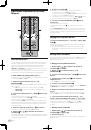
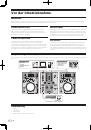
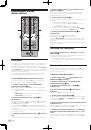
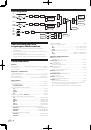
Utilisation de la fonction de filtrage
(section Filtres)
LPF
HPF
LPF
HPF
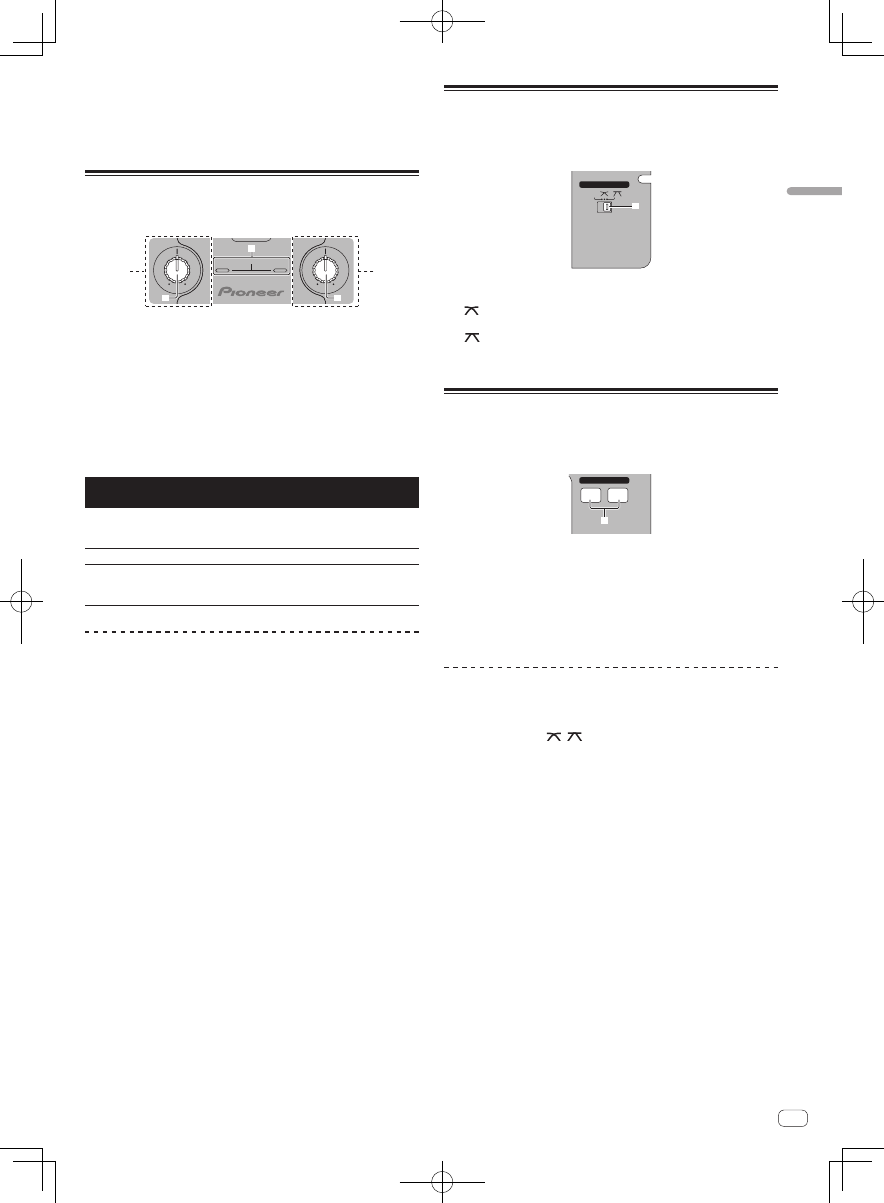
g
SOUND COLOR FILTER
h
h
1
2
Chaque canal est pourvu d’une fonction SOUND COLOR FILTER qui
permet d’obtenir des effets spéciaux par simple rotation d’une grosse
commande.
L’aigu ou le grave peut être soustrait par une rotation de la commande
[
SOUND COLOR FILTER
]
h
.
Tournez la commande [CH-1]
1
ou [CH-2]
2
[SOUND COLOR FILTER]
h
.
L’effet s’applique au son et la couleur de l’indicateur change.
Le type d’effet et la couleur de l’indicateur changent selon le sens
de rotation de la commande [
FILTER
], comme indiqué sur le tableau
suivant.
Sens de
rotation
Description de l’effet
Indicateur
Gauche
Applique un effet de sortie
en fondu des aigus.
(
LPF
: filtre passe-bas)
Rouge (clignotant)
Centre
—
Orange (éclairé)
Droite
Applique un effet de sortie
en fondu des graves.
(
HPF
: filtre passe-haut)
Vert (clignotant)
Mixage avec la commande SOUND COLOR
FILTER
Configurez l’appareil au préalable pour que le son de [
CH-1
]
1
soit émis
par les enceintes. Pour les instructions à ce sujet, reportez-vous à la
page 10,
Restitution du son
.
Pour les instructions sur le contrôle du son, reportez-vous à la page 12,
Contrôle du son par le casque d’écoute (Section Casque d’écoute)
.
1 Actionnez le crossfader et [CH-2]
2
.
Suivez les instructions des étapes 2 à 6 dans la page 10,
Mixage avec les
faders de canaux
.
2 Tournez la commande [CH-2]
2
[SOUND COLOR FILTER]
h
complètement dans le sens
horaire.
3 Poussez le fader de canal [CH-2]
2
e
vers le haut.
4 Tout en tournant la commande [CH-1]
1
[SOUND COLOR FILTER]
h
dans le sens antihoraire
depuis le centre, tournez la commande [CH-2]
2
[SOUND COLOR FILTER]
h
vers le centre.
Tout en vérifiant le son émis par les enceintes, tournez les commandes
[
SOUND COLOR FILTER
]
h
et échangez le son de [
CH-1
] et [
CH-2
].
Poussez le fader de canal [
CH-1
]
1
e
vers l’avant. Le mixage est ter-
miné lorsque le son de [
CH-2
] est restitué par les enceintes.
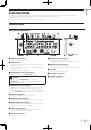
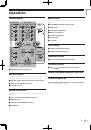
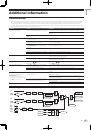
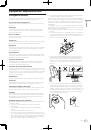
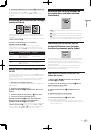
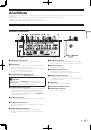
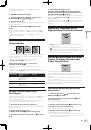
Sélection des caractéristiques de
la courbe du crossfader (section
Crossfader)
THRU
CROSS FADER
j
—
[
THRU
] : Choisissez cette option si vous ne voulez pas utiliser le
crossfader.
—
[
] : Sélectionnez cette option si vous voulez une courbe ascen-
dante douce.
—
[
] : Sélectionnez cette option si vous voulez une courbe ascen-
dante forte. (Lorsque le crossfader est déplacé depuis le côté gauche
ou le côté droit, le son sort immédiatement par le côté opposé.)
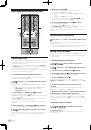
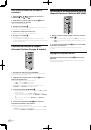
Lancement de la lecture sur un
lecteur DJ Pioneer avec la fader
(section Lancement par le fader)
FADER START
CH-1
CH-2
i
Si vous raccordez un lecteur DJ Pioneer avec un câble de commande
(fourni avec le lecteur DJ), vous pourrez lancer la lecture et contrôler
d’autres opérations du lecteur DJ avec le fader de cet appareil.
Le lancement par le fader ne peut être utilisé que lorsqu’un lecteur DJ
Pioneer est raccordé.
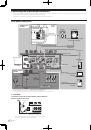
Raccordez cet appareil et le lecteur DJ Pioneer au préalable. Pour
les instructions sur le raccordement, reportez-vous à la page 6,
Raccordement des prises d’entrée/sortie
.
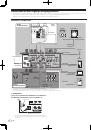
Pour lancer la lecture en utilisant les
faders de canaux
1 Réglez [THRU, , ] (le sélecteur de courbe du
crossfader)
j
sur [THRU].
2 Appuyez sur la touche [CH-1] ou [CH-2]
i
dans la
section Lancement par le fader.
Activez le lancement par le fader.
3 Poussez le fader de canal
e
complètement vers
l’avant.
4 Spécifiez le repère sur le lecteur DJ
Le lecteur DJ se met en pause au point de repère.
5 Poussez le fader de canal
e
vers le haut.
La lecture démarre sur le lecteur DJ.
!
Si vous ramenez le fader de canal à la position originale, le lecteur
revient instantanément au point de repère déjà spécifié et interrompt
la lecture (repère arrière).