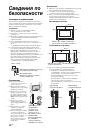
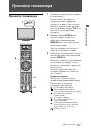
28
GB
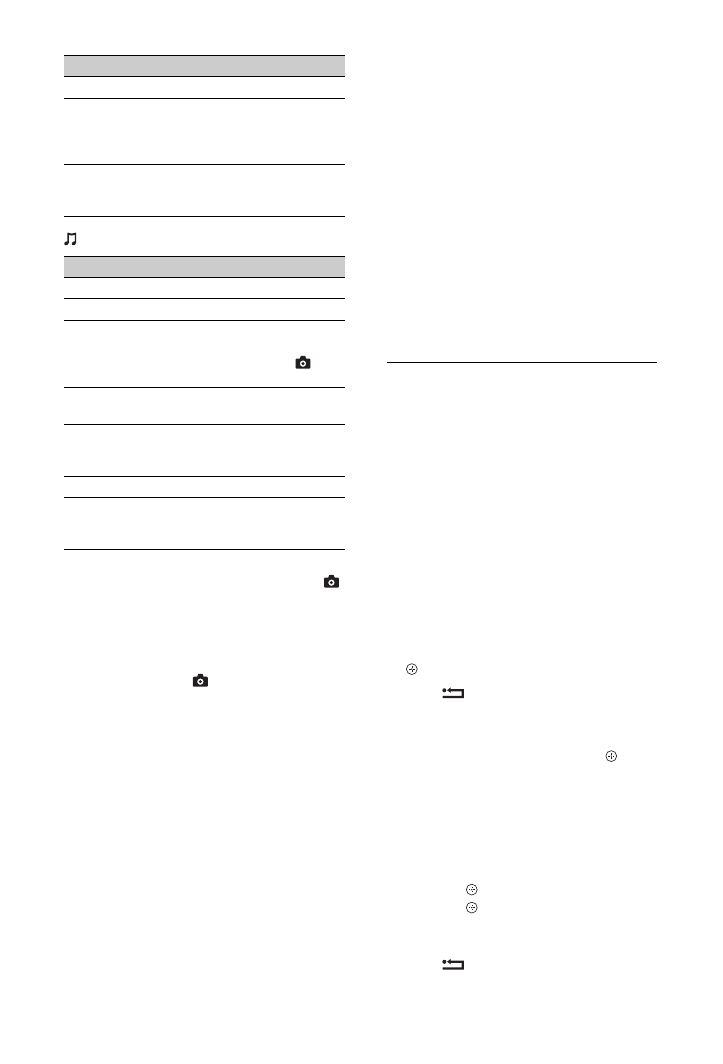
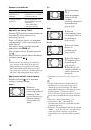
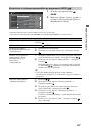
(Music) Available Options
~
• Picture quality may appear coarse when using
(Photo) because images may be enlarged
depending on the file. Also, images may not fill
the entire screen depending on the image size and
aspect ratio.
• Some photo files may take some time to be
displayed when using
(Photo).
• The file name and folder name support only
English.
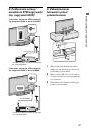
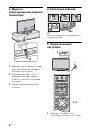
• While the TV is accessing the data on the USB
device, observe the following:
– Do not turn off the TV or connected USB
device.
– Do not disconnect the USB cable.
– Do not remove the USB device.
• Sony will not be held liable for any damage to, or
loss of, data on the recording media due to a
malfunction of any connected devices or the TV.
• Playback does not start automatically if the TV is
turned on after connecting the digital still camera
or other device to the USB port.
• USB playback is supported for the following
photo file formats:
– JPEG (JPEG format files with the extension
“.jpg” and conforming to DCF 2.0 or Exif 2.21)
– RAW (ARW/ARW 2.0 format files with this
extension “.arw.”) For preview only.
• When you connect a Sony digital still camera, set
the camera’s USB connection mode to Auto or
“Mass Storage.” For more information about USB
connection mode, refer to the instructions supplied
with your digital camera.
• USB playback is supported for the following
music file formats:
– MP3 (files with the extension “.mp3” that have
not been copyrighted)
• USB Photo Viewer supports FAT12, FAT16 and
FAT32 file systems.
• Depending on the exact file specifications, some
files, including those modified on a PC, cannot be
played even if the file format is supported.
• Check the website below for updated information
about compatible USB devices.
http://support.sony-europe.com/TV/compatibility/
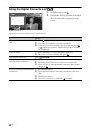
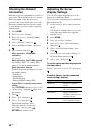
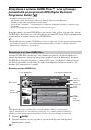
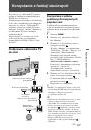
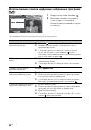
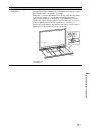
To display a photograph
— Picture Frame
You can display a photograph on the screen
for a selected period of time. After that period,
the TV automatically switches itself into
standby mode.
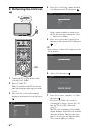
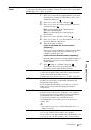
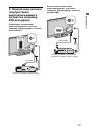
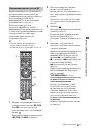
1
Select a photograph.
You can select a photograph from the
connected USB device or preset picture
folder. For details on selecting a
photograph, see page 27.
2
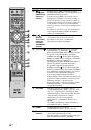
Press
OPTIONS
while the selected
photograph is displayed, then press
F
/
f
to
select “Picture Frame Image” and press
.
3
Press
RETURN
repeatedly to return
to the Home Menu.
4
Press
F
/
f
/
G
/
g
to select “Photo”, then
select “Picture Frame” and press .
The TV is switched to Picture Frame
mode, and the selected photograph is
displayed on the screen.
To set the duration of displaying a
photograph
Press
OPTIONS
, then select “Duration”
and press . Then, select the duration,
and press .
The counter appears on the screen.
To return to the XMB™
Press
RETURN
.
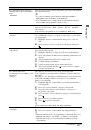
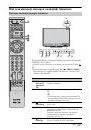
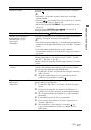
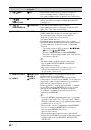
Speaker
Picture Frame Image
Allows you to select a
photograph to be
displayed as picture
frame.
Information
Displays information
about the device, folders,
and files.
Option
Description
Sound Mode
Surround
Add to Slideshow
Registers the background
music to be played during
a slideshow using
(Photo).
Omit from Slideshow Cancels the registered
background music.
Playback Options
Allows music options to
be set for repeat, shuffle,
or regular playback.
Speaker
Information
Displays information
about the device, folders,
and files.
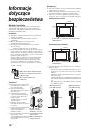
The data on the USB device may be damaged.
Option
Description
 1
1
 2
2
 3
3
 4
4
 5
5
 6
6
 7
7
 8
8
 9
9
 10
10
 11
11
 12
12
 13
13
 14
14
 15
15
 16
16
 17
17
 18
18
 19
19
 20
20
 21
21
 22
22
 23
23
 24
24
 25
25
 26
26
 27
27
 28
28
 29
29
 30
30
 31
31
 32
32
 33
33
 34
34
 35
35
 36
36
 37
37
 38
38
 39
39
 40
40
 41
41
 42
42
 43
43
 44
44
 45
45
 46
46
 47
47
 48
48
 49
49
 50
50
 51
51
 52
52
 53
53
 54
54
 55
55
 56
56
 57
57
 58
58
 59
59
 60
60
 61
61
 62
62
 63
63
 64
64
 65
65
 66
66
 67
67
 68
68
 69
69
 70
70
 71
71
 72
72
 73
73
 74
74
 75
75
 76
76
 77
77
 78
78
 79
79
 80
80
 81
81
 82
82
 83
83
 84
84
 85
85
 86
86
 87
87
 88
88
 89
89
 90
90
 91
91
 92
92
 93
93
 94
94
 95
95
 96
96
 97
97
 98
98
 99
99
 100
100
 101
101
 102
102
 103
103
 104
104
 105
105
 106
106
 107
107
 108
108
 109
109
 110
110
 111
111
 112
112
 113
113
 114
114
 115
115
 116
116
 117
117
 118
118
 119
119
 120
120
 121
121
 122
122
 123
123
 124
124
 125
125
 126
126
 127
127
 128
128
 129
129
 130
130
 131
131
 132
132
 133
133
 134
134
 135
135
 136
136
 137
137
 138
138
 139
139
 140
140
 141
141
 142
142
 143
143
 144
144
 145
145
 146
146
 147
147
 148
148
 149
149
 150
150
 151
151
 152
152
 153
153
 154
154
 155
155
 156
156
 157
157
 158
158
 159
159
 160
160
 161
161
 162
162
 163
163
 164
164
 165
165
 166
166
 167
167
 168
168
 169
169
 170
170
 171
171
 172
172
 173
173
 174
174
 175
175
 176
176
 177
177
 178
178
 179
179
 180
180
 181
181
 182
182
 183
183
 184
184
 185
185
 186
186
 187
187
 188
188
 189
189
 190
190
 191
191
 192
192
 193
193
 194
194
 195
195