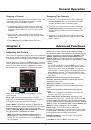
Advanced Functions
10
Note:
Some options may be not available for certain
signal sources.
DNR (Dynamic Noise Reduction)
:
Improves the quality
of the picture in the case of poor reception. Press the left
or right direction button to toggle among
Middle
,
High,
Low
and
Off
.
Smart Switch
:
press the left or right direction button
to select a desired setting:
Switch
,
Display
and
Off
.
Note:
For some models, this option is not available.
Note:
For HDMI source, the smart switch function is
available only when using a HDMI cable to connect the
equipment which turned on. And the smart switch function
is not available for AV2 source, because AV2 shares video
(Y/VIDEO) and audio sockets with YPBPR.
Display
: if an equipment, e.g. a DVD player, has been
connected to the sockets on the TV set and turned on,
e.g. AV1 sockets, the TV set will display a prompt
message on the screen. You can select OK to switch to
that signal source (AV1 for this example) or Cancel to
ignore the prompt.
Off
:
disables the Smart Switch function.
Startup Setting:
Sets the startup picture. You can set the
Default or captured picture as open picture.
Switch
: if an equipment, e.g. a DVD player, has been
connected to the sockets on the TV set and turned on,
e.g. AV1 sockets, the TV set will switch to that signal
source automatically (AV1 for this example).
For example, if you want to set a family photo as the
startup logo:
1. Connect a USB device to a USB socket and show the
photo.
2. Press
Menu
to display the play console, and
use the
direction button
to select
Capture
icon, then
press
OK
to capture the photo.
3. Press
the up
direction button
to select
LOGO1
and press
OK
to confirm.
4. Activate
Startup Setting
and select
LOGO1
,
then
press
OK
to confirm. The TV will automatically display
the captured picture when turning on.
Go to page 12 for specific instructions.
left
or right
or down
Note:
The
LOGO1
item is only available when capturing a
picture and if selecting
LOGO1
, the TV will automatically
display the captured picture when turning on. If
Off
selected, the TV will not display any picture when turning
on.
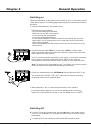
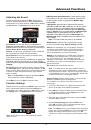
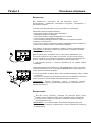
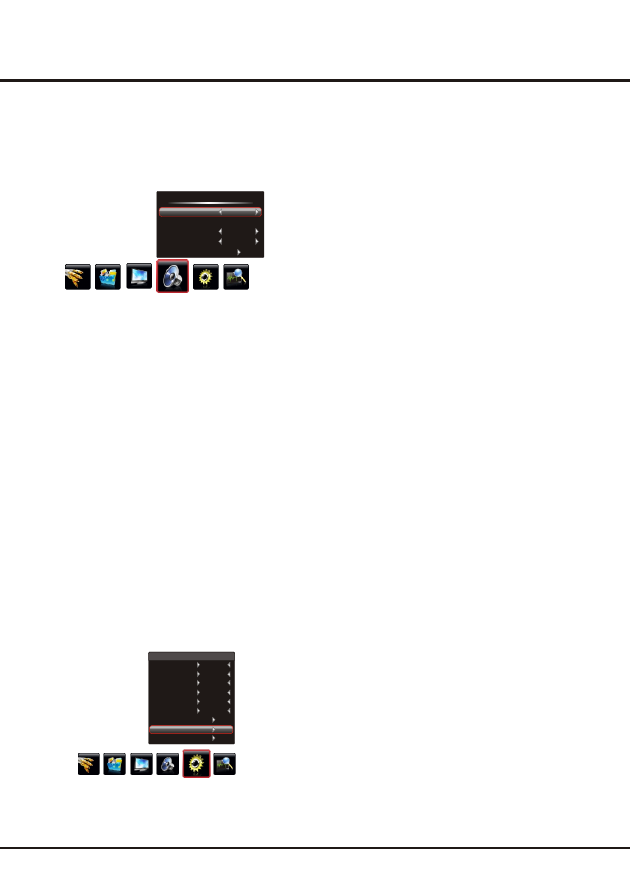
Adjusting the Sound
Display the menu by pressing the
Menu
button. Press
the left or right direction button to select the
Sound
icon
and press the
or down direction or
OK
button to display
the
Sound
menu. The
Sound
options are as below:
Sound Mode:
use the
direction or
OK
through the sound preset settings:
up
right
Stereo
,
Music
,
Movie
,
News
and
Personal
.
button
to
display the selectable options, then press the up or down
direction button to scroll
Note
: If the
Sound EQ
is adjusted, the
Sound Mode
will automatically switch to
Personal
.
Balance
: use the
direction button to balance
the sound between the left and right speakers.
left or right
Scene:
use the
direction or
OK
through
right
button to display the
selectable options, then press the up or down direction
button to scroll
the scene preset setting:
DeskTop
,
HangUp
.
Sound EQ:
adjusts the audio frequency settings. Select
the
Sound EQ
option, and press the right direction or
OK
button to enter, then press the up or down direction button
to select an option and press the left or right direction
button to adjust.
Press
Menu
to return or
Exit
to close the menu.
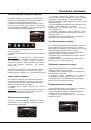
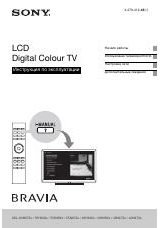
Function Settings
Display the menu by pressing the
Menu
button. Press the
left or right direction button to select the
Setting
icon
and press the up or down direction or
OK
button to enter
the
Setting
menu.
The
Setting
options are as below:
Smart Volume:
turns on this option to keep the same
sound level for all channels.
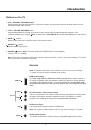
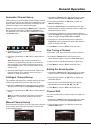
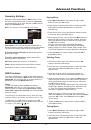
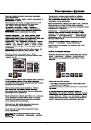
Sound
Sound Mode
Balance
Scene
Sound EQ
Smart Volume
Stereo
0
Off
DeskTop
Light Sensor:
press the left or right direction button to
select
On
or
Off
. When
On
is selected, the unit is in power
saving mode and can automatically adjust the backlight
according to the intensity of ambient light, the
Back Ligh
t
option in
Picture
menu is not adjustable, the
Natural Light
in
Picture
menu is automatically set to Off and not
adjustable. When
Off
is selected, the
Back Light
and
Natural Light
options in
Picture
menu will restore to the
user's setting.
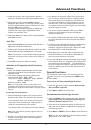
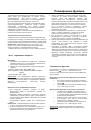
DNR
Light Sensor
Smart Switch
Startup Setting
Language
Color System
Watch Time Limit
Time Setting
Restore to Default
Setting
Light Sensor
Smart Switch
Startup Setting
Language
Color System
Watch Time Limit
Restore to Default
Off
Off
Default
English
Auto
DNR
High
Time Setting