8
General Operation
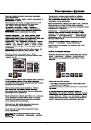
Automatic Channel Set-up
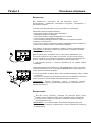
Channel set-up involves selecting all the settings required
to be able to search for and store all the channels you can
receive. Make sure that the television is switched on and
follow all the steps in turn specified hereafter.
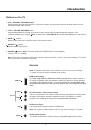
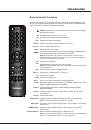
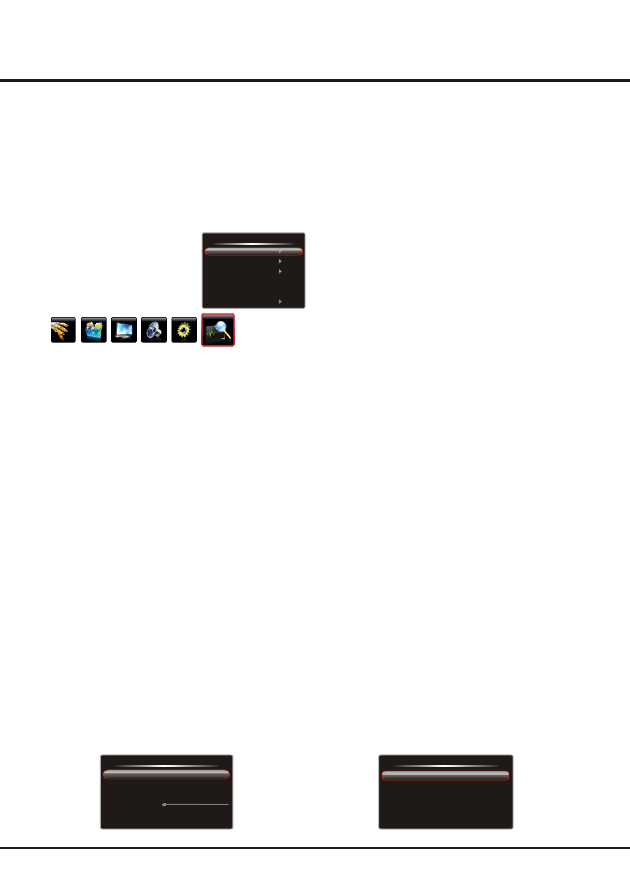
Display the menu by pressing the
Menu
button. Press the
left or
direction button to select the
Channel
icon
and press the
or down direction or
OK
button to enter
the
Channel
menu.
Press the up or down direction button to select
Channels are arranged in a pre-set order. Refer to the
following sections if you want to fine tune or skip a
channel, or swap two channels.
right
up
1.
the
Auto Tuning
option.
2. Press the
direction or
OK
button to start channel
search.
Note:
Depending on the number of channels you
receive, it may take several minutes for the channel
search to finish. If you want to interrupt the process,
press the
Menu
button. The channels already found
will be stored.
3.
right
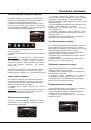
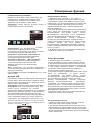
Intelligent Channel Set-up
This operation will keep all the existing channels and add
newly found channels to the end of the channel list.
ress the up or down
direction button to select
1. Activate the
Channel
menu and p
the
Intelligent Tuning
option.
2. Press the
direction or
OK
button to start intelligent
tuning.
Note:
If you want to interrupt the process, press the
Menu
button. The channels already found will be
stored.
right
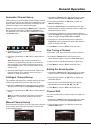
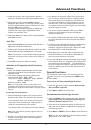
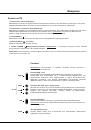
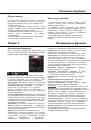
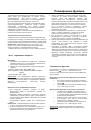
Manual Channel Set-up
right
left or right
left or right
left or right
Press
Menu
to return or
Exit
to close the menu.
1. Activate the
Channel
menu and p
the
Manual Tuning
option.
2. Press the
direction or
OK
button to enter the
Manual Tuning
menu.
3. Select the
Channel
option and press the
press the
the
Frequence
option and press the
ress the up or down
direction button to select
direction button to select a channel number to store the
channel that will be found.
4. If necessary, press the up or down direction button to
select the
Band
option and
direction
button to toggle among
VHFH
,
UHF
and
VHFL
.
5. Press the up or down direction button to select
direction
button to search manually.
6.
Fine Tuning a Channel
If the picture is not clear you can fine tune the channel.
1. Activate the
Channel
menu and p
the
Fine-Tune
option.
2. Press the left or right direction button to fine tuning
ress the up or
down direction button to select
3. Press
Menu
to return or
Exit
to close the menu.
Setting the Sound System
1. Activate the
Channel
menu and p
the
Sound System
option.
2. Press the
direction or
OK
button to display the
selectable options.
3. Press the up or down direction button to
ress the up or down
direction button to select
.
right
select an
appropriate sound system:
DK
,
BG
,
I
and
M
.
4 Press
Menu
to return or
Exit
to close the menu.
42.25 MHz
DK
Channel
Auto Tuning
Intelligent Tuning
Manual Tuning
Fine-Tune
Sound System
Channel Edit
Manual Tuning
Channel
Band
Frequence
Search
1
VHFL
49.70 MHz
'MENU' TO RETURN. 'EXIT' TO EXIT.
Follow the below procedure if you find that some channels
have not been stored after the automatic set-up as well
as the intelligent set-up.
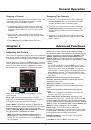
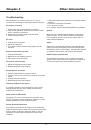
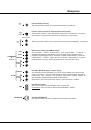
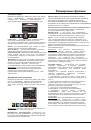
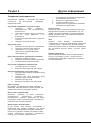
Channel Edit
You can use this function to skip a channel or swap two
channels.
1. Activate the
Channel
menu and p
the
Channel Edit
option.
2. Press the right direction or OK button to enter the
Channel Edit
menu.
ress the up or down
direction button to select
Channel Edit
'MENU' TO RETURN. 'EXIT' TO EXIT.
Current Channel
Target Channel.
Skip
Swap
1
1
Yes
?