10
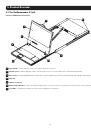
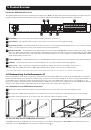
1 . Product Overview
in the following sections.
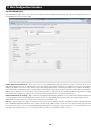
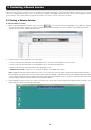
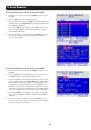
To set the IPv4 address via the local console OSD:
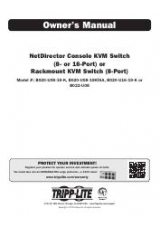
1. From the local console, press the left
[Shift]
key twice to open
the OSD.
2. Press the
[F2]
key to open the
Settings
menu.
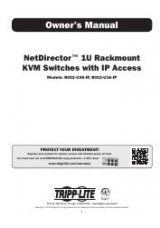
3. In the
Settings
menu, press the
[Tab]
key until the
DHCP
field is
highlighted. Press the
[Spacebar]
key to toggle the
DHCP
field
from
Enabled
to
Disabled
.
4. Pressing the
[Tab]
key to navigate to the additional fields, type
in the desired IP Address, Subnet Mask, Gateway and DNS
Server Address (optional).
5. Once the IP address is satisfactory, press the
[Esc]
key to save
your changes. This will require that the KVM be rebooted to
save the new settings.
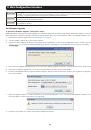
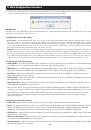
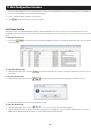
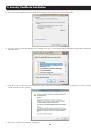
To set the IP address via the Web Configuration Interface:
Note:
•
Before logging on the first time, verify that you have the latest Java installed on your computer (Java 1.6 or higher is required). If not, you
can download and install Java from
http://www.java.com/en/download/index.jsp
.
•
Only SSL connections are allowed, so you must start the IP address with HTTPS, not HTTP.
1. Open your web browser (see the
Client Computer Compatibility
section of this manual for browser support) and enter in the IP address
of the KVM.
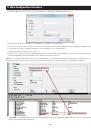
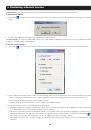
2. When logging into the KVM from your web browser, a Security Alert message appears to inform you that the device’s certificate is not
trusted, and asks if you want to proceed. You have two options:
•
If you are working on a computer other than your own, accept the certificate for just this session by clicking to proceed.
•
If you are working at your own computer, install the certificate. Reference the instructions in the
Security Certificate Installation
section of this manual.
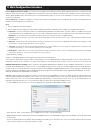
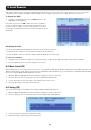
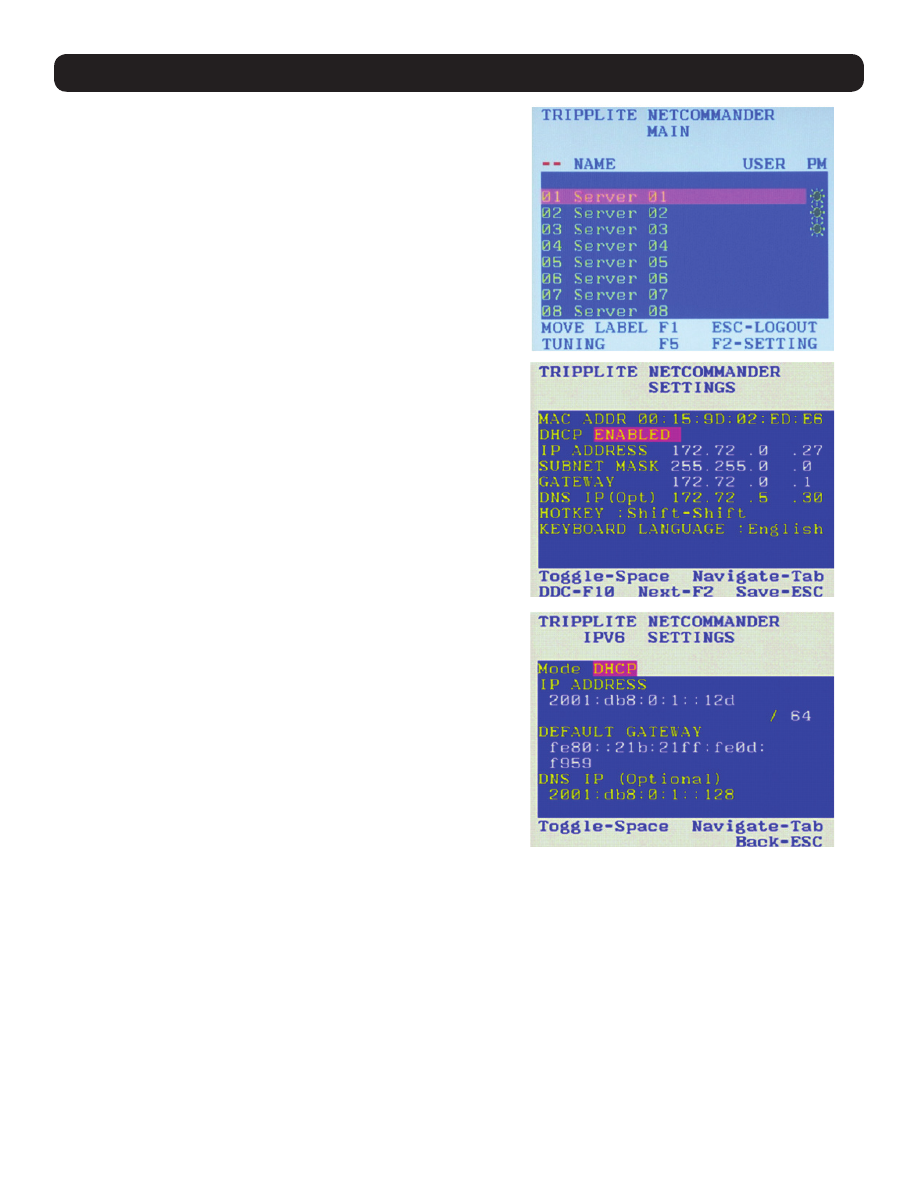
To set the IPv6 address via the local console OSD:
1. From the local console, press the left
[Shift]
key twice to open the OSD.
2. Press the
[F2]
key to open the Settings menu, and then press the
[F2]
key again to open the IPv6 Settings menu.
3. In the IPv6 Settings menu, with the Mode field at the top of the screen
highlighted, press the
[Spacebar]
key to toggle between DHCP,
Stateless, and Static. DHCP is selected by default, and automatically
assigns an IP address via the IPv6 DHCP server. Stateless is an
option for networks with a compliant router that performs Stateless IPv6
configuration. Static allows you to manually assign an IP address.
4. Pressing the
[Tab]
key to navigate to the additional fields, type in the
desired IP Address, Gateway, and DNS Server Address (optional).
Note:
DNS IP should be set to 0.0.0.0 to indicate no DNS.
5. Once the IP address is satisfactory, press the
[Esc]
key twice to exit
and save your changes. This will require that the KVM be rebooted to
save the new settings.