49
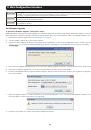
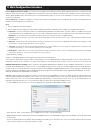
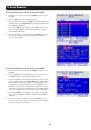
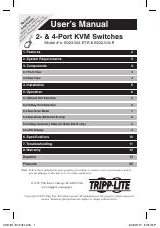
To set the IPv4 address via the local console OSD:
1. From the local console, press the left
[Shift]
key twice to open
the OSD.
2. Press the
[F2]
key to open the
Settings
menu.
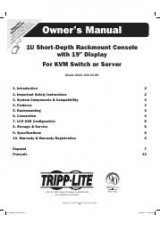
3. In the
Settings
menu, press the
[Tab]
key until the
DHCP
field is
highlighted. Press the
[Spacebar]
key to toggle the
DHCP
field
from
Enabled
to
Disabled
.
4. Pressing the
[Tab]
key to navigate to the additional fields, type
in the desired
IP Address, Subnet Mask, Gateway,
and
DNS
Server Address
(Optional).
5. Once the IP address is satisfactory, press the
[Esc]
key to save
your changes. This will require that the KVM be rebooted to
save the new settings.
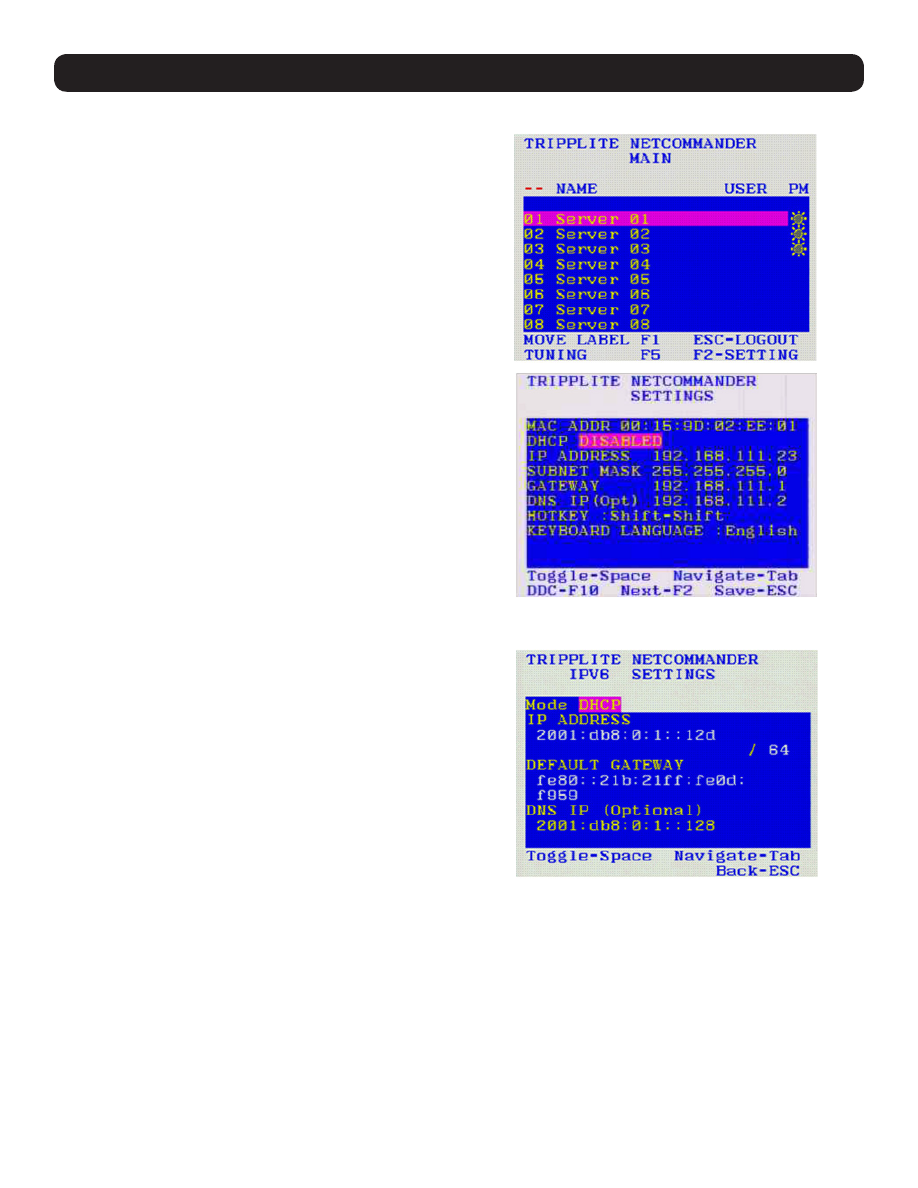
To set the IPv6 address via the local console OSD:
1. From the local console, press the left
[Shift]
key twice to open
the OSD.
2. Press the
[F2]
key to open the
Settings
menu, and then press
the
[F2]
key again to open the IPv6
Settings
menu.
3. In the IPv6
Settings
menu, with the
Mode
field at the top of the
screen highlighted, press the
[Spacebar]
key to toggle between
DHCP, Stateless
, and
Static
.
DHCP
is selected by default, and
automatically assigns an IP address via the IPv6 DHCP server.
Stateless
is an option for networks with a compliant router that
automatically assigns an IP address based on the MAC address
of the unit.
Static
allows you to manually assign an IP address.
4. Pressing the
[Tab]
key to navigate to the additional fields, type
in the desired
IP Address, Gateway
, and
DNS Server Address
(Optional).
5. Once the IP address is satisfactory, press the
[Esc]
key twice
to exit and save your changes. This will require that the KVM be
rebooted to save the new settings.
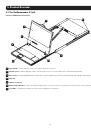
4 . Local Console