23
2 . Web Configuration Interface
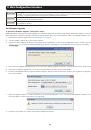
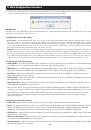
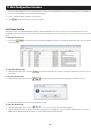
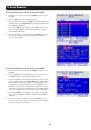
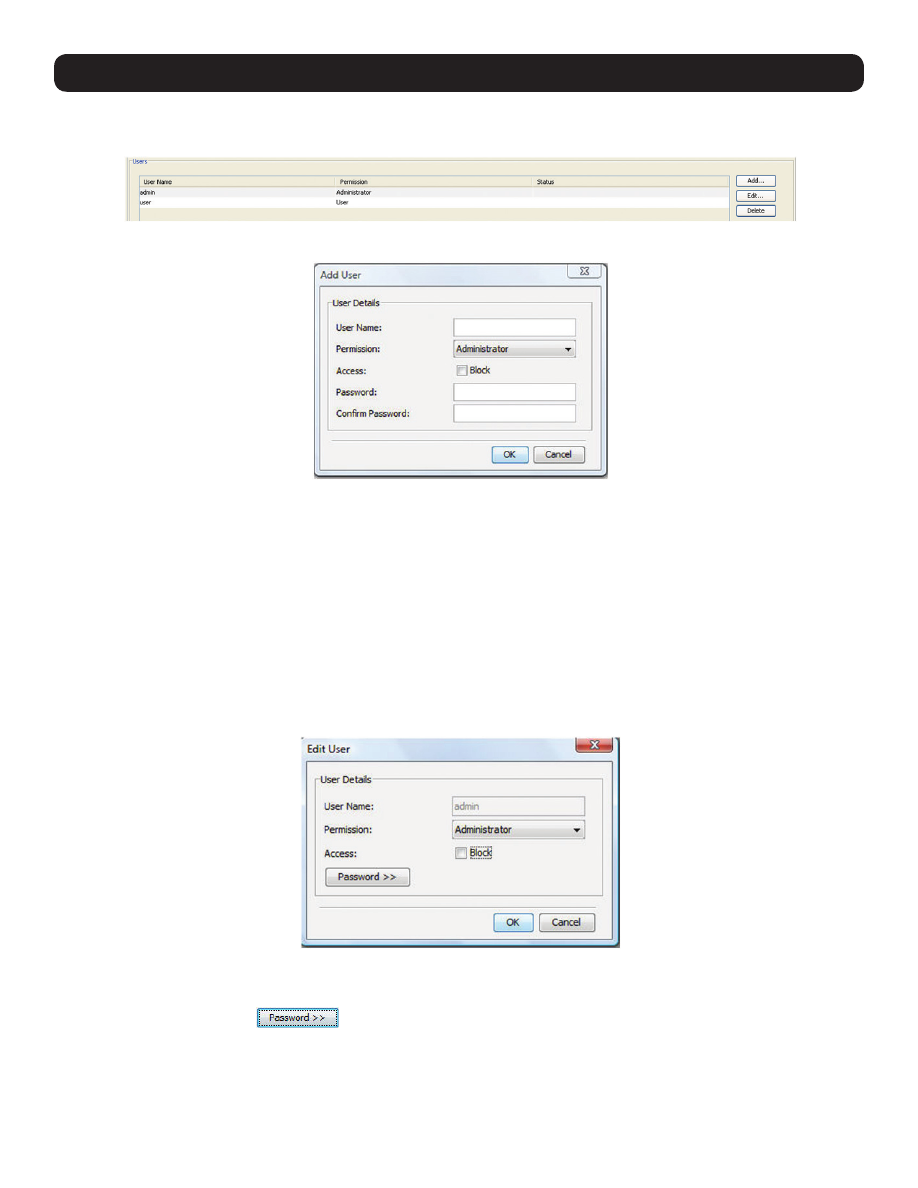
To add an account:
1. Click on the
Users
tab in the
Configuration
section. The
Users
page opens and displays a list of existing accounts.
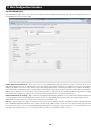
2. Click the
Add
button. The
Add User
page appears.
3. Type in a
User Name
and
Password
. The password must be at least six alphanumeric characters long and cannot include the user
name, even if other characters are added.
Note:
Although User Names can be entered in both lowercase and uppercase, they are not
case sensitive when being used to login to the KVM; therefore, do not create two users with the same name. (e.g. user1, USER1) User
Name and Password must be 10 characters or less. The “special” characters
&
,
<
,
>
, and
”
cannot be used for either the user name
or password. The User Name and Password parameters depend on the security level chosen (See the Security section in this manual for
details).
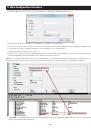
4. In the
Confirm Password
field, retype the password.
5. In the
Permission
dropdown menu
,
select the permission type:
Administrator
or
User
.
6. Click
OK
. The new account is added to the list in the
Users
page.
7. Click the
Save
button at the top of the screen to save your changes.
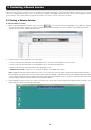
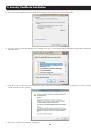
To edit an account:
1. In the
Users
page, select an account from the list and click the
Edit
button. The
Edit User
page appears.
2. Change the
Permission
and/or
Access
as required. Checking the
Block
checkbox next to the
Access
field blocks an account from
accessing the KVM, but keeps its information stored in the KVM. This way, if you ever want to reactivate the account, all you have to do
is go back in and uncheck this box.
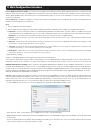
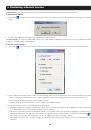
3. To change the password, click
. The
Password
screen opens. In the upper textbox, type the new password; in the lower
textbox, confirm the new password.
Note:
You cannot change the password of an Administrator who is currently logged on to the
system.
4. Click
OK
. The
Users
page opens with the user information changed accordingly.
5. Click the
Save
button at the top of the screen to save your changes.