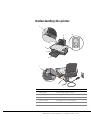
Using the printer
23
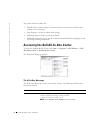
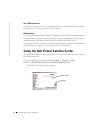
Sending a multiple-page fax with BVRP
1
Click the
Start
button.
2
Move your mouse pointer over
All Programs
, then
Dell Printers
, and then
Dell AIO
Printer A920
.
3
Click
Dell All-In-One Center
.
4
Click
See More Scan Settings
.
5
Click
Display Advanced Scan Settings
.
6
Click to select
Scan multiple items before output
.
7
Click
OK
.
8
Select
Fax
from the
Send scanned image to
drop-down menu.
9
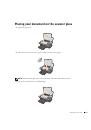
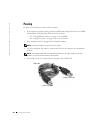
Place the document you want to fax
face down
under the lid of the printer.
10
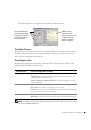
Click
Preview Now
.
A preview of your document appears. Adjust your document and repeat if necessary.
11
Click
Yes
until all pages you want to fax are scanned, and then click
No
.
12
Follow the instructions on your computer screen to send your fax.
Receiving faxes with BVRP
NOTE:
The computer must be turned on and BVRP FaxTools must be configured in order to
receive a fax.
1
Click the
Start
button.
2
Click
All Programs
.
3
Click
Classic PhoneTools
or
FaxTools
.
BVRP fax software launches. You are now ready to receive a fax.
Viewing your faxes in BVRP
1
Click the
Start
button.
2
Click
All Programs
.
3
Click
Classic PhoneTools
or
FaxTools
.
4
Click
Fax Inbox
to view received faxes.
5
Click
Fax Outbox
to view sent faxes.


Инструкции и руководства похожие на DELL A920