- 93 -
Appendix
For the JMicron JMB362:
Step 1:
Restart your system to boot from the Windows Vista setup disk and perform standard OS installation steps.
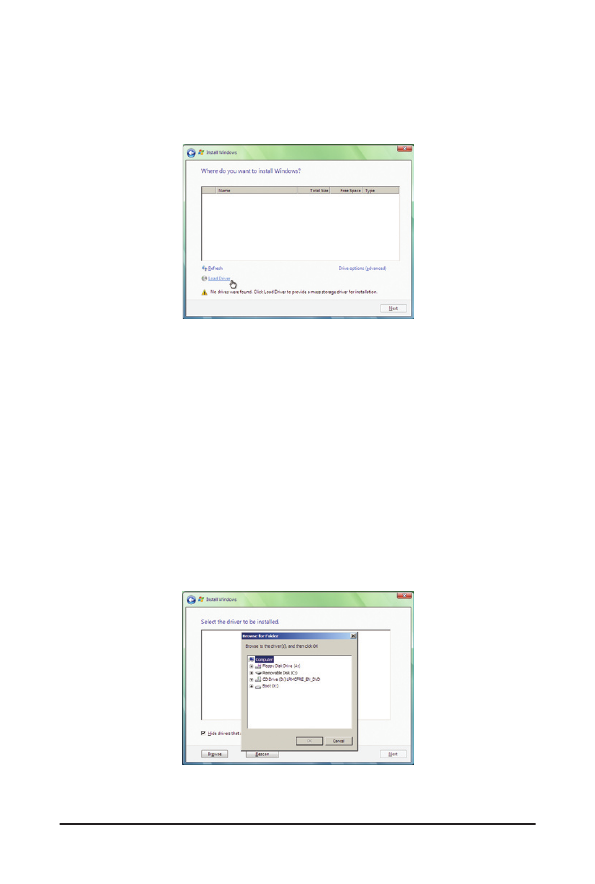
When a screen similar to that below appears (RAID/AHCI hard drive(s) will not be detected at this stage),
select Load Driver (Figure 8).
Step 2:
Insert the motherboard driver disk (Method A) or the floppy disk/USB flash drive that contains the SATA RAID/
AHCI driver (Method B), then specify the location of the driver (Figure 9). Note: For users using a SATA opti-
cal drive, be sure to copy the driver files from the motherboard driver disk to a USB flash drive before install-
ing Windows Vista (go to the BootDrv folder and save the whole GSATA folder to the USB flash drive). Then
use Method B to load the driver.
Method A:
Insert the motherboard driver disk into your system and browse to the following directory:
\BootDrv\GSATA\32Bit
For Windows Vista 64-bit, browse to the 64Bit folder.
Method B:
Insert the USB flash drive containing the driver files and browse to \GSATA\32Bit (for Windows Vista 32-bit)
or \GSATA\64Bit (for Windows Vista 64-bit).
Figure 8
Figure 9


