English
10
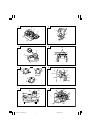
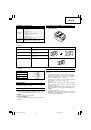
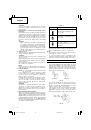
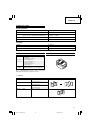
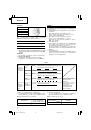
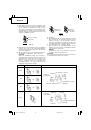
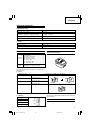
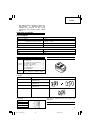
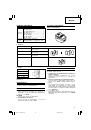
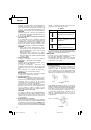
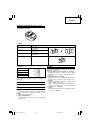
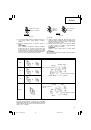
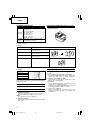
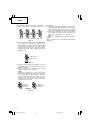
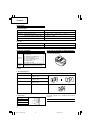
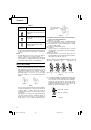
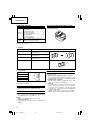
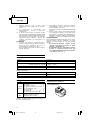
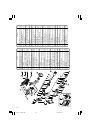
STANDARD ACCESSORIES
1
Charger ............................................ 1
2
Battery ............................................. 2
3
Battery cover .................................. 1
CL14DSL
4
Plastic case ..................................... 1
(2LSCK)
5
Hexagon bar wrench .................... 1
6
M8 Cutter ........................................ 2
7
M8 Spacer ...................................... 2
8
M8 Trimmer ................................... 1
CL14DSL
Without charger, battery,
(NN)
battery cover and plastic case
Standard accessories are subject to change without notice.
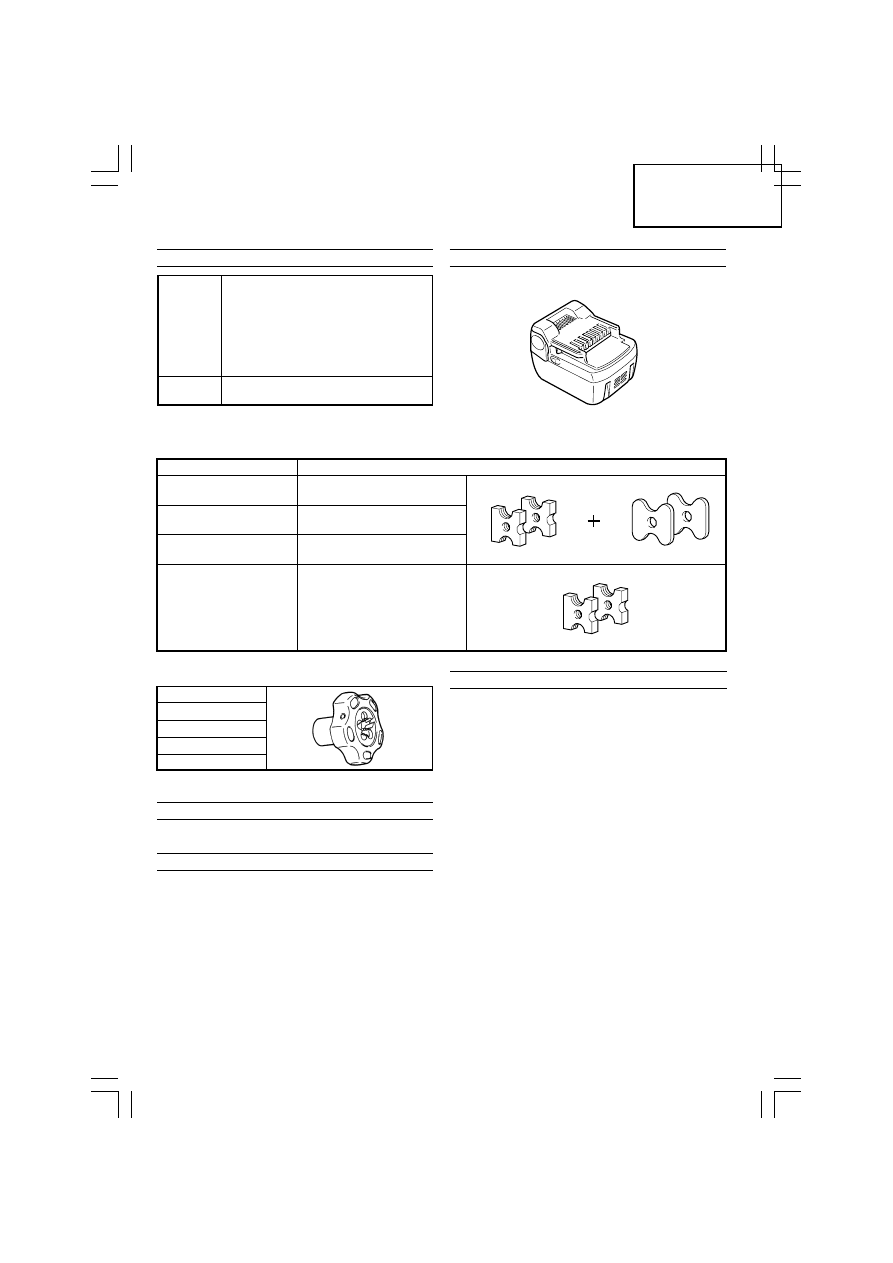
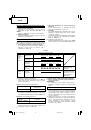
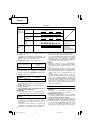
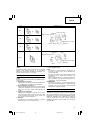
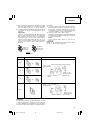
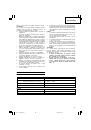
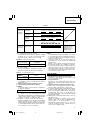
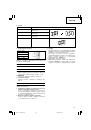
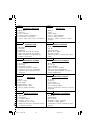
OPTIONAL ACCESSORIES (sold separately)
1. Battery (BSL1430)
Screw size
Combining cutters and spacers
M10
×
1.5
M10 Cutter ............................. 2
M10 Spacer ............................ 2
M8
×
1.25
M8 Cutter ............................... 2
M8 Spacer .............................. 2
M6
×
1
M6 Cutter ............................... 2
M6 Spacer ............................. 2
W3/8"
×
1.5875
W3/8" Cutter ........................... 2
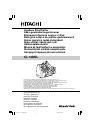
2. Cutter
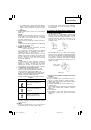
3. Trimmer
Screw size
M10
×
1.5
M8
×
1.25
M6
×
1
W3/8"
×
1.5875
Optional accessories are subject to change without notice.
APPLICATIONS
䡬
Cutting of soft steel studs.
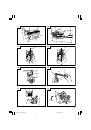
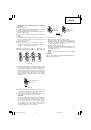
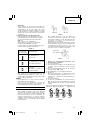
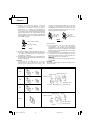
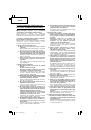
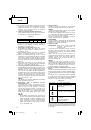
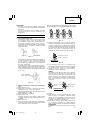
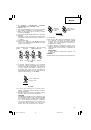
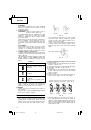
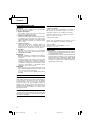
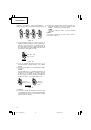
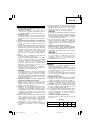
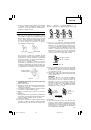
BATTERY REMOVAL/INSTALLATION
1. Battery removal
Hold the handle tightly and push the battery latch
to remove the battery (see
Figs. 1
and
2
).
CAUTION:
Never short-circuit the battery.
2. Battery installation
Insert the battery while observing its polarities (see
Fig. 2
).
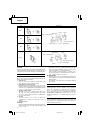
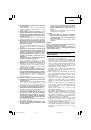
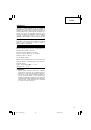
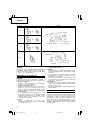
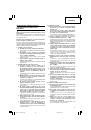
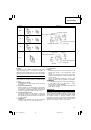
CHARGING
Before using the power tool, charge the battery as
follows.
1. Connect the charger’s power cord to a receptacle.
When the power cord is connected, the charger’s
pilot lamp will blink in red. (At 1-second intervals)
2. Insert the battery into the charger.
Firmly insert the battery into the charger until the
line is visible, as shown in
Fig. 3, 4
.
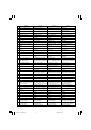
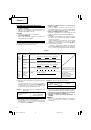
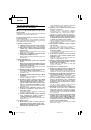
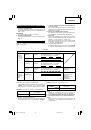
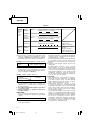
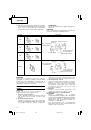
3. Charging
When inserting a battery in the charger, charging
will commence and the pilot lamp will light
continuously in red.
When the battery becomes fully recharged, the pilot
lamp will blink in red. (At 1-second intervals) (See
Table 1
)
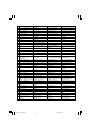
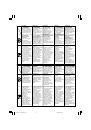
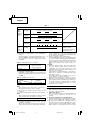
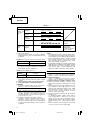
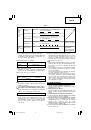
(1) Pilot lamp indication
The indications of the pilot lamp will be as shown
in
Table 1
, according to the condition of the charger
or the rechargeable battery.
01Eng_CL14DSL_EE
08/3/26, 18:30
10
 1
1
 2
2
 3
3
 4
4
 5
5
 6
6
 7
7
 8
8
 9
9
 10
10
 11
11
 12
12
 13
13
 14
14
 15
15
 16
16
 17
17
 18
18
 19
19
 20
20
 21
21
 22
22
 23
23
 24
24
 25
25
 26
26
 27
27
 28
28
 29
29
 30
30
 31
31
 32
32
 33
33
 34
34
 35
35
 36
36
 37
37
 38
38
 39
39
 40
40
 41
41
 42
42
 43
43
 44
44
 45
45
 46
46
 47
47
 48
48
 49
49
 50
50
 51
51
 52
52
 53
53
 54
54
 55
55
 56
56
 57
57
 58
58
 59
59
 60
60
 61
61
 62
62
 63
63
 64
64
 65
65
 66
66
 67
67
 68
68
 69
69
 70
70
 71
71
 72
72
 73
73
 74
74
 75
75
 76
76
 77
77
 78
78
 79
79
 80
80
 81
81
 82
82
 83
83
 84
84
 85
85
 86
86
 87
87
 88
88
 89
89
 90
90
 91
91
 92
92
 93
93
 94
94
 95
95
 96
96
 97
97
 98
98
 99
99
 100
100
 101
101
 102
102
 103
103
 104
104
 105
105
 106
106
 107
107
 108
108
 109
109
 110
110
 111
111
 112
112