GB
15
F
V
1
2
3
4
5
1
2
3
4
5
1
2
3
4
5
1
2
3
4
5
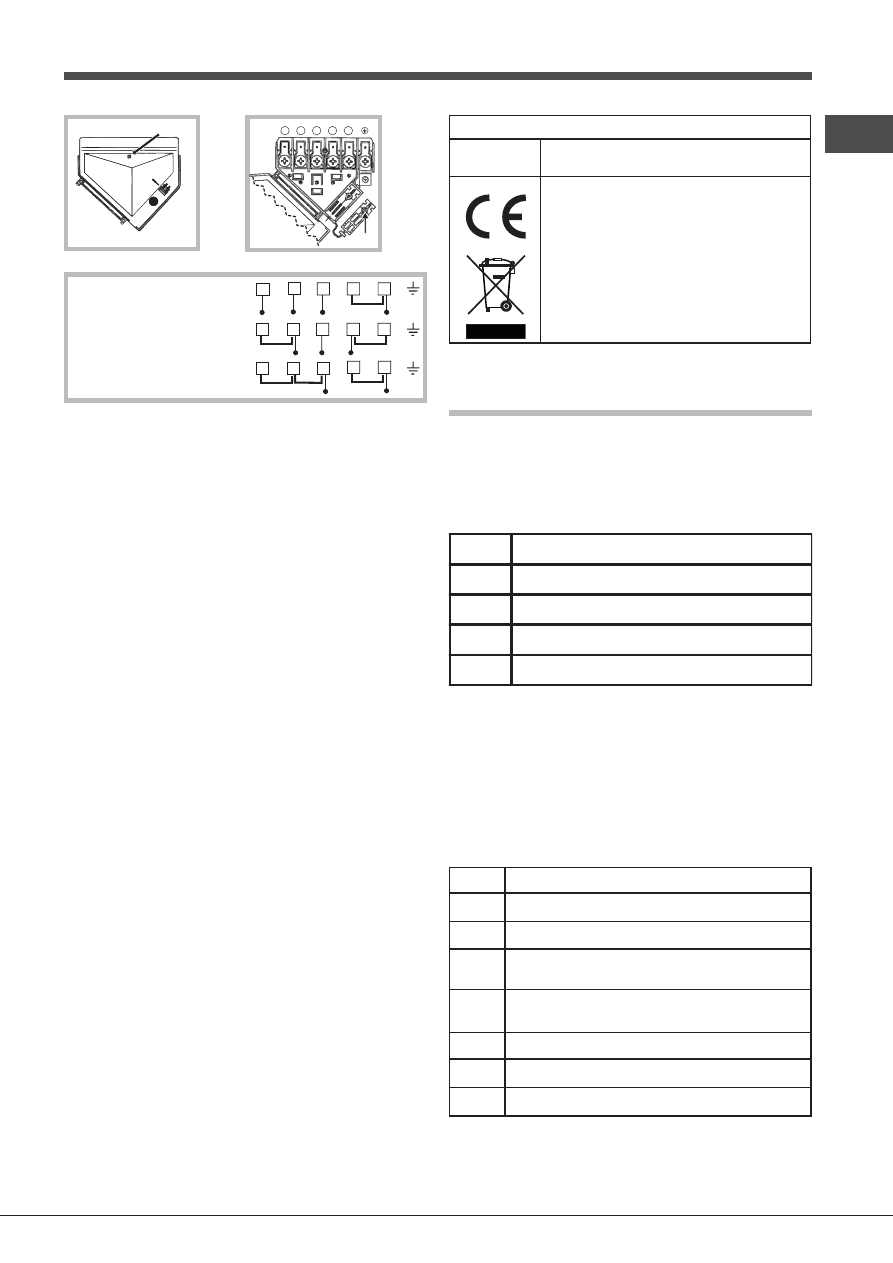
R
S
T
N
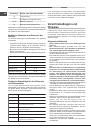
R S N
R
N
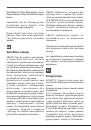
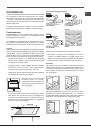
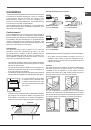
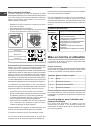
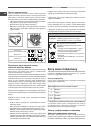
380-400V 3N~
H05RR-F 5x1.5 CEI-UNEL 35363
380-400V 2N~
H05RR-F 4x1.5 CEI-UNEL 35363
220-230V 1N~
H05RR-F 3x2.5 CEI-UNEL 35363
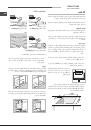
Connecting the supply cable to the mains
Install a standardised plug corresponding to the load
indicated on the data plate.
The appliance must be directly connected to the mains
using an omnipolar circuit-breaker with a minimum contact
opening of 3 mm installed between the appliance and the
mains. The circuit-breaker must be suitable for the charge
indicated and must comply with current electrical regulations
(the earthing wire must not be interrupted by the circuit-
breaker). The supply cable must not come into contact with
surfaces with temperatures higher than 50°C.
!
The installer must ensure that the correct electrical
connection has been made and that it is compliant with
safety regulations.
Before connecting to the power supply, make sure that:
• The appliance is earthed and the plug is compliant with
the law.
• The socket can withstand the maximum power of the
appliance, which is indicated on the data plate.
• The voltage is in the range between the values indicated
on the data plate.
• The socket is compatible with the plug of the appliance.
If the socket is incompatible with the plug, ask an
authorised technician to replace it. Do not use extension
cords or multiple sockets.
!
Once the appliance has been installed, the power supply
cable and the electrical socket must be easily accessible.
!
The cable must not be bent or compressed.
!
The cable must be checked regularly and replaced by
authorised technicians only (see Assistance).
!
The manufacturer declines any liability should these safety
measures not be observed.
!
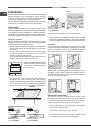
If the appliance is to be installed above a built-in electric
oven, the electrical connection of the hob and the oven must
be carried out separately, both for electrical safety purposes
and to make extracting the oven easier.
Electrical
connections
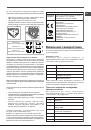
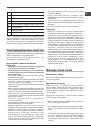
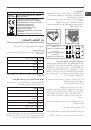
DATA PLATE
Voltage 220-230V/380-400V 3N ~ 50/60 Hz
Max power 5600 W
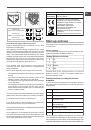
This appliance conforms to the following
European Economic Community directives:
- 2006/95/EEC dated 12/12/06 (Low Voltage)
and subsequent amendments
- 2004/108/EEC dated 15/12/04
(Electromagnetic Compatibility) and
subsequent amendments
- 93/68/EEC dated 22/07/93 and subsequent
amendments.
- 2002/96/EC and subsequent amendments.
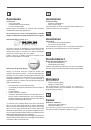
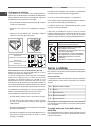
Start-up and use
!
The position of the corresponding electric hotplate is shown
on every knob.
Electric hotplates
The corresponding knob may be turned clockwise or anti-
clockwise and set to six different positions:
Setting Normal or Fast Plate
0
Off
1
Low
2 - 5
Medium
6
High
!
Please refer to the “Practical advice on using the
appliance” section for a list of the relative positions and
their recommended uses.
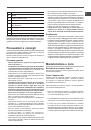
Practical advice on using the electric
hotplates
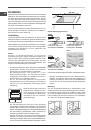
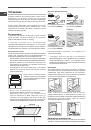
To avoid heat loss and damage to the hotplates, use pans
with a flat base, whose diameter is no less than that of the
hotplate itself.
Setting
0
1
2
3
4
5
6
Setting
Off
Cooking vegetables, fish
Cooking patatoes (using steam) soups,
chickpeas, beans.
Continuing the cooking of large quantities of
food, minestrone.
For roasting (average)
For roasting (above average)
For browning and reaching a boil in a short time
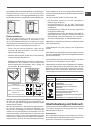
!
Before using the hotplates for the first time, you should heat
them at maximum temperature for approximately 4 minutes,
without placing any pans on them. During this initial stage, their
protective coating hardens and reaches its maximum resistance.