Preparing For Hardware Installation
5
2.
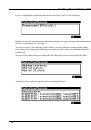
Position the foam pads on your work surface so that they’ll support the ends of the keyboard.
3.
Place your instrument
face-down
on the foam pads, with the keyboard facing away from you,
and the back of the instrument closer to you. Make sure that it’s not resting on the Alpha Wheel
or sliders.
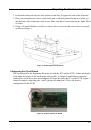
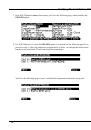
4.
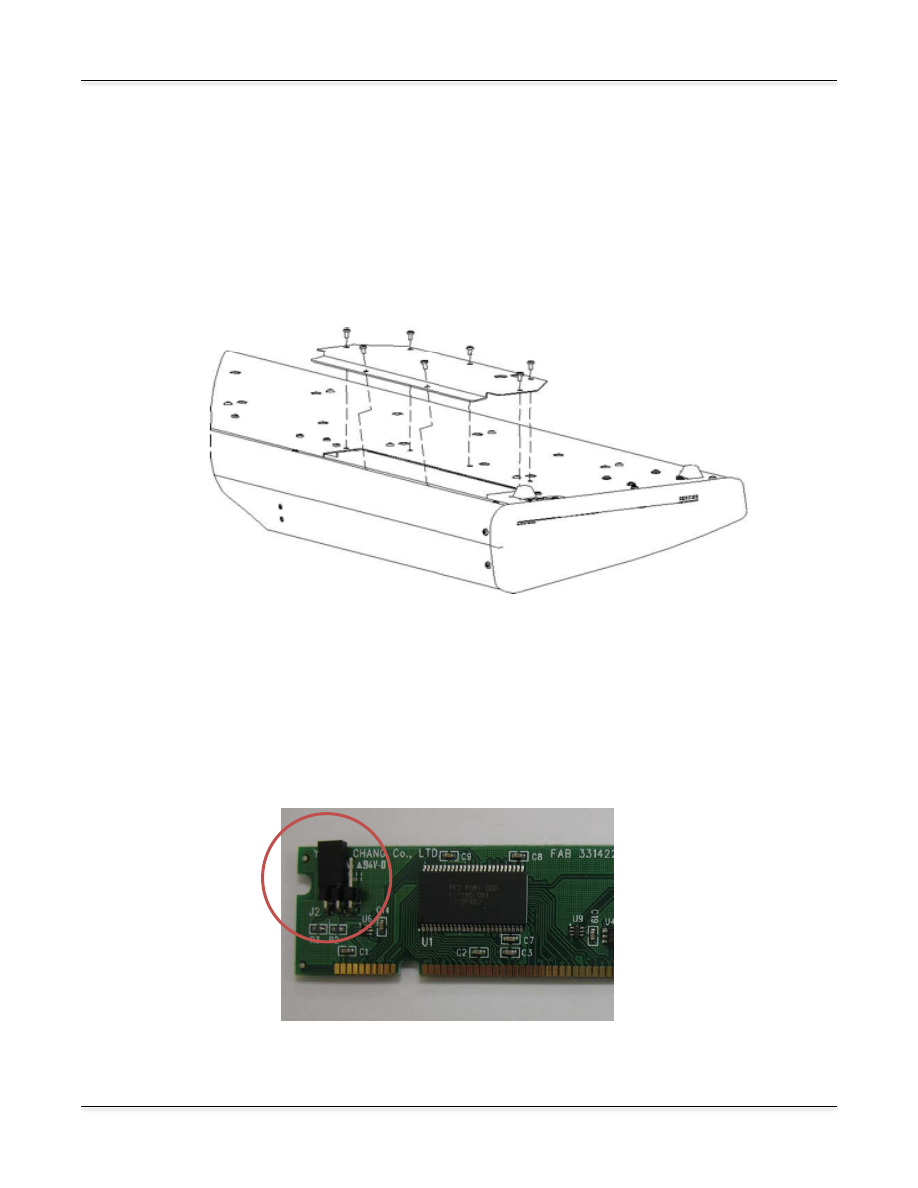
Using a #2 (small) Phillips screwdriver, remove the seven screws that secure the access panel,
as shown in Figure 1.
Figure 1: Removing the access panel
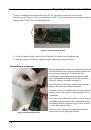
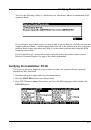
Configuring the Circuit Board
The circuit board for the Expansion Kit works for both the PC3 and the PC3K. A three-pin header
at the upper left corner of the board makes this possible. A jumper (a small plastic connector)
connects two of the three pins, and configures the board for either the PC3 or the PC3K. Figure 2
shows the jumper connecting pins 1 and 2 (the two left-hand pins). This is the correct
configuration for the PC3K.
Figure 2: Jumper position for PC3K