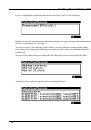
Hardware Installation: PC3K
9
2.
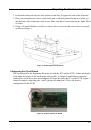
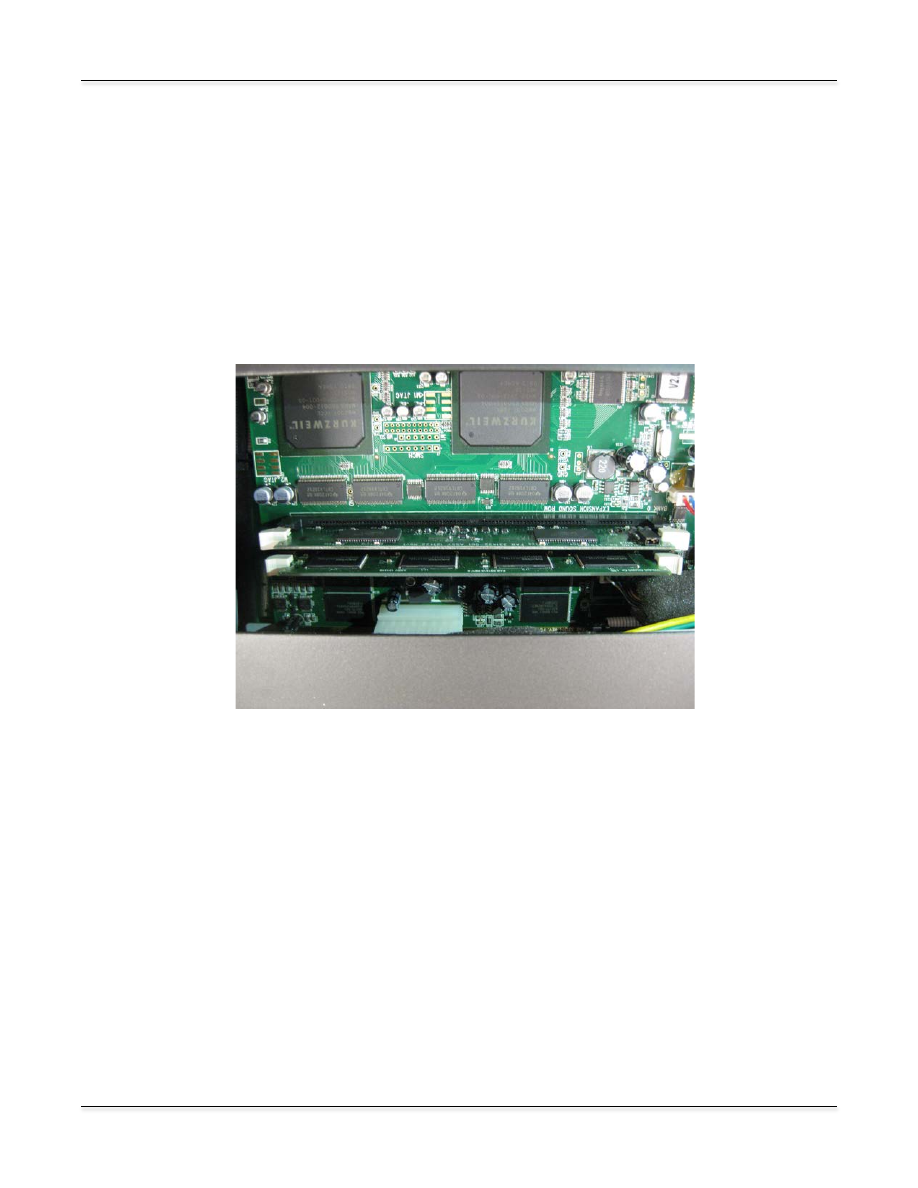
Grasp the expansion board at the top and center, with the chips facing away from you. The
contacts should be at the bottom. Note the notches at the bottom and center of the expansion
board. These notches help you align the expansion board in the slot on the main board.
3.
Holding the expansion board in a vertical position, insert it into the Bank 0, aligning the notches
with the partitions in the socket.
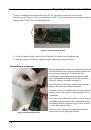
4.
Press the board firmly into the slot, then squeeze the two hinged clips at the ends of the slot
until they snap into the closed position. This will require several pounds of pressure on the
expansion board; make sure to apply the pressure vertically, to avoid putting stress on the
expansion board or the slot. You may need to snap one clip first, then the other.
5.
Replace the access panel.
6.
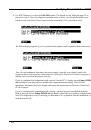
Verifying the Installation: PC3K
on page 13.
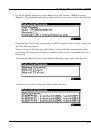
Verifying the Installation: PC3
You’ll need to run a few diagnostic tests to make sure that your expansion board is properly
installed and fully functional.
1.
Reconnect the power supply and turn your instrument on.
2.
Press the
MASTER
button to enter Master mode.
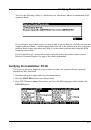
Figure 8: Expansion board installed in Bank 0