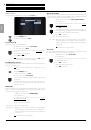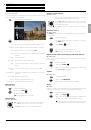
BluTechVision 3D
- 16 -
Instructions for Use
Deutsch
English
Français
Italiano
Español
Nederlands
Português
Magyar
Polski
Č
eština
Wireless network
Loewe recommends use of a wired network (LAN, Ethernet,
Powerline) to ensure a high stability and quality of the data link.
As a matter of principle, wireless connections can get disturbed
due to external influences (e.g. microwave devices) and mostly
provide a lower data transmission rate.
Call up
Settings
Menu.
5
6
Select the
Network
option.
45
6
Select the option
Connection Setting.
Press
OK
to confirm.
The
Network Setting
Menu appears.
5
6
Select the option
Advanced Setting
.
Press
OK
to confirm.
5
6
Select the option
Wireless
.
Press
OK
to confirm.
There are several methods by which your
BluTech-
Vision 3D
can establish a wireless connection.
Network List Select a WiFi network from the list
Network name Enter the network name (SSID)
PBC Press the WPS button on the router
PIN Enter the router's PIN on its website.
5
6
Select the required connection type.
Press
OK
to confirm.
When selecting the
Network List
type, select the
desired WiFi connection and then enter the network
password.
Setup the IP Address (where necessary) and the
DNS (page 15) or click
Next
.
If the connection test was successful, a correspond-
ing message will be displayed.
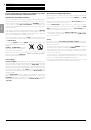
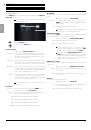
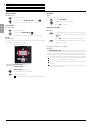
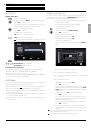
WLAN1
WLAN2
WLAN1
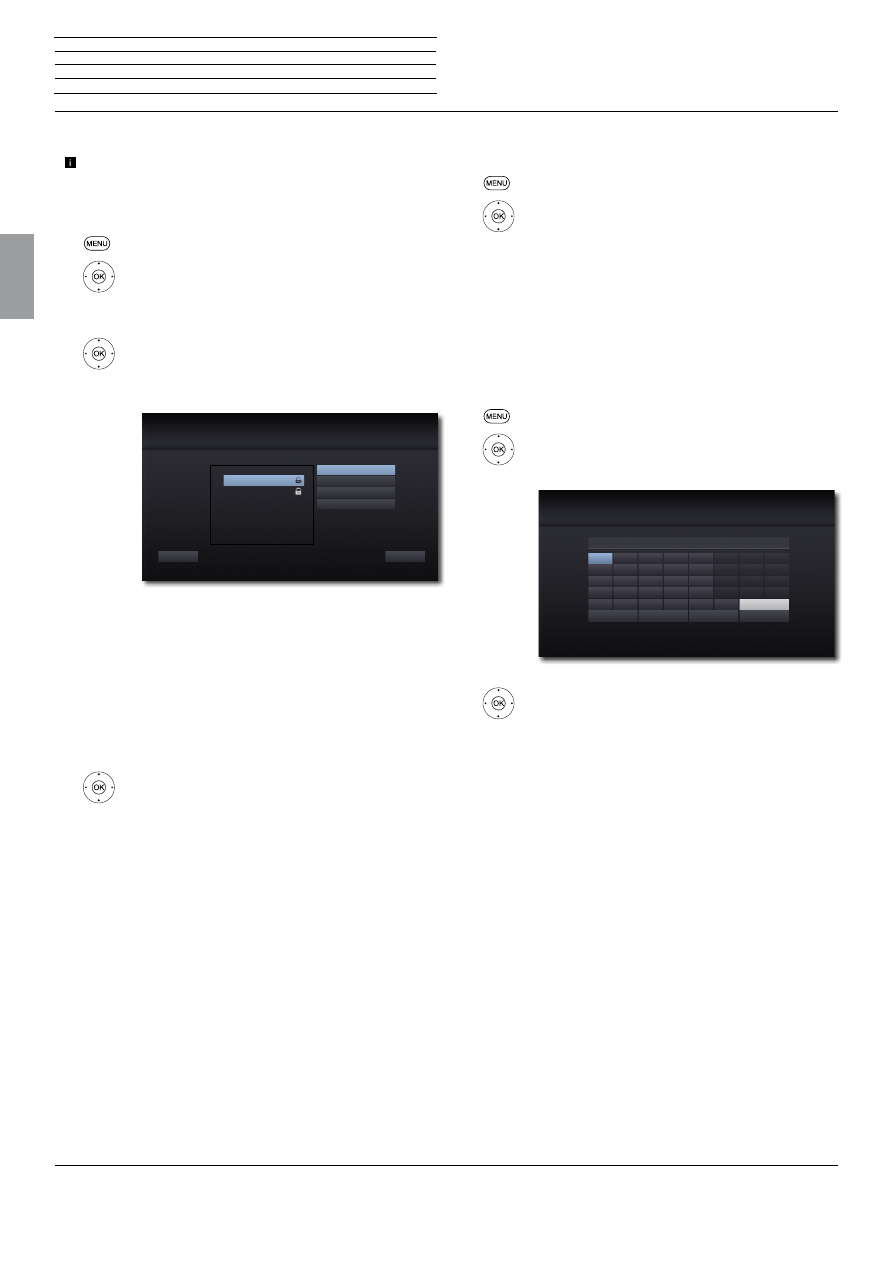
Network Setting
Previous
You can select the network you
wish to connect from the AP
list.
Close
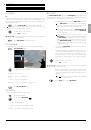
Please set a network connection type.
Network List
Network name (SSID)
PBC
PIN
BD-LIVE™connection
You can specify whether your
BluTechVision 3D
may establish an
Internet connection to the
BD-LIVE™
service (page 23).
Call up
Settings
Menu.
5
6
Select the
Network
option.
45
6
Select the option
BD-LIVE™ Link
.
Press
OK
to confirm.
Permitted BD-LIVE™ is permitted for all contents
Partially
permitted
BD-LIVE™ is only permitted for content for which a
user certificate is available.
Prohibited BD-LIVE™ is locked
Device name
You can give the unit an individual name for identification in the net-
work.
Call up
Settings
Menu.
5
6
Select the
Network
option.
45
6
Select
Device Name
.
Press
OK
to confirm.
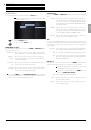
The menu
Device Name Setting
is displayed.
345
6
Select the letter/number/function
Press
OK
to confirm.
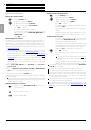
<- Clear a character
Space Insert space
OK Save name
Cancel Do not save name
_
a
k
f
p
u
c
m
h
r
w
z
b
l
g
q
v
d
n
i
s
x
e
o
j
t
y
1
7
4
.
2
8
5
@
3
9
6
0
<-
OK
ABC
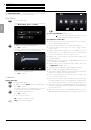
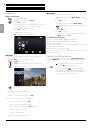
Device Name Setting
Cancel
Space
n
Start-up
Network Menu